
Screwdriver set
Use it for: To remove the access panel, mounting screws, and the old motor assembly.
Shop screwdriver setsIf your humidifier fan is noisy, not spinning, or only works intermittently, replacing the humidifier fan motor assembly is often the right fix.
This repair is usually straightforward if you shut off power first, take a photo of the wiring, and swap the old assembly for a matching replacement. The goal is to restore steady airflow without rubbing, buzzing, or stalling.
Before you start: Match the replacement part to your exact humidifier before ordering.
Use it for: To remove the access panel, mounting screws, and the old motor assembly.
Shop screwdriver sets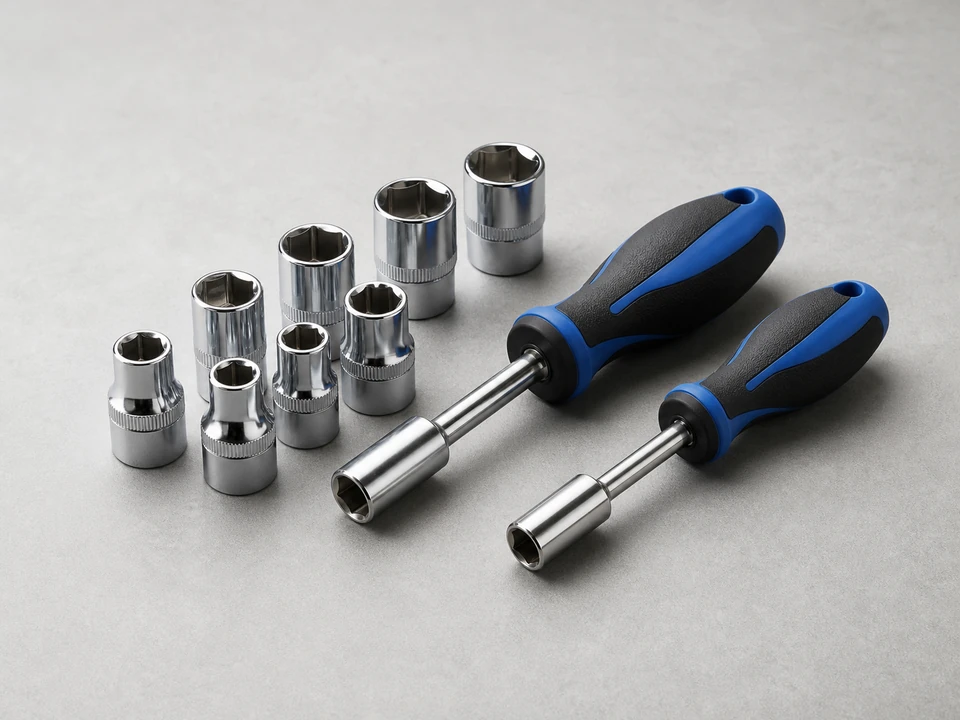
Use it for: Many humidifier cabinets and motor brackets use hex-head screws.
Shop nut driver sets
Use it for: Helpful for pulling wire connectors and guiding small clips or terminals.
Shop needle-nose pliers
Use it for: To protect your hands from sharp sheet metal edges inside the cabinet.
Shop work gloves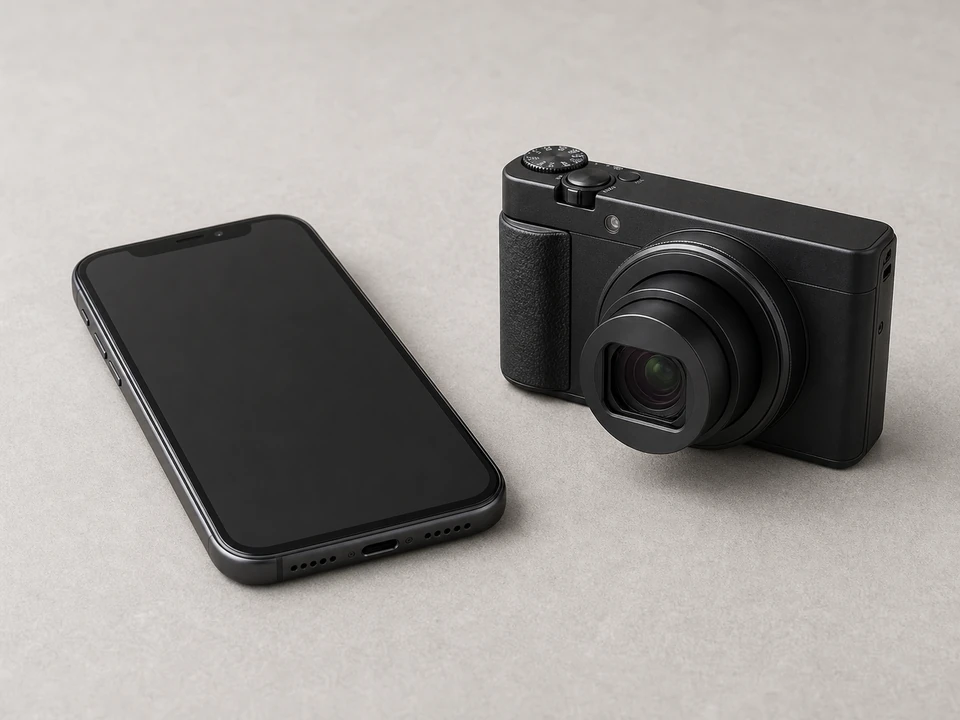
Use it for: To record wire locations and part orientation before removal.
Shop inspection cameras and phone standsAs an Amazon Associate I earn from qualifying purchases. Repair Riot may earn a commission at no extra cost to you.
If it works: You have a clear reason to suspect the humidifier fan motor assembly instead of a simple cleaning issue.
If it doesn’t: If the fan spins freely, runs quietly, and the humidifier still has problems, the issue may be elsewhere such as the control, water supply, or a clogged component.
If it works: The humidifier is safely opened and ready for part removal.
If it doesn’t: If you cannot fully disconnect power or safely reach the fan section, pause and arrange for service.
If it works: The old humidifier fan motor assembly is out and you have a clear record of how it was installed.
If it doesn’t: If a connector is stuck, use needle-nose pliers on the terminal, not the wire, and work it loose gently.
If it works: The new assembly matches the old one closely enough to install without forcing parts or rerouting wires unsafely.
If it doesn’t: If the new part does not match the old assembly layout, stop and verify the exact replacement before continuing.
If it works: The new assembly is mounted securely, wired correctly, and spins freely by hand.
If it doesn’t: If the fan rubs or the bracket shifts as you tighten it, loosen the screws, realign the assembly, and retighten evenly.
If it works: The humidifier starts normally, the fan runs smoothly, and the noise or no-spin problem is gone.
If it doesn’t: If the new motor does not run, recheck power, connector seating, and wire placement. If it runs but the humidifier still performs poorly, another component may also need attention.
Match the replacement part to your exact humidifier before ordering.
As an Amazon Associate I earn from qualifying purchases. Repair Riot may earn a commission at no extra cost to you.
Common signs are loud bearing noise, a fan that will not start, intermittent spinning, overheating smell, or a shaft that feels rough or seized when turned by hand with power off.
Sometimes, but many homeowners have an easier time replacing the full assembly because the bracket, fan, and motor alignment are already matched. Use the replacement that fits your humidifier.
Check that the bracket is seated flat, the screws are tightened evenly, any rubber isolators were transferred, and the fan wheel is not rubbing the housing. If vibration stays severe, the part may not be the correct match.
A clear photo is usually enough for a straightforward swap. If the wiring is crowded or uses separate terminals, adding labels can make reassembly easier.
Yes. It is a good time to remove dust and debris around the fan section so the new assembly has clear airflow and the wheel does not pick up buildup right away.