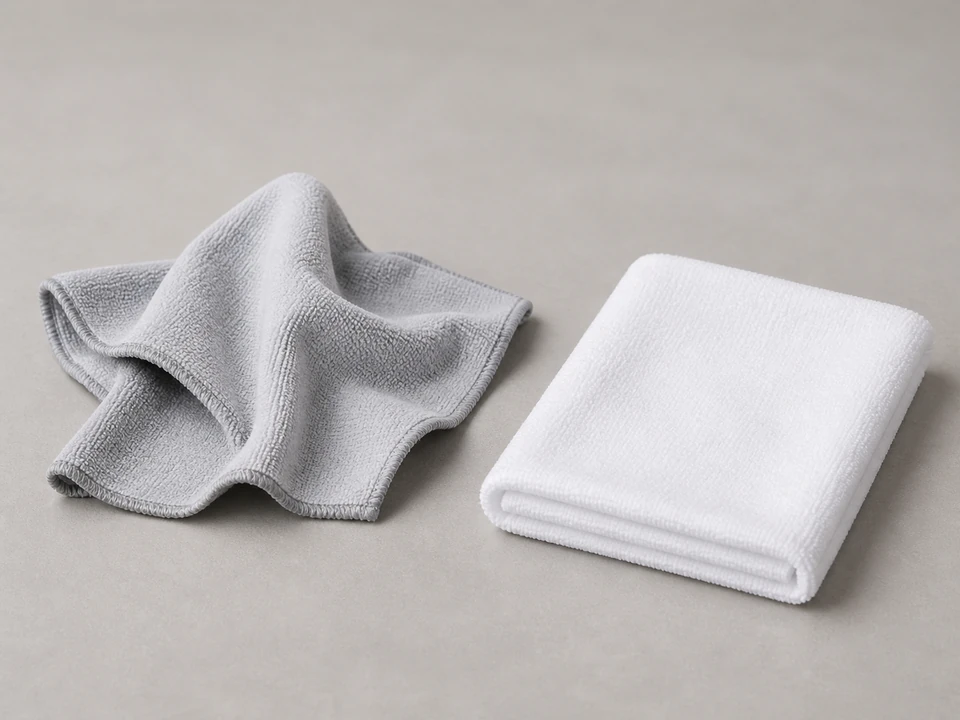
Soft cloth or rag
Use it for: To protect the sink finish and wipe away grime before fitting the new cap.
Shop sink-safe cleaning clothsTo replace a kitchen sink air gap cap, make sure the cap is actually loose, cracked, or missing, pull off the old cap, clean the air gap body underneath, and press or twist on a matching replacement until it sits straight and secure.
This is usually a quick repair because the cap is just the visible cover on top of the air gap body near the faucet. The main job is making sure you buy the right style and that the body underneath is not damaged or clogged.
Before you start: Match the replacement part to your exact sink before ordering.
Use it for: To protect the sink finish and wipe away grime before fitting the new cap.
Shop sink-safe cleaning cloths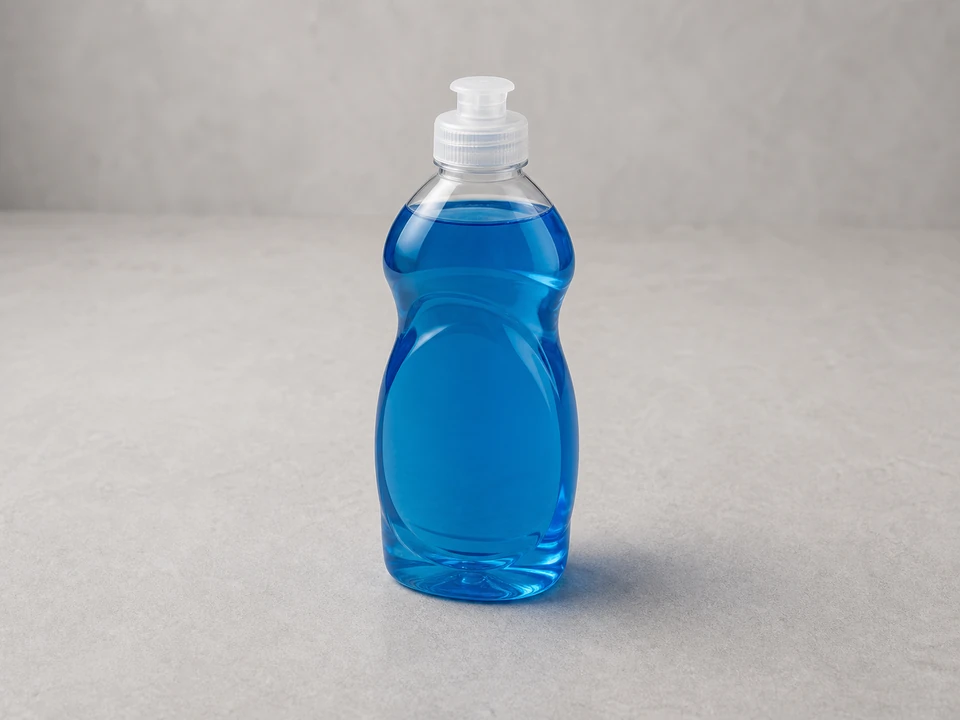
Use it for: To clean mineral buildup and grease from the air gap body so the new cap seats properly.
Shop dish soap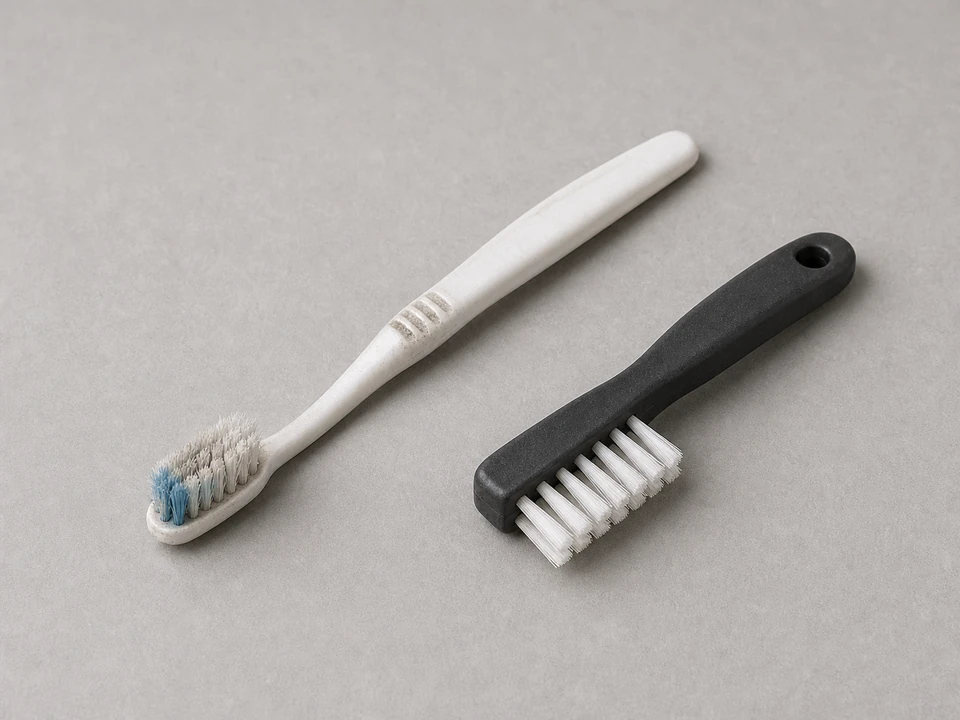
Use it for: To scrub around the air gap body and vent openings without scratching metal or plastic.
Shop small cleaning brushes
Use it for: To gently lift a stubborn cap or trim ring if it is stuck from buildup.
Shop needle-nose pliers
Use it for: To inspect the air gap body for cracks, missing pieces, or heavy blockage.
Shop small flashlightsAs an Amazon Associate I earn from qualifying purchases. Repair Riot may earn a commission at no extra cost to you.
If it works: You have confirmed the visible cap is the damaged or missing part, and the air gap body underneath still looks usable.
If it doesn’t: If the body underneath is cracked, broken, or loose in the sink, replacing only the cap will not solve it. Plan on replacing the full air gap assembly instead.
If it works: The old cap is off without damaging the air gap body or the sink surface.
If it doesn’t: If the cap will not come off, clean around the base first and try again after loosening mineral buildup with warm soapy water.
If it works: The air gap body is clean, dry, and ready for the new cap to fit evenly.
If it doesn’t: If buildup keeps the new cap from seating, clean again until the top edge and vent area are clear.
If it works: The new cap fits snugly, sits level, and does not pop off with a light tug.
If it doesn’t: If the cap is too loose, too tight, or sits crooked, remove it and recheck the fit. You may have the wrong replacement style for your air gap body.
If it works: The cap stays in place during real use, and the air gap area remains dry except for normal brief venting if your setup does that.
If it doesn’t: If water still sprays from the air gap, the cap was not the root problem. Check for a clogged air gap body, a blocked hose to the drain, or a restriction at the garbage disposal inlet.
Match the replacement part to your exact sink before ordering.
As an Amazon Associate I earn from qualifying purchases. Repair Riot may earn a commission at no extra cost to you.
The cap covers the top of the air gap body and helps finish the look at the sink. It is not the full plumbing device underneath, so replacing the cap only helps if the visible cover is damaged, loose, or missing.
Yes, if the body underneath is still solid and the new cap matches it correctly. If the body is cracked, loose, or broken, replace the full air gap assembly instead.
That usually means there is a clog or restriction in the drain path, often in the hose from the air gap to the drain or garbage disposal. A new cap will not fix a drainage blockage.
No. Caps vary by diameter, height, and how they attach to the air gap body. Compare the old cap carefully and use the fit note before ordering.
Usually no, because you are only replacing the top cover. Just avoid running the dishwasher or drain test until the new cap is installed and seated properly.