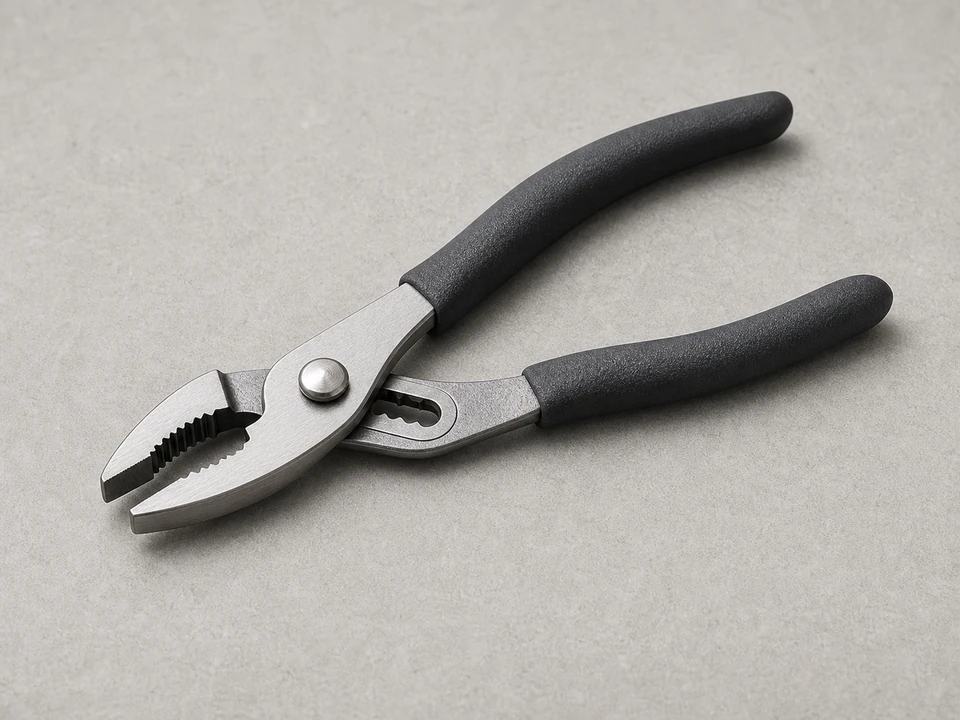
Slip joint pliers
Use it for: To loosen and tighten spring clamps or stubborn hose connections.
Shop slip-joint pliersTo replace a kitchen sink air gap outlet hose, confirm the hose is split, clogged, loose, or badly kinked, then remove the old hose from the air gap and disposal or drain connection, install a matching replacement, clamp both ends securely, and test with a full dishwasher drain cycle.
This is a manageable under-sink repair for many homeowners. The main goals are to use the right hose size, avoid sharp kinks, and make sure both connections stay tight when the dishwasher drains at full flow.
Before you start: Match the hose inside diameter, length, and end style to your air gap and garbage disposal or branch tailpiece before ordering.
Use it for: To loosen and tighten spring clamps or stubborn hose connections.
Shop slip-joint pliers
Use it for: To remove worm-drive hose clamps and adjust new clamps.
Shop screwdriver set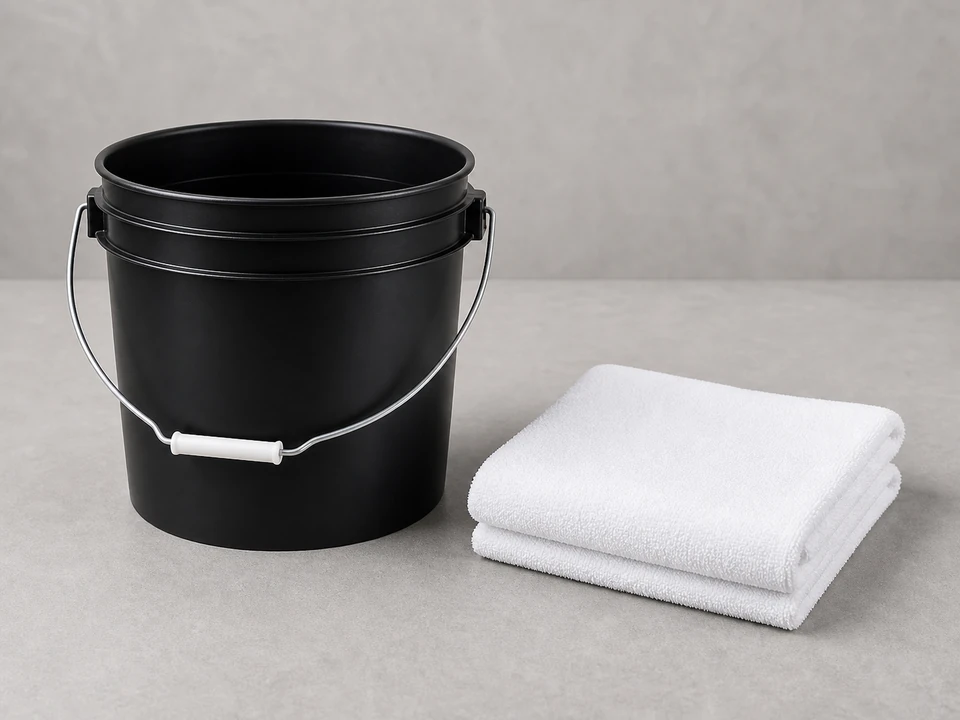
Use it for: To catch leftover water when the old hose comes off.
Shop utility towels
Use it for: To check hose diameter and cut or buy the right length.
Shop tape measures
Use it for: To trim replacement hose cleanly if it comes longer than needed.
Shop utility knifeAs an Amazon Associate I earn from qualifying purchases. Repair Riot may earn a commission at no extra cost to you.
If it works: You have confirmed the kitchen sink air gap outlet hose is damaged, clogged beyond easy cleaning, or no longer sealing well at its connections.
If it doesn’t: If the hose looks sound and dry, check the air gap body, disposal inlet, or dishwasher drain hose before replacing this part.
If it works: The area is open, protected from drips, and ready for removal.
If it doesn’t: If access is too tight to work safely, remove nearby storage bins or a shelf insert before continuing.
If it works: The old hose is off and you know the replacement matches the connection size and needed length.
If it doesn’t: If the old hose will not come off cleanly, cut it lengthwise near the end and peel it away without damaging the fitting underneath.
If it works: The new hose is fully seated, properly routed, and clamped at both ends.
If it doesn’t: If the hose keeps kinking, shorten it slightly or reroute it so the bend radius is gentler.
If it works: The cabinet is dry and the new hose looks stable before the dishwasher test.
If it doesn’t: If you see a drip already, reposition the clamp or push the hose farther onto the fitting and dry the area again.
If it works: The dishwasher drains normally, the air gap does not back up, and the new hose stays dry at both ends.
If it doesn’t: If the air gap still backs up or drains slowly, clear the disposal inlet or branch drain path next because the restriction may be downstream of the new hose.
Match the hose inside diameter, length, and end style to your air gap and garbage disposal or branch tailpiece before ordering.
As an Amazon Associate I earn from qualifying purchases. Repair Riot may earn a commission at no extra cost to you.
It carries dishwasher discharge water from the air gap down to the garbage disposal or drain branch. If it clogs, splits, or kinks, water can leak under the sink or come out of the air gap on top of the sink.
Sometimes, yes. If the hose is only clogged with grease or debris and the rubber is still firm and intact, cleaning may work. Replace it if it is cracked, soft, badly stained inside, misshapen, or keeps clogging.
Measure the old hose inside diameter and compare both ends to the fittings on the air gap and disposal or branch tailpiece. Also match the length closely enough to avoid stretching or extra slack that can sag.
That usually means the restriction is farther downstream, often at the garbage disposal inlet or the drain branch connection. The new hose can only help if the old hose was the actual bottleneck or leak point.
Usually no. These connections normally seal with the hose fit and clamp pressure. A properly sized hose and correctly placed clamp matter more than adding tape or sealant.