
Bucket or shallow pan
Use it for: Catches the water and debris that spill out when the trap is opened.
Shop buckets and drain pansIf your kitchen sink is dripping from the slip-joint connections around the trap, replacing the kitchen sink p trap washer set is often the right fix.
This repair is usually straightforward if the trap body and drain pipes are still in good shape. The goal is to replace worn or misaligned washers, re-seat the joints, and make sure the trap drains without leaking.
Before you start: Match the pipe diameter, inlet and outlet layout, and trap style before ordering.
Use it for: Catches the water and debris that spill out when the trap is opened.
Shop buckets and drain pans
Use it for: Helps loosen or snug slip-joint nuts if they are too tight to turn by hand.
Shop channel-lock pliers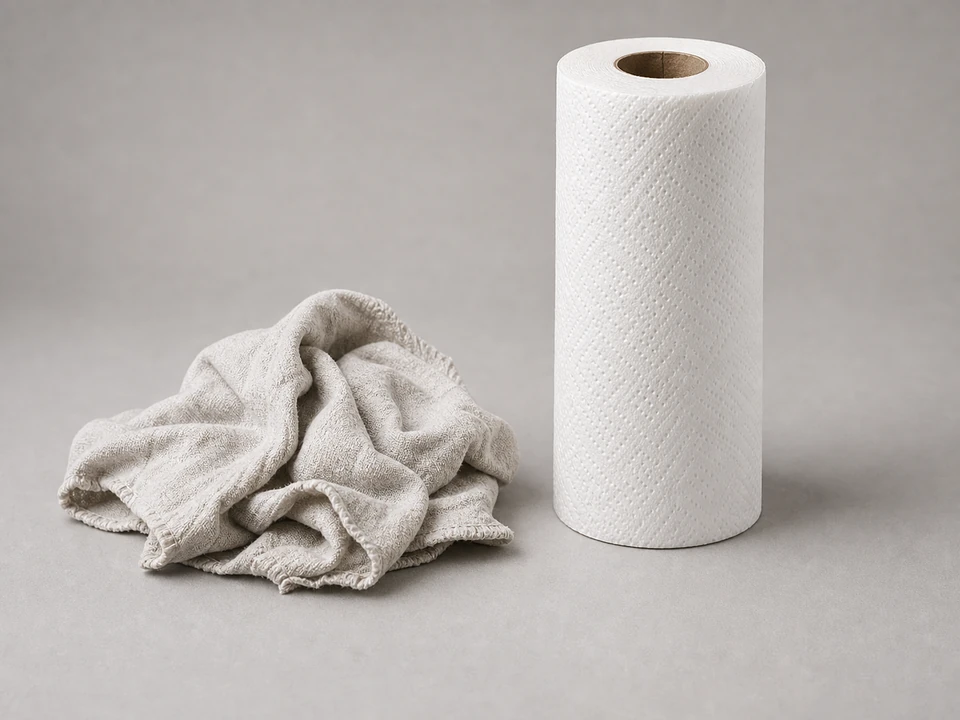
Use it for: Wipes off dirty water and lets you check for fresh drips after reassembly.
Shop shop towels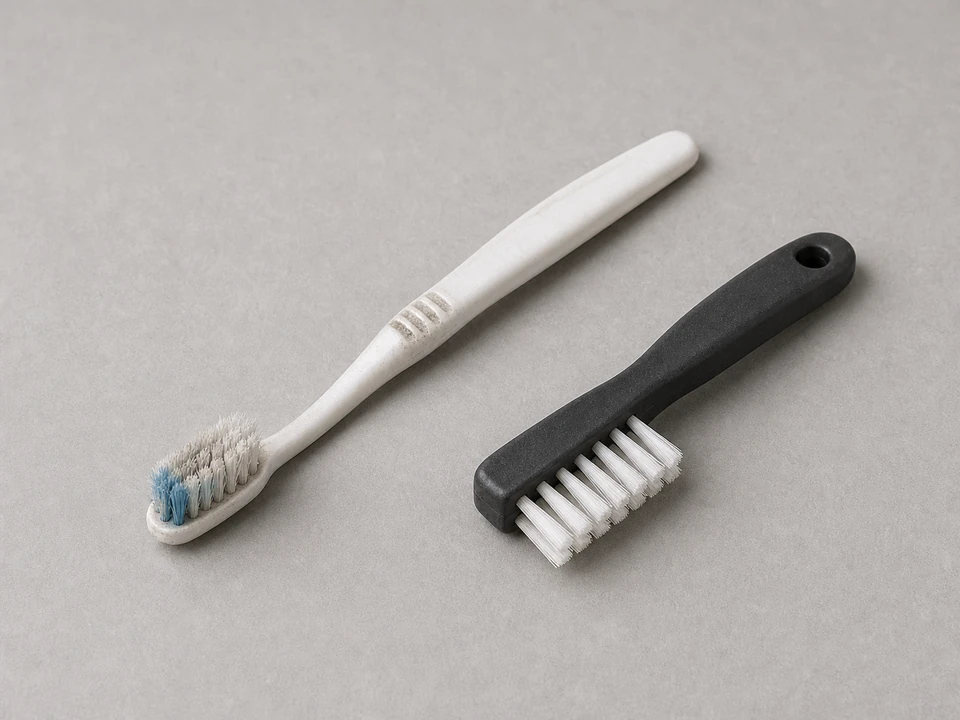
Use it for: Cleans buildup off the trap ends and sealing surfaces before the new washers go in.
Shop cleaning brushes
Use it for: Makes it easier to see the washer position and check for hairline cracks under the sink.
Shop flashlightsAs an Amazon Associate I earn from qualifying purchases. Repair Riot may earn a commission at no extra cost to you.
If it works: You have confirmed the leak is at a trap joint where the washer seals the connection.
If it doesn’t: If the water is coming from a different part of the drain assembly, fix that leak source instead of replacing the trap washers.
If it works: The trap is apart, the old washers are removed, and the drain parts are accessible.
If it doesn’t: If a nut will not loosen, apply steady pressure with pliers and support the pipe with your other hand so you do not twist the whole assembly.
If it works: The sealing surfaces are clean and smooth enough for the new washers to seat properly.
If it doesn’t: If the pipe ends are rough or damaged enough that a washer cannot sit evenly, replace the damaged trap section or slip nut before reassembling.
If it works: The new washers are seated correctly and the trap is reassembled with the joints aligned.
If it doesn’t: If the parts do not line up without force, loosen the assembly and reposition the trap so the pipes meet naturally before tightening again.
If it works: The trap holds under running water with no visible drips at the repaired joints.
If it doesn’t: If a joint still leaks after slight tightening, take that connection back apart and check whether the washer is backwards, pinched, or the wrong size.
If it works: The trap stays dry during both light flow and a full drain, so the washer replacement held in real use.
If it doesn’t: If you still see moisture after normal use, recheck the exact leak point. You may need a full trap kit or a repair to another drain connection nearby.
Match the pipe diameter, inlet and outlet layout, and trap style before ordering.
As an Amazon Associate I earn from qualifying purchases. Repair Riot may earn a commission at no extra cost to you.
If the trap body and nuts are not cracked and the leak is only at the slip-joint connections, new washers are often enough. If the trap is brittle, warped, or damaged, replacing the full trap kit is the better repair.
On most slip-joint connections, the flat side faces the nut and the tapered side faces into the fitting. The taper helps the washer compress and seal as the nut tightens.
Usually no. Slip-joint trap washers are meant to seal by compression when installed in the correct direction and tightened properly. Extra sealant can make diagnosis harder and does not fix cracked or misaligned parts.
The most common reasons are a backwards washer, a pinched washer, overtightening, cross-threaded nuts, or a cracked trap part. A mismatched pipe size or a trap that is forced out of alignment can also keep the joint from sealing.
Yes, if the nuts are not cracked and the threads are still good. If a nut is split, stripped, or no longer tightens evenly, replace it along with the washer.