
Adjustable wrench
Use it for: Loosens and tightens the supply line nuts at the shutoff valve and faucet connection.
Shop adjustable wrenchesTo replace a kitchen sink supply line, confirm the leak is coming from the line or its fittings, shut off the water at the sink valves, remove the old line, install a matching new line without kinks, then turn the water back on slowly and check for leaks.
This is a straightforward repair if the shutoff valves still work and the leak is limited to the supply line or its connections. The key is buying the right length and end fittings, then tightening the new line enough to seal without forcing the threads.
Before you start: Match the line length, end sizes, and connection type before ordering.
Use it for: Loosens and tightens the supply line nuts at the shutoff valve and faucet connection.
Shop adjustable wrenches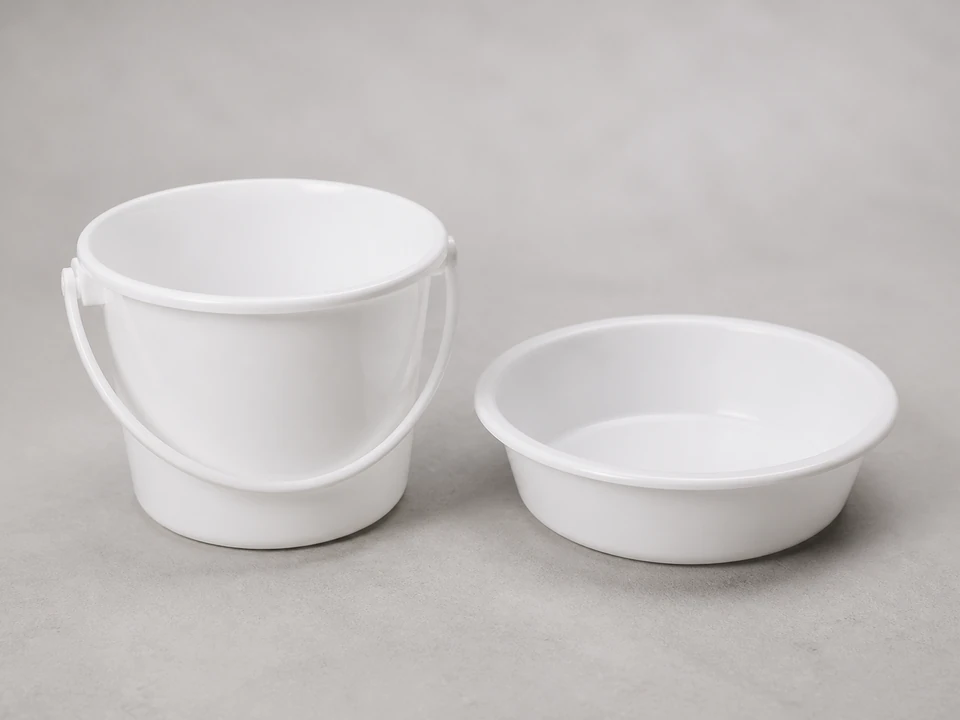
Use it for: Catches the water left in the line when you disconnect it.
Find a small drain bucket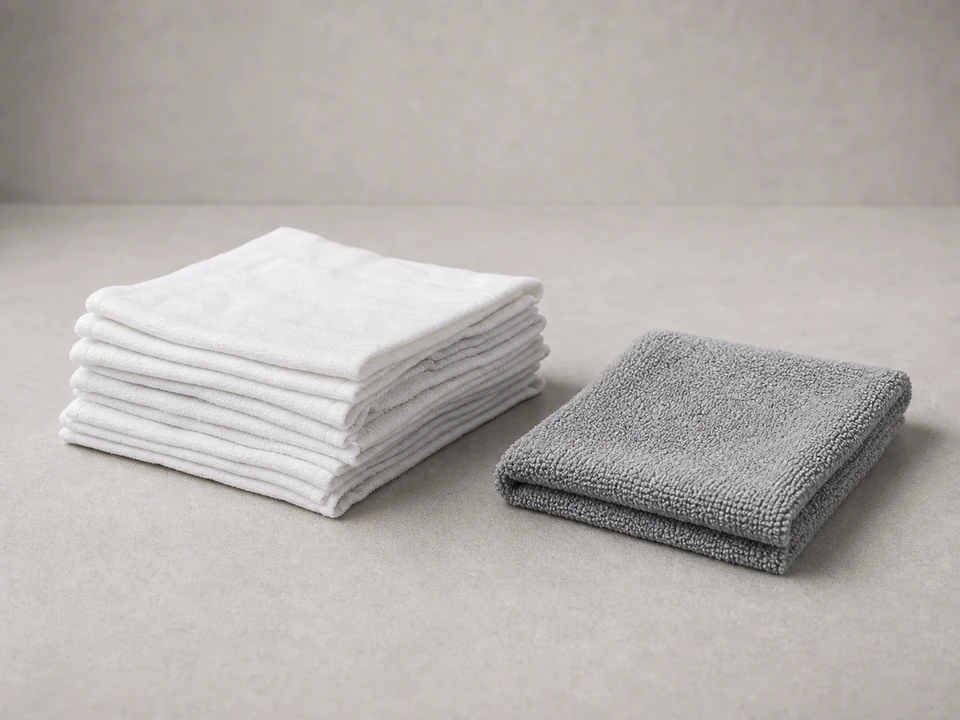
Use it for: Protects the cabinet floor and helps you spot fresh drips during testing.
Shop absorbent shop towels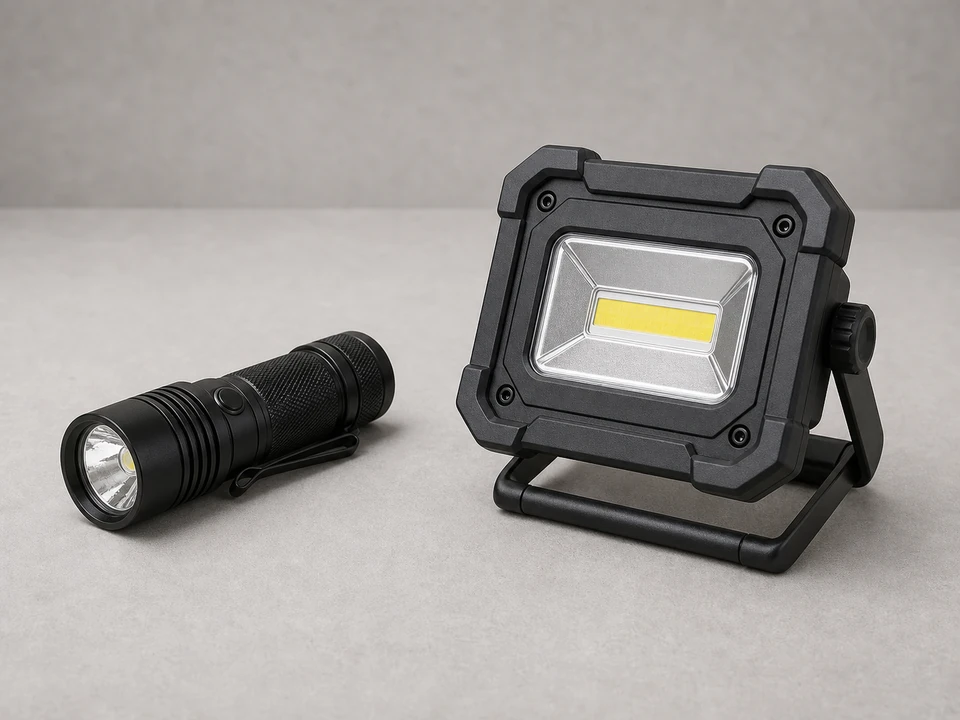
Use it for: Lets you see the back of the faucet and the shutoff connections under the sink.
Find an LED work lightAs an Amazon Associate I earn from qualifying purchases. Repair Riot may earn a commission at no extra cost to you.
If it works: You have traced the leak to the kitchen sink supply line or one of its end connections.
If it doesn’t: If the water is coming from the faucet body, shutoff valve, drain parts, or another hose, fix that part instead before replacing the supply line.
If it works: The water is off, pressure is relieved, and you have a matching replacement line ready to install.
If it doesn’t: If a shutoff valve will not fully close, you may need to shut off the home's water supply before continuing.
If it works: The old supply line is out and both connection points are clean and accessible.
If it doesn’t: If a nut is stuck, apply steady pressure and reposition the wrench for a better grip rather than forcing it sideways.
If it works: The new line is installed with both ends threaded cleanly and the line routed without strain.
If it doesn’t: If the nut will not thread smoothly by hand, back it off and realign it before tightening again.
If it works: The line holds pressure with no visible drips at either connection.
If it doesn’t: If a connection still drips after a slight retightening, shut the water back off, disconnect it, and check for a mismatched fitting or crooked connection.
If it works: The sink works normally and the cabinet stays dry during and after real use.
If it doesn’t: If moisture returns later, dry everything again and trace the exact source before tightening anything else.
Match the line length, end sizes, and connection type before ordering.
As an Amazon Associate I earn from qualifying purchases. Repair Riot may earn a commission at no extra cost to you.
Dry the line and fittings, then run the faucet and watch closely. If water appears at a nut, the connection may be loose or crooked. If water beads up from the braided hose or plastic tubing itself, the line has failed and should be replaced.
Usually no. Most sink supply lines seal with compression fittings or built-in washers, not thread tape. Adding tape where it does not belong can actually make sealing worse.
Yes. If only the hot or cold line is leaking, you can replace that one line. Many homeowners replace both if they are the same age and equally worn, but it is not required.
If the valve will not stop the water completely, shut off the home's main water supply before removing the line. If the valve leaks from the stem or body, the valve itself likely needs repair or replacement.
Start both ends by hand, then tighten them snugly with a wrench. The goal is a watertight seal, not maximum force. If it drips, tighten a little more and recheck rather than cranking hard on the fitting.