
Adjustable wrench
Use it for: To loosen and tighten the supply line nuts at the shutoff valve and faucet connection.
Shop adjustable wrenchesIf water is dripping from the faucet supply connection, the braided line is kinked, corroded, or won’t seal after tightening, replacing the kitchen sink faucet supply line is usually the right fix.
This is a manageable under-sink repair for many homeowners. The goal is to swap the old line without cross-threading fittings or overtightening them, then confirm the new connection stays dry under normal use.
Before you start: Match the line length, end sizes, and connection type before ordering.
Use it for: To loosen and tighten the supply line nuts at the shutoff valve and faucet connection.
Shop adjustable wrenches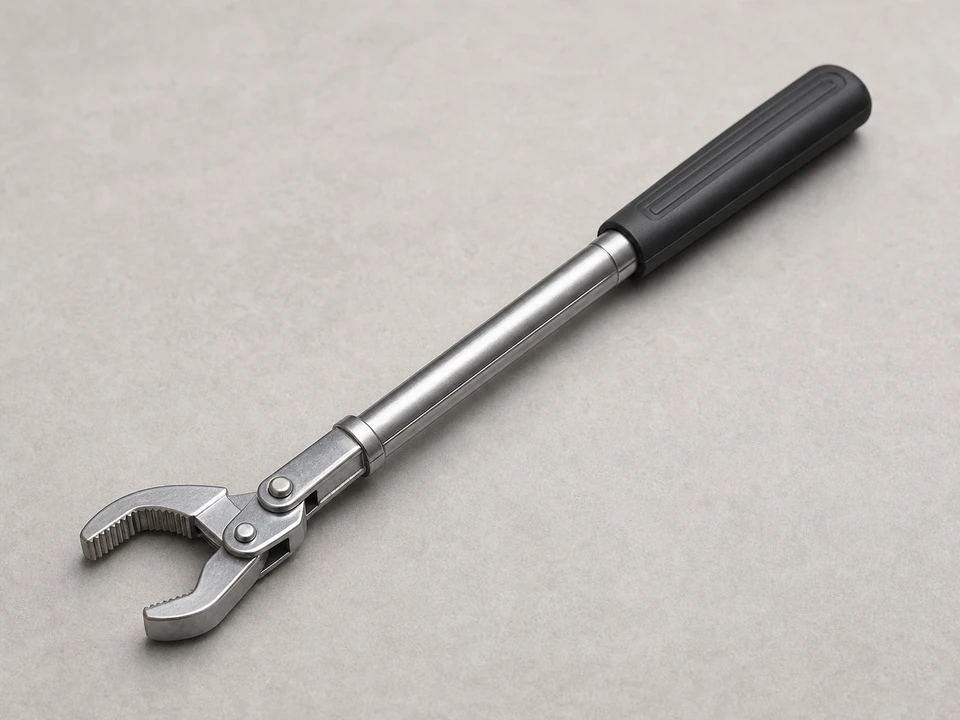
Use it for: Helpful if the faucet connection is tucked high behind the sink where a regular wrench will not fit well.
Shop basin wrenches
Use it for: To catch the water left in the line when you disconnect it.
Find a drain pan or bucket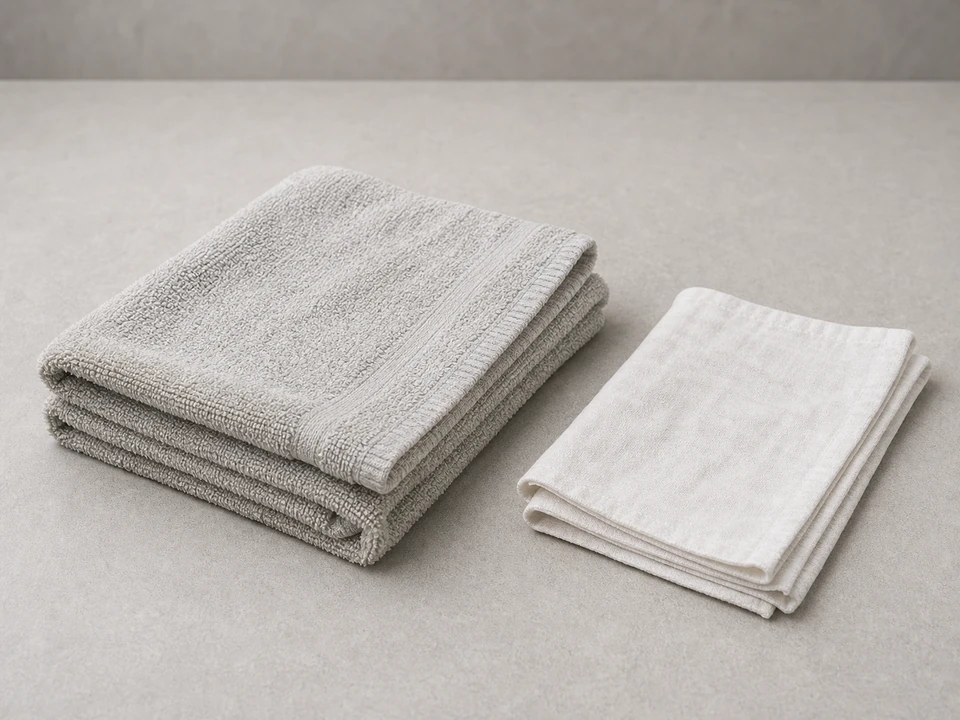
Use it for: To protect the cabinet floor and wipe fittings dry during leak checks.
Shop absorbent shop towels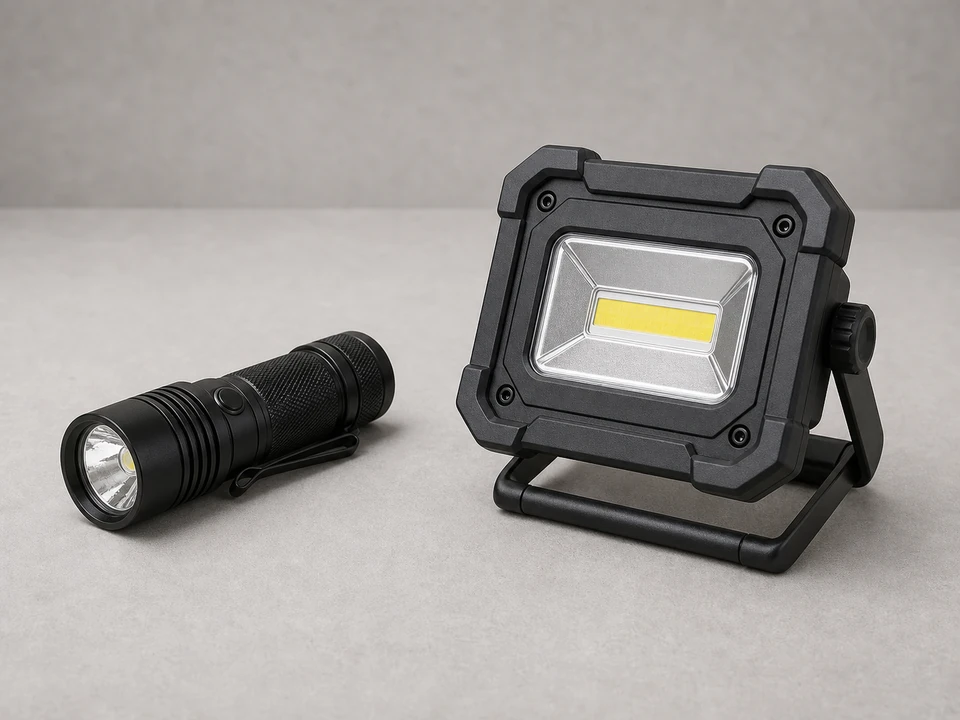
Use it for: To see the faucet shank, shutoff valve, and threads clearly under the sink.
Find an LED work lightAs an Amazon Associate I earn from qualifying purchases. Repair Riot may earn a commission at no extra cost to you.
If it works: You have traced the leak or damage to the faucet supply line or its end connections.
If it doesn’t: If the water is coming from the drain, sprayer hose, faucet body, or shutoff valve itself, fix that part instead before replacing the supply line.
If it works: Water flow from the faucet slows to a stop and the line is depressurized.
If it doesn’t: If the faucet keeps running steadily, the shutoff valve may not be closing fully. Use the main water shutoff before disconnecting the line.
If it works: The old line is removed and the connection points are clean and ready for the new line.
If it doesn’t: If a fitting is stuck, apply steady pressure and improve your wrench position rather than forcing it sideways. Better access usually works better than more force.
If it works: The new line is installed with both fittings seated squarely and the hose routed without strain.
If it doesn’t: If the nut will not thread easily by hand, back it off and realign it. Cross-threaded fittings will leak and can ruin the connection.
If it works: Both connections stay dry while the faucet is running and after the water is shut off.
If it doesn’t: If a fitting seeps, tighten that connection slightly and test again. Small adjustments are usually enough.
If it works: The cabinet stays dry through repeated use and the new supply line remains leak-free.
If it doesn’t: If moisture returns later, dry everything again and trace the exact source before tightening anything further.
Match the line length, end sizes, and connection type before ordering.
As an Amazon Associate I earn from qualifying purchases. Repair Riot may earn a commission at no extra cost to you.
Not always, but it is often smart if both lines are the same age and style. If one has failed from age or wear, the other may not be far behind.
Usually no on the supply line nuts themselves. Most faucet supply line connections seal with a built-in washer or gasket, not with thread tape. Follow the sealing style of the line you bought.
Start both ends by hand, then tighten just enough to seal. Snug is the goal. If it leaks, tighten a little more and recheck rather than forcing it hard right away.
Improve access first, use the right wrench, and hold the shutoff valve steady so it does not twist. If the valve or faucet connection is starting to deform or move, stop and address that problem before continuing.
Match the connection type at both ends, the thread size, and the length. The line should reach without stretching tight or looping into a sharp bend.