Kitchen sink plumbing

How to Replace a Kitchen Faucet Cold Supply Line

To replace a kitchen faucet cold supply line, shut off the cold water, relieve pressure, remove the old line from the shutoff valve and faucet, install a matching new line without twisting it, then turn the water back on and check carefully for leaks.

This repair makes sense when the cold side supply line is leaking, kinked, corroded, or restricted inside the line. Take a minute to confirm the leak or weak flow is really coming from the cold supply line and not the shutoff valve, faucet body, or a loose connection you can simply tighten.

Before you start: Match the line length, both end sizes, and whether the faucet end is threaded, quick connect, or built into the faucet before ordering.

Prepared by: Repair Riot Last updated: 2026-06-05 How we build and check guides

Safety first

  • Work with the cold shutoff valve off before disconnecting the line.
  • Support the shutoff valve with pliers while loosening or tightening fittings so you do not stress the pipe in the wall.
  • Use only gentle tightening at threaded connections to avoid stripping threads or cracking fittings.
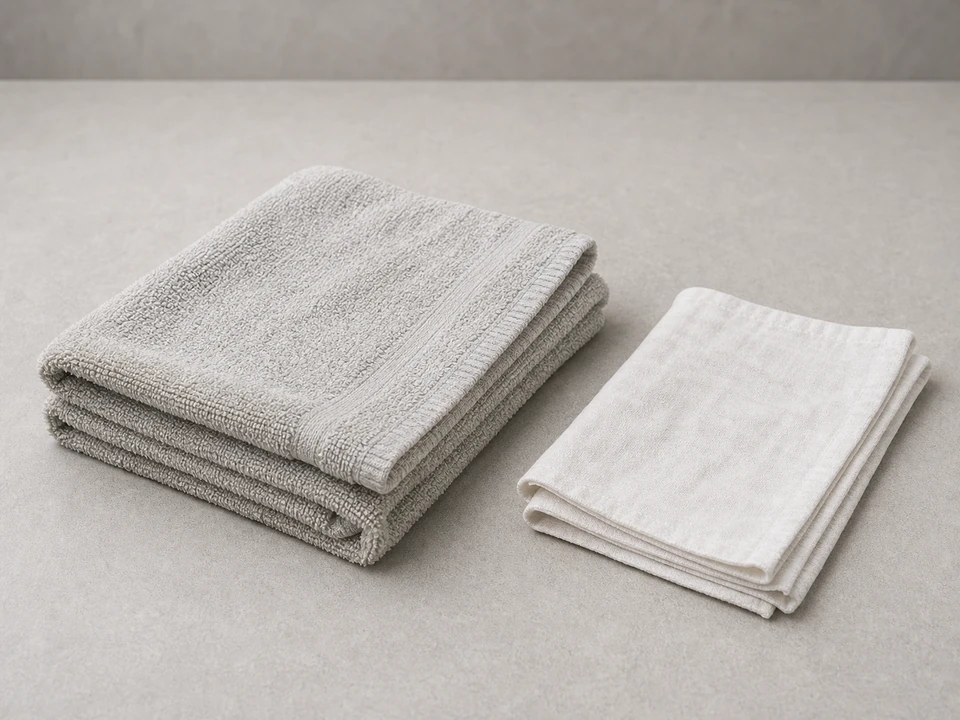
  • Keep towels and a bucket in place until you are sure both connections stay dry.

Tools you may need

Adjustable wrench tool

Adjustable wrench

Use it for: To loosen and tighten the supply line nuts at the shutoff valve and faucet connection.

Shop adjustable wrenches

Tongue-and-groove pliers tool

Channel lock pliers

Use it for: To hold the shutoff valve body steady so you do not twist the valve or stub-out while loosening the line.

Shop channel-lock pliers

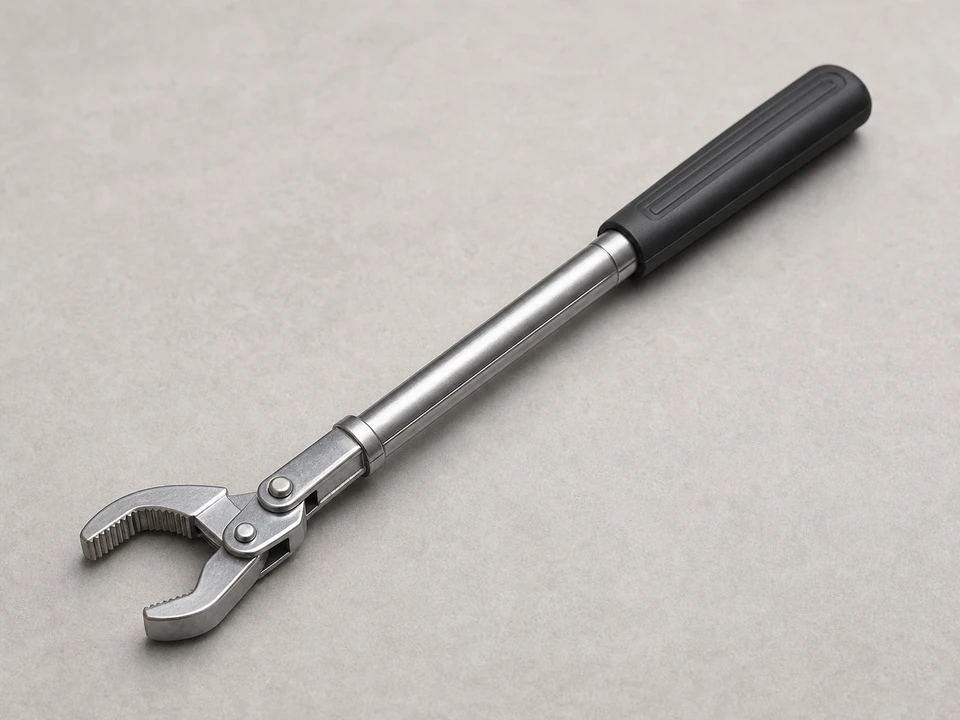
Basin wrench tool

Basin wrench

Use it for: Helpful if the faucet-side connection is tucked high behind the sink and hard to reach.

Shop basin wrenches

As an Amazon Associate I earn from qualifying purchases. Repair Riot may earn a commission at no extra cost to you.

Step-by-step fix

Step 1: Confirm the cold supply line is the problem

  1. Open the faucet and compare hot and cold flow.
  2. Look under the sink while the cold side is running and check for drips, spraying, bulging braid, rust, green corrosion, or a sharp kink in the cold supply line.
  3. Dry the line and both connection points with a towel, then run only the cold water again so you can see exactly where moisture starts.
  4. If the line looks intact, lightly snug a loose compression nut first rather than replacing parts blindly.

If it works: You have confirmed the cold supply line itself or its end connection is the source of the leak or restriction.

If it doesn’t: If water is coming from the shutoff valve, faucet body, or another hose, fix that part instead before replacing the cold supply line.

Stop if:
  • The shutoff valve is leaking from the stem or body.
  • The copper stub-out or valve moves in the wall when touched.
  • The faucet connection is cracked, stripped, or built into the faucet in a way that does not allow line replacement.

Step 2: Shut off the cold water and prep the work area

  1. Turn the cold shutoff valve clockwise until it stops.
  2. Open the faucet to relieve pressure and let the remaining cold water drain out.
  3. Place a bucket or shallow pan under the shutoff valve and lay a towel in the cabinet.
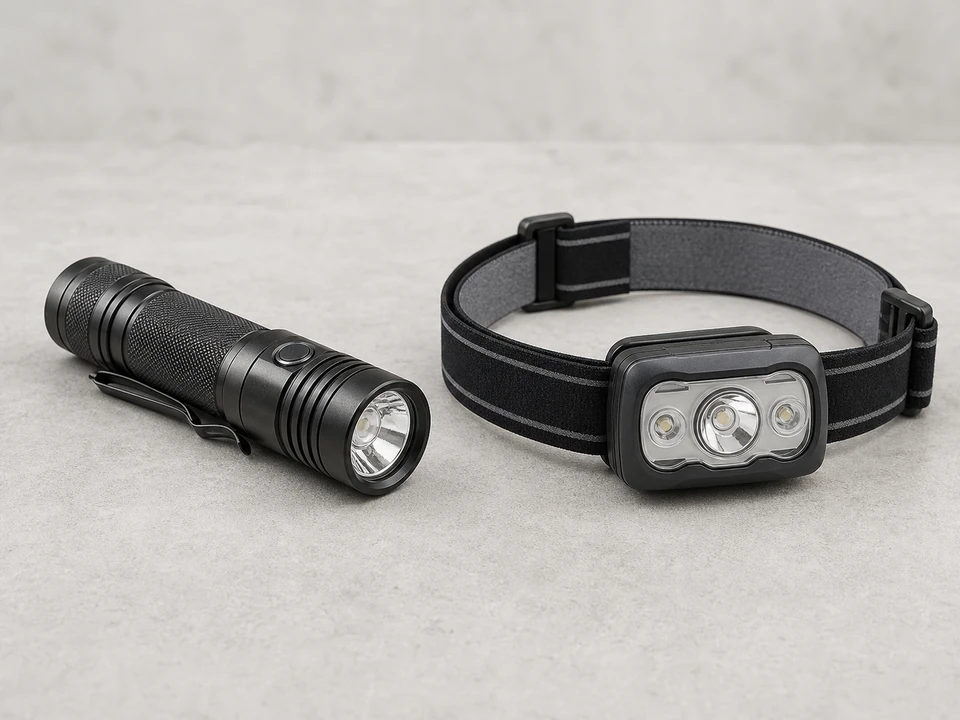
  4. Use a flashlight to identify how the line connects at both ends so you can match the replacement correctly.

If it works: The cold side is off, pressure is relieved, and the cabinet is protected from leftover water.

If it doesn’t: If the cold shutoff will not fully stop the water, shut off the home's main water supply before disconnecting the line.

Stop if:
  • The shutoff valve will not close and you cannot shut off water at the main.
  • The valve handle breaks or the valve starts leaking heavily when you turn it.

Step 3: Remove the old cold supply line

  1. Hold the shutoff valve body steady with pliers so it does not twist.
  2. Use an adjustable wrench to loosen the supply line nut at the shutoff valve and let the trapped water drain into the bucket.
  3. Disconnect the faucet end of the line. Use a basin wrench if the connection is high and hard to reach.
  4. Pull the old line out and keep it nearby to compare length, nut size, and connection style with the new one.

If it works: The old cold supply line is out and you have a sample to match against the replacement.

If it doesn’t: If the faucet-side connection is hard to identify, take a clear photo and match the new line by both ends before installing anything.

Stop if:
  • The faucet shank or connection spins loosely in the sink deck.
  • Threads are badly damaged or the old line appears permanently integrated into the faucet.
  • A fitting is seized so badly that more force may break the valve or faucet connection.

Step 4: Install the new supply line

  1. Confirm the new line matches the old one in length and both end connections.
  2. Start the faucet-side connection by hand first to avoid cross-threading, then snug it with the proper tool.
  3. Route the line in a smooth curve with no sharp bend, twist, or rubbing against sharp cabinet edges.
  4. Start the shutoff-valve-side nut by hand, then tighten it while holding the valve body steady.
  5. Tighten only until snug and secure. Do not crush fittings or force mismatched threads.

If it works: The new cold supply line is installed cleanly and routed without kinks or strain.

If it doesn’t: If the nut will not thread on smoothly by hand, back it off and recheck the connection type and size before tightening again.

Stop if:
  • The new line is too short, too long to route safely, or does not match the faucet or valve connection.
  • Threads bind immediately or the fitting will not seat squarely.

Step 5: Turn the water back on and check for leaks

  1. Close the faucet.
  2. Slowly open the cold shutoff valve while watching both ends of the new line.
  3. Wipe each connection dry, then run the cold water for a minute and check again with a dry finger or paper towel.
  4. If you see a slow drip at a threaded connection, snug that connection a little more and recheck.

If it works: The cold side is back on and both connections stay dry under pressure.

If it doesn’t: If a connection still drips after a careful slight tightening, shut the water back off and inspect for a crooked connection, damaged threads, or the wrong replacement line.

Stop if:
  • Water sprays from a connection or the line bulges when pressurized.
  • The shutoff valve itself begins leaking once reopened.

Step 6: Verify the repair in normal use

  1. Run the faucet on cold only for several minutes, then switch between hot and cold a few times.
  2. Check that the cold flow is steady and that the line does not twist, knock, or rub while the faucet is used.
  3. Look under the sink again after 10 to 15 minutes and one more time later in the day for any slow seepage.
  4. Remove the bucket and towels only after the cabinet stays dry.

If it works: The cold supply line holds under real use, the cabinet stays dry, and the original leak or flow problem is gone.

If it doesn’t: If the leak or weak cold flow remains, the root cause may be the shutoff valve, faucet cartridge, aerator, or another restriction upstream.

Stop if:
  • You find hidden water damage, mold, or cabinet swelling from a long-term leak.
  • Flow is still poor even with a new line and a fully open shutoff valve, suggesting a different plumbing problem.

Replacement Parts

As an Amazon Associate I earn from qualifying purchases. Repair Riot may earn a commission at no extra cost to you.

Verify the repair

  • No drips appear at the faucet connection or shutoff valve connection while the cold water is running.
  • The new line is routed without kinks, twisting, or rubbing on sharp edges.
  • Cold water flow is normal and steady during regular faucet use.
  • The cabinet floor stays dry after several checks over the next few hours.

FAQ

How do I know the cold supply line is bad and not the shutoff valve?

Dry everything first, then run only the cold water and watch closely. If moisture starts on the hose or at its crimped section, the line is bad. If water comes from the valve stem or valve body, the shutoff valve is the problem instead.

Can I reuse the old supply line?

It is better not to. Once a supply line has been removed, especially an older braided or corroded one, replacement is the safer choice.

Do I need thread tape on a kitchen faucet supply line?

Usually no on standard supply line nuts. Most faucet supply line connections seal with a built-in washer or compression-style connection, not with thread tape. Match the connection type and follow the fitting design.

What if the new line still leaks after tightening?

Shut the water back off and inspect the connection. A leak after careful tightening usually means the line is cross-threaded, the connection type is wrong, the sealing surface is damaged, or the fitting is not seated squarely.

What length supply line should I buy?

Use the old line as your guide and choose a length that reaches both connections in a smooth curve. Do not stretch a line tight, and do not force a long line into a sharp loop that can kink.