Zip tool or siding removal tool
Use it for: To unlock overlapping siding without cracking the surrounding panels.
Shop siding removal toolsTo replace a localized siding panel, first confirm the damage is limited to one section, then remove the damaged piece without tearing the weather barrier, install a matching replacement, and check that the laps and fasteners shed water the same way the original did.
This repair works best when the damage is isolated to one panel or a small section nearby. The main goal is not just making the wall look better. It is restoring the siding so water stays on the outside and drains down the wall instead of getting behind it.
Before you start: Match the panel profile, material, thickness, exposure, and overlap style before ordering.
Use it for: To unlock overlapping siding without cracking the surrounding panels.
Shop siding removal tools
Use it for: To measure the damaged section and compare the replacement panel profile and exposure.
Shop tape measures
Use it for: To score housewrap tape, trim small edges, or cut light siding material when appropriate.
Shop utility knives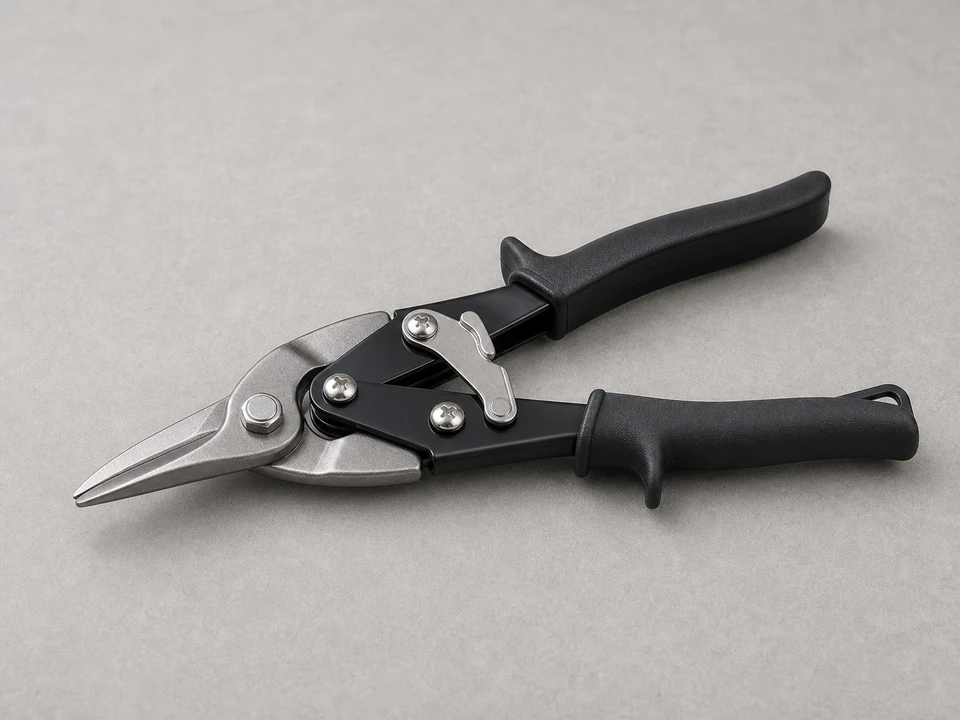
Use it for: To cut many metal or thin siding pieces cleanly.
Shop tin snips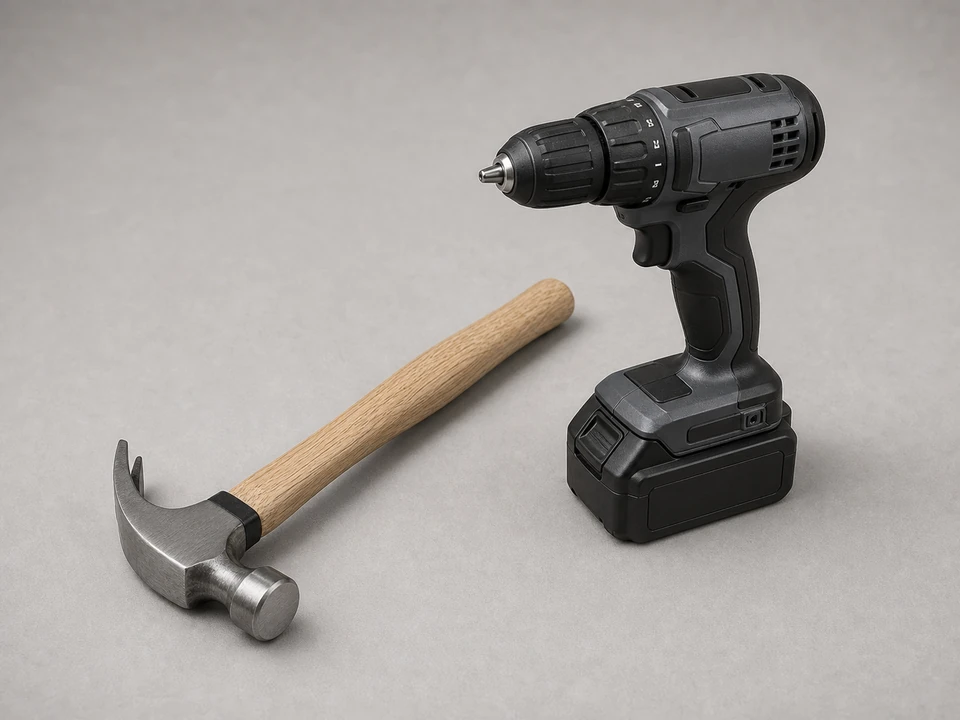
Use it for: To remove and install fasteners depending on how the siding is attached.
Shop hammer and driver tools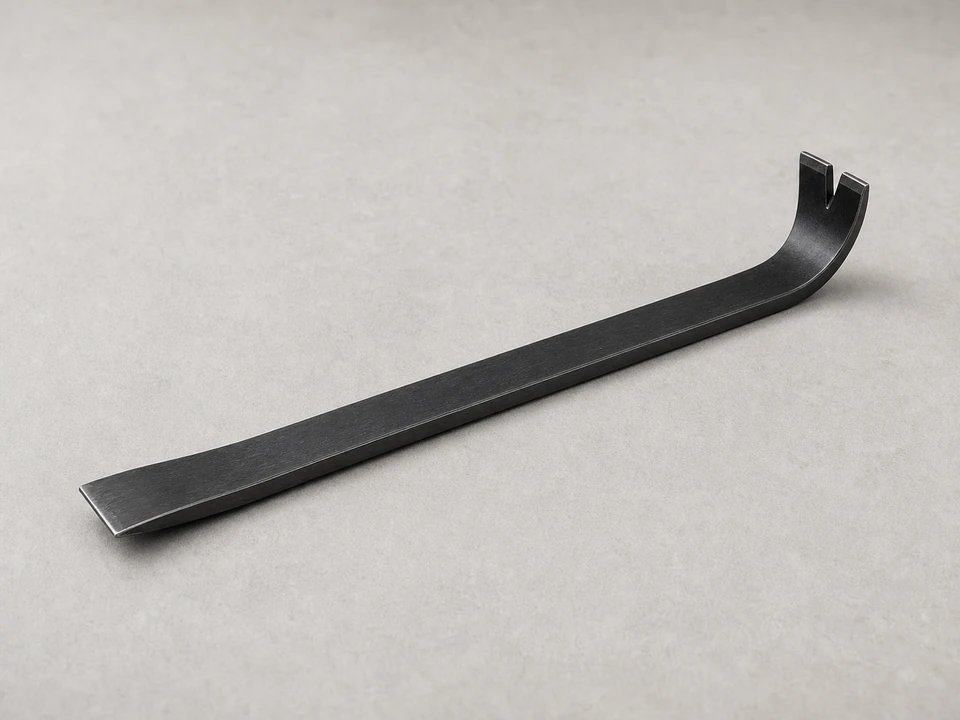
Use it for: To lift nails carefully and free the damaged panel without breaking nearby trim.
Shop small pry barsAs an Amazon Associate I earn from qualifying purchases. Repair Riot may earn a commission at no extra cost to you.
If it works: You have confirmed the damage is localized and a panel replacement is a reasonable repair.
If it doesn’t: If the damage extends across multiple courses, the wall feels soft, or water damage appears to be behind the siding, plan for a larger repair and inspect the wall assembly before replacing the panel.
If it works: The area is safe to work in and you have a replacement panel that matches the existing siding closely enough to install.
If it doesn’t: If the replacement does not match the existing siding profile or lock pattern, return it and get a closer match before removing the old panel.
If it works: The damaged panel is out and the surrounding siding and wall layers are still intact.
If it doesn’t: If the panel will not release, recheck the lock seam and fastener locations instead of forcing it. A second pass with the zip tool usually helps.
If it works: The wall surface is clean, the water-resistive layer is intact, and the new panel is sized for installation.
If it doesn’t: If the wall surface is uneven or the replacement piece rocks in place, correct the obstruction or recheck your cut before fastening the panel.
If it works: The new panel is secured, aligned with the surrounding siding, and locked back into the wall without obvious gaps or buckling.
If it doesn’t: If the panel looks wavy, sits too tight, or will not lock cleanly, loosen the fasteners slightly or remove and reposition it before finishing.
If it works: The panel stays in place, matches the surrounding wall, and sheds water normally in actual use.
If it doesn’t: If the panel loosens, leaks, or the wall still shows moisture, inspect the nearby trim, flashing, and upper courses because the root cause may be above the panel you replaced.
Match the panel profile, material, thickness, exposure, and overlap style before ordering.
As an Amazon Associate I earn from qualifying purchases. Repair Riot may earn a commission at no extra cost to you.
Yes, if the damage is truly localized and the surrounding siding is still sound. The key is matching the profile and removing the old piece without damaging the courses above and below.
If the wall feels soft, you see staining behind the siding, or the damage appears tied to failed flashing or trim, the panel is probably not the whole problem. In that case, inspect the wall assembly before closing it back up.
Usually you want the siding to lap and drain the same way the original did rather than relying on sealant. Use sealant only where the existing system clearly called for it, such as certain trim transitions, not as a substitute for proper overlap.
Profile and fit matter first. A close color match is often acceptable on a small repair, but an exact visual match can be difficult on older siding because of fading and weathering.
Sometimes, but only if the substrate is still solid and the panel aligns correctly. If the old holes are loose or damaged, shift slightly to sound material while keeping the fastening pattern consistent with the existing siding.