Safety first
- Wear gloves if the old weatherstripping has sharp staples, brittle edges, or metal retainers nearby.
- Keep fingers clear of sliding panel pinch points while the door is open.
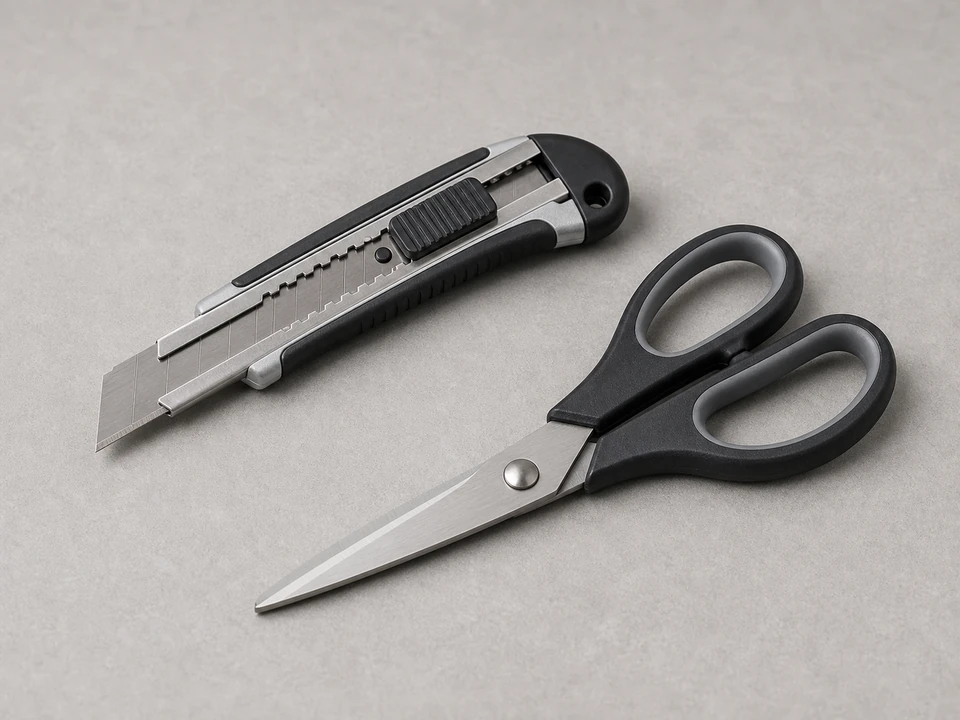
- Use the utility knife on a stable surface and cut away from your hand.
- Do not force tools into the frame hard enough to crack vinyl, bend aluminum, or damage painted wood.
Step-by-step fix
Step 1: Make sure weatherstripping is really the problem
- Close and latch the patio door and look for visible gaps, torn seal material, flattened sections, or daylight around the edge.
- Run your hand slowly around the closed door to feel for drafts, especially along the meeting edge, top, and bottom.
- Open the door and inspect the existing weatherstripping for cracks, missing sections, loose corners, or a seal that has pulled out of its groove.
- If the door is hard to move, also check that the rollers and track are reasonably clean, because a dragging door is not always caused by the seal alone.
If it works: You found worn, loose, torn, or flattened weatherstripping that matches the draft or sealing problem.
If it doesn’t: If the seal looks good but the door still sticks or leaks, inspect the track, rollers, frame alignment, and drainage before replacing parts.
Stop if:- The door frame is rotted, badly bent, loose, or separating from the wall.
- The glass is cracked or the moving panel feels unstable in the frame.
Step 2: Match the old weatherstripping before you remove it
- Pick one accessible section and study how it mounts: press-in kerf, slide-in channel, adhesive-backed, or screw-on retainer style.
- Measure the width, thickness, and overall length of the old strip, and note whether the seal is a fin, bulb, pile, or flap style.
- Take a clear photo of the end profile and the mounting area so you can compare it while shopping.
- Buy enough replacement material for the full section you plan to change, with a little extra for trimming.
If it works: You have replacement weatherstripping that matches the old profile and mounting style closely enough to install without forcing it.
If it doesn’t: If you cannot match the profile, remove a short sample and bring it to a hardware store or door supplier before continuing.
Stop if:- The replacement does not fit the groove or mounting edge without stretching, crushing, or trimming the profile to make it work.
Step 3: Remove the old weatherstripping carefully
- Open the patio door enough to reach the seal comfortably and support the panel so it does not slide unexpectedly while you work.
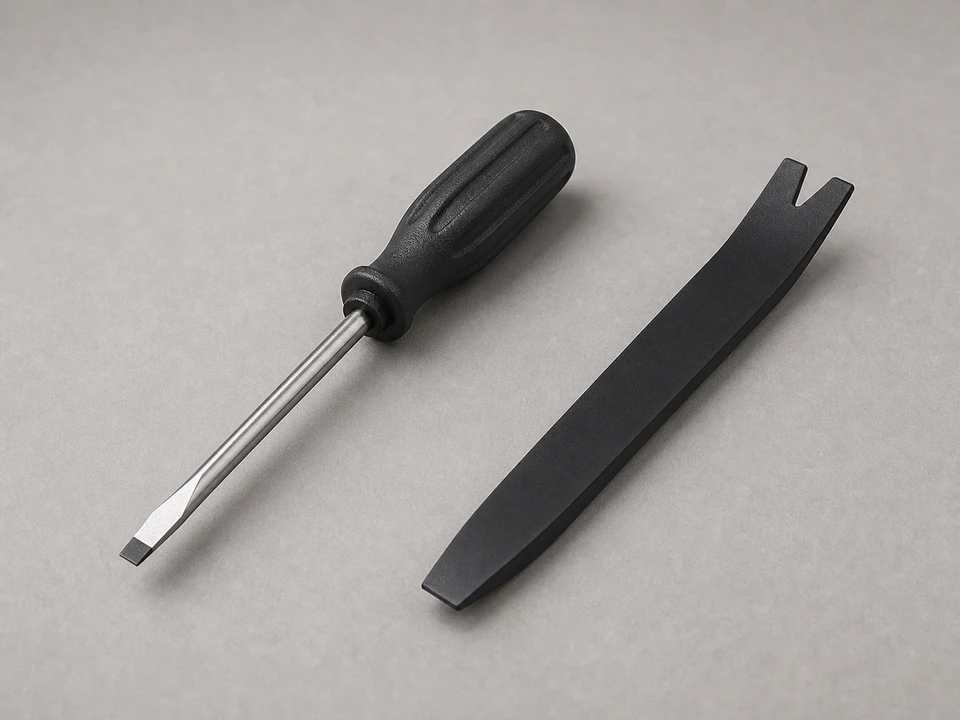
- Start at one end and pull the old weatherstripping out by hand. Use a flat screwdriver, trim tool, or pliers only as needed to lift stubborn sections.
- Work slowly along the full length so you do not tear up the groove, bend a retainer, or leave chunks packed in the channel.
- If the old strip is adhesive-backed, peel it off and scrape away leftover adhesive gently so the mounting surface stays smooth.
If it works: The old weatherstripping is fully removed and the mounting area is intact.
If it doesn’t: If pieces keep breaking off, pull them out in short sections with pliers and keep clearing the groove until it is clean end to end.
Stop if:- The mounting channel is cracked, missing, or too damaged to hold the new seal securely.
- You uncover hidden rot, heavy corrosion, or loose frame parts behind the old seal.
Step 4: Clean and prep the mounting surface
- Wipe the groove, edge, or retainer with a rag and mild cleaner to remove dirt, grit, and old residue.
- Dry the area fully so the new weatherstripping can seat properly and any adhesive can bond if your replacement uses it.
- Check corners and ends for packed debris that could keep the new strip from sitting flat.
- Test-fit a short section of the new weatherstripping before installing the full length.
If it works: The mounting area is clean, dry, and ready, and the new weatherstripping test-fits without distortion.
If it doesn’t: If the test fit is loose or too tight, recheck the profile and mounting style before cutting the full piece.
Stop if:- The channel is blocked by damage you cannot clear without disassembling the door.
- The new strip only fits if you force it hard enough to deform the seal.
Step 5: Install the new weatherstripping
- Measure the section one more time and cut the new weatherstripping to length, leaving it neat and square at the ends.
- Press, slide, or place the new strip into the groove or onto the mounting edge the same way the old one was installed.
- Work from one end to the other, keeping the seal straight and relaxed. Do not stretch it tight, because stretched material often shrinks back and leaves gaps later.
- Seat corners and ends carefully so they meet cleanly without bunching up into the door path.
- If your replacement is adhesive-backed, press it down firmly along the full length after final positioning.
If it works: The new weatherstripping sits evenly, stays in place, and does not twist, buckle, or leave obvious gaps.
If it doesn’t: If the strip bunches or pops out, remove that section and reinstall it with less tension and better alignment.
Stop if:- The door will not close because the replacement is clearly the wrong thickness or profile.
- The retainer or mounting edge will not hold the new weatherstripping securely.
Step 6: Test the seal in real use
- Close and latch the patio door several times to make sure it moves normally and the new seal does not drag excessively.
- Check from inside for visible light, rattling, or obvious gaps around the repaired area.
- On a breezy day, or with a fan creating light air movement, feel around the edge for drafts.
- Watch the seal after a few open-and-close cycles to make sure it stays seated and the ends do not pull back.
If it works: The door closes smoothly, the seal stays put, and drafts or light gaps are reduced or gone.
If it doesn’t: If the door still leaks or binds, recheck the fit of the weatherstripping and inspect the rollers, track, latch alignment, and frame for a second issue.
Stop if:- Water is entering around the frame or threshold, which points to a larger sealing or drainage problem.
- The door still will not latch or align correctly after the new seal is installed.
Replacement Parts
Match the profile, length, mounting style, and door compatibility before ordering.
As an Amazon Associate I earn from qualifying purchases. Repair Riot may earn a commission at no extra cost to you.
Verify the repair
- The new weatherstripping matches the original mounting style and sits flat along the full section.
- The patio door opens and closes without unusual resistance.
- There is no visible daylight through the repaired edge when the door is latched.
- The seal stays in place after several normal open-and-close cycles.
- Drafts, rattling, or edge gaps are improved in everyday use.
FAQ
Can I replace just one section of patio door weatherstripping?
Yes, if only one section is damaged and you can match the profile closely. If the rest is old and flattened, replacing all matching sections usually gives a better seal.
Why is my patio door harder to close after I replaced the weatherstripping?
The new seal may be the wrong profile or too thick, or it may be bunched up in a corner. It can also happen if the strip was stretched during installation and did not seat correctly.
Do I need adhesive for patio door weatherstripping?
Only if the replacement is designed to use adhesive. Many patio door seals are press-in or slide-in styles and should not need extra glue.
How do I know which weatherstripping profile to buy?
Match the end shape, mounting method, width, and thickness of the old seal. A photo and a short sample make matching much easier.
Will new weatherstripping fix a leaking patio door?
It can fix air leaks around the door panel, but water leaks may also come from the threshold, drainage path, frame joints, or installation issues. If water is getting inside, inspect those areas too.