
Gas range repair

How to Replace a Range Igniter

If your oven burner will not light, lights very slowly, or glows without igniting the gas, replacing the range igniter is often the right fix.

This is a moderate repair because you will be working around electricity, sharp metal panels, and a gas appliance. Start by confirming the igniter is the likely cause, then replace it carefully and test for normal ignition.

Before you start: Match the igniter style, bracket shape, connector or splice style, wire length, and exact range or oven model compatibility before ordering.

Prepared by: Repair Riot Last updated: 2026-06-05 How we build and check guides

Safety first

  • Disconnect electrical power before touching the igniter or oven wiring.
  • Shut off the gas supply if you can access the valve safely before opening panels around the burner area.
  • Igniters are fragile. Do not strike the element against metal or overtighten the mounting screws.

Tools you may need

Work gloves tool

Work gloves

Use it for: Protects your hands from sharp oven panels and burner edges.

Shop work gloves

Screwdriver set tool

Screwdriver set

Use it for: Removes oven bottom panels, burner covers, and igniter mounting screws.

Shop screwdriver set
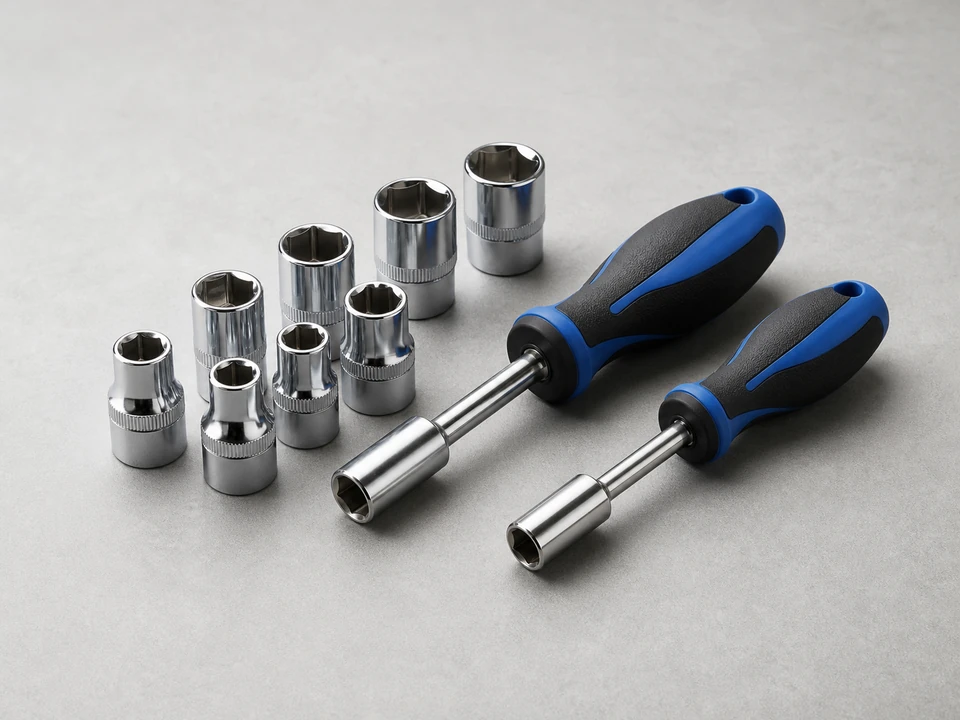
Nut driver set tool

Nut driver set

Use it for: Some ranges use hex-head screws instead of standard Phillips screws.

Shop nut driver set
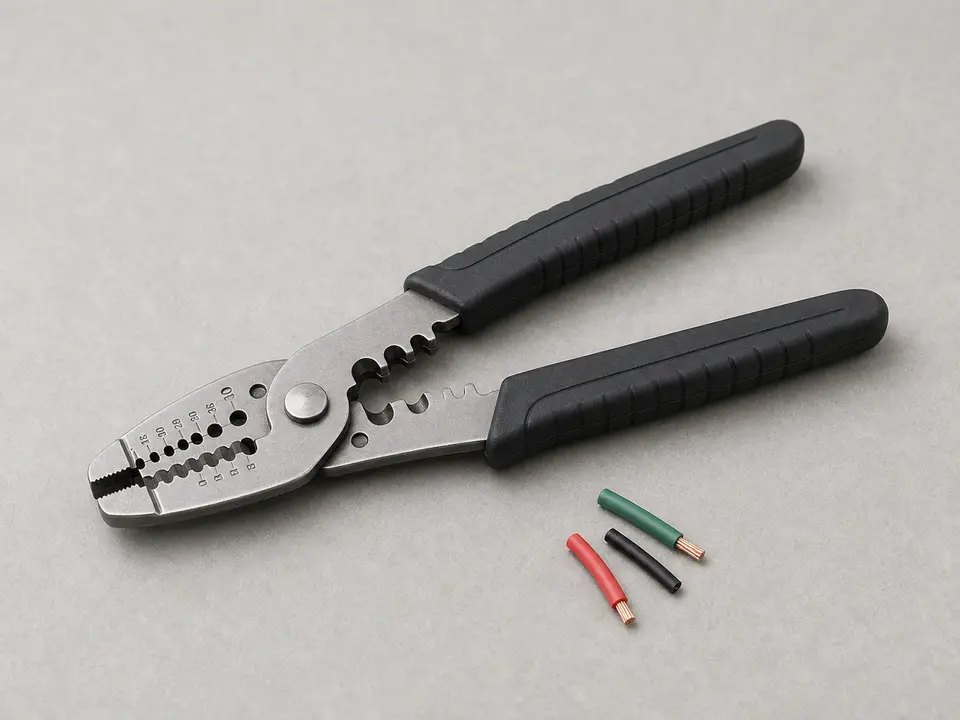
Wire stripper and crimper tool

Wire stripper and crimper

Use it for: Needed if the replacement igniter uses ceramic wire nuts or splice connectors instead of a plug-in connector.

Shop wire stripper and crimper

Flashlight tool

Flashlight

Use it for: Helps you see the igniter, wire routing, and mounting bracket clearly inside the oven cavity.

Shop flashlight
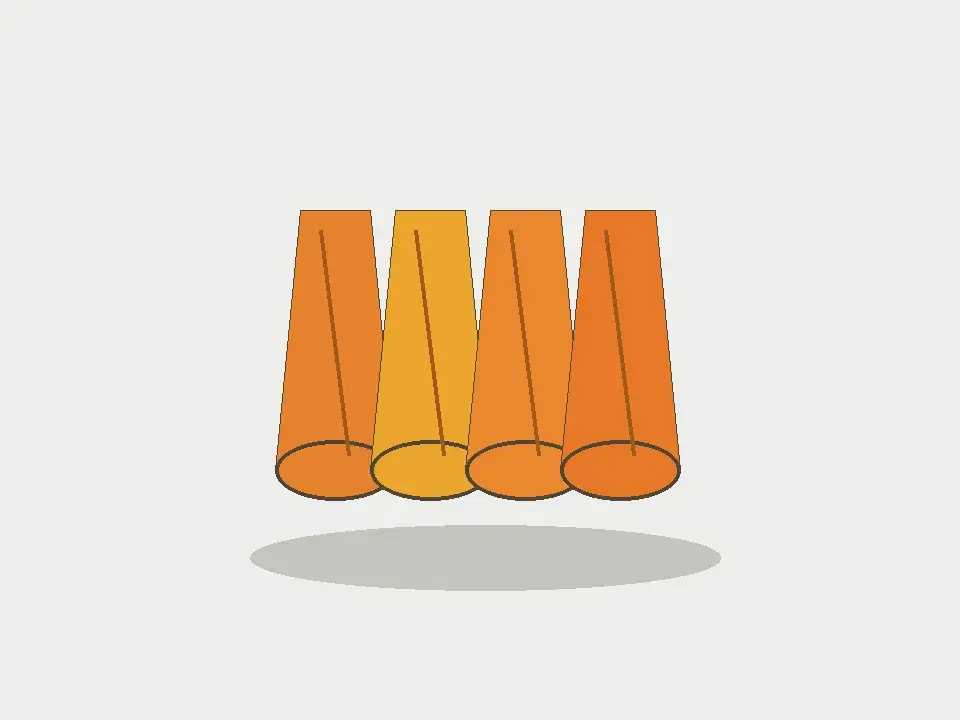
Ceramic wire connectors tool

Ceramic wire connectors

Use it for: Used when the new igniter must be spliced into the existing high-heat wiring.

Shop ceramic wire connectors

As an Amazon Associate I earn from qualifying purchases. Repair Riot may earn a commission at no extra cost to you.

Step-by-step fix

Step 1: Confirm the igniter is the likely problem

  1. Make sure the range has power and the gas supply to the appliance is on.
  2. Set the oven to bake and watch through the bottom burner area if visible, or listen for what happens during startup.
  3. A failing igniter often glows but the burner does not light, takes a long time to light, or lights with a delayed whoosh after an unusually long glow period.
  4. If the igniter never glows at all, it may still be bad, but a control, wiring, or safety valve problem is also possible.

If it works: The oven symptoms point to a weak or failed range igniter.

If it doesn’t: If surface burners and the oven both have gas or power problems, solve that supply issue first before replacing the igniter.

Stop if:
  • You smell raw gas that does not clear quickly after turning the oven off.
  • Wiring is burned, insulation is crumbling, or the burner area shows obvious heat damage.
  • The symptom does not involve oven ignition at all.

Step 2: Shut the range down and open the burner area

  1. Turn the oven and all burners off.
  2. Unplug the range or switch off power at the breaker.
  3. Close the gas shutoff valve if you can access it safely.
  4. Remove the oven racks.
  5. Lift out the oven bottom panel and any flame spreader or burner cover needed to reach the igniter.
  6. Use a flashlight to note how the igniter is mounted and how its wires are routed.

Step 3: Remove the old igniter

  1. Take a photo of the igniter position, bracket, and wire routing before disconnecting anything.
  2. Remove the igniter mounting screws while supporting the part so it does not drop and crack.
  3. Disconnect the igniter plug if it has one.
  4. If the igniter is hard-wired, cut the old wires one at a time near the old igniter so you keep as much harness length as possible.
  5. Pull the old igniter out carefully without hitting the carbide element against metal surfaces.

Step 4: Install the new igniter

  1. Handle the new igniter gently and avoid touching the carbide element more than necessary.
  2. Position the new igniter in the same direction and location as the old one so the glowing tip sits where the burner can light properly.
  3. Install the mounting screws snugly without overtightening and cracking the igniter base.
  4. Connect the wiring. If it is a plug-in style, seat the connector fully. If it is a splice style, strip only enough insulation for the connector and use the supplied high-heat ceramic connectors or equivalent high-temperature connectors.
  5. Route the wires away from the burner flame path and any sharp metal edges.

Step 5: Reassemble the oven and restore power

  1. Reinstall the burner cover, flame spreader, oven bottom panel, and racks.
  2. Open the gas shutoff valve if you closed it earlier.
  3. Plug the range back in or turn the breaker on.
  4. Set the oven to bake and watch the first ignition cycle through the burner openings or listen closely.

If it doesn’t: If the oven does not start a bake cycle at all, recheck power, the control setting, and the igniter connection you just made.

Step 6: Verify the repair holds in real use

  1. Start a bake cycle and confirm the igniter glows and the burner lights within a normal short startup period.
  2. Let the oven cycle a few times to make sure ignition stays consistent after the burner shuts off and relights.
  3. Listen for smooth ignition instead of a delayed boom or whoosh.
  4. Cook or preheat long enough to confirm the oven reaches and maintains temperature normally.

If it works: The burner lights reliably and the oven heats normally, so the range igniter replacement held.

If it doesn’t: If the igniter glows but the burner still will not light or lights very late, the issue may be the gas safety valve, control circuit, or incorrect replacement igniter.

Stop if:
  • Ignition is still delayed with gas buildup sounds.
  • The new igniter does not glow, trips the breaker, or the oven shows signs of overheating or damaged wiring.

Replacement Parts

Find a range igniter on Amazon

Match the igniter style, bracket shape, connector or splice style, wire length, and exact range or oven model compatibility before ordering.

As an Amazon Associate I earn from qualifying purchases. Repair Riot may earn a commission at no extra cost to you.

Verify the repair

  • The igniter glows and the oven burner lights without an extended delay.
  • There is no strong gas smell before ignition.
  • The oven reaches set temperature and cycles on and off normally.
  • Panels, covers, and racks are reinstalled with no loose parts or pinched wires.

FAQ

How do I know if the range igniter is bad?

The most common sign is an igniter that glows but does not light the burner, or takes much longer than normal to light it. Some failed igniters do not glow at all.

Can I replace a range igniter myself?

Many homeowners can, as long as they are comfortable shutting off power, accessing the burner area, and making a careful wire connection. Stop if you find damaged wiring, gas odor, or a mismatch in parts.

Do I need an exact match for the igniter?

Yes. The igniter style, bracket shape, connector or splice style, wire length, and exact model compatibility all matter. A close-looking part is not always the right one.

Why does the new igniter come with ceramic wire nuts?

Some replacement igniters are universal-style parts that are meant to be spliced into the existing harness. The ceramic connectors are made to handle the heat near the oven burner.

What if the igniter glows but the oven still will not light after replacement?

That usually points to another problem, such as the wrong igniter, a weak gas safety valve, damaged wiring, or a control issue. At that point, further diagnosis is needed.