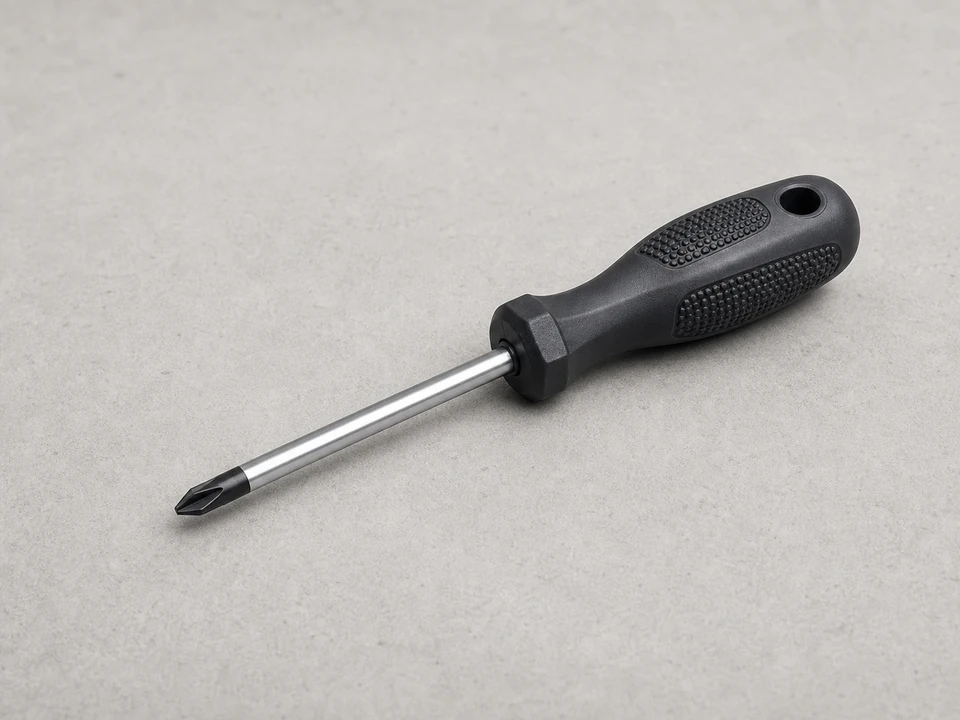
Phillips screwdriver
Use it for: Removes the back panel or control panel screws on many ranges.
Shop Phillips screwdriversTo replace a range surface element switch, first confirm the burner problem follows the control and not the element itself, then disconnect power, open the control area, move the wires to the new switch one at a time, reassemble, and test that the burner heats and cycles normally.
A bad surface element switch can leave a burner stuck on high, not heating, or heating unevenly. This repair is usually straightforward, but it does involve live-circuit parts inside the control panel, so power needs to stay off until everything is back together.
Before you start: Match the burner position, shaft style, terminal layout, and electrical ratings to your old switch before ordering.
Use it for: Removes the back panel or control panel screws on many ranges.
Shop Phillips screwdrivers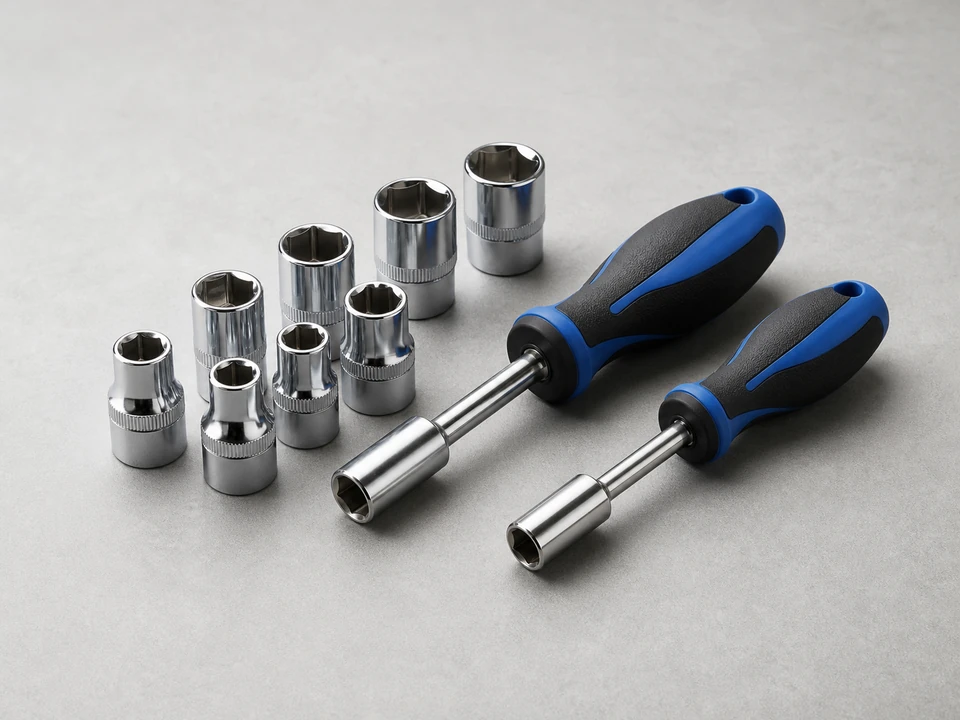
Use it for: Some ranges use hex-head screws instead of Phillips screws.
Shop nut driver sets
Use it for: Helps pull wire terminals off the old switch without damaging the connectors.
Shop needle-nose pliers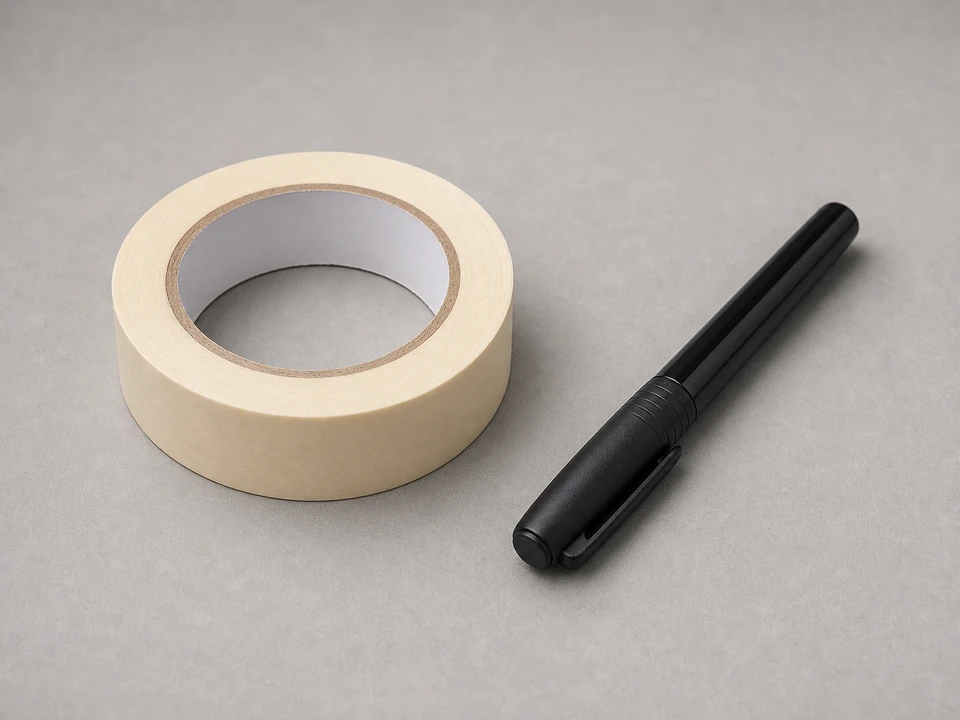
Use it for: Lets you label wires before moving them if the terminals are crowded or hard to see.
Shop masking tape
Use it for: Protects your hands from sharp sheet-metal edges inside the range.
Shop work glovesAs an Amazon Associate I earn from qualifying purchases. Repair Riot may earn a commission at no extra cost to you.
If it works: You have a burner symptom that points to the control switch rather than just a bad surface element.
If it doesn’t: If the problem follows the element you swapped, replace the element first instead of the switch.
If it works: The range is disconnected from power and the surface element switches are exposed.
If it doesn’t: If you still cannot reach the switch area, look for additional screws along the backguard or under the control panel trim.
If it works: You know which switch is being replaced and you have a clear record of the original wire layout.
If it doesn’t: If the wiring is too cramped to photograph clearly, label each wire one by one before you disconnect it.
If it works: The new switch is mounted and wired to match the original layout.
If it doesn’t: If a connector feels loose on the new terminal, stop and correct that connection before reassembly.
If it works: The range is reassembled and ready for a live test.
If it doesn’t: If the panel does not sit flat, reopen it and reroute the wires so nothing is trapped behind the cover.
If it works: The burner heats, cycles, and shuts off normally, showing the switch replacement held in real use.
If it doesn’t: If the burner still stays on high, does not heat, or behaves the same as before, recheck the wiring and consider the surface element, receptacle, or related wiring as the next likely causes.
Match the burner position, shaft style, terminal layout, and electrical ratings to your old switch before ordering.
As an Amazon Associate I earn from qualifying purchases. Repair Riot may earn a commission at no extra cost to you.
A failed switch often makes a burner stay on high, not heat at all, or ignore changes when you turn the knob. It can also fail so the burner will not shut off normally.
If you can swap a plug-in coil element with another same-size burner and the problem stays at the same burner location, the switch becomes a much more likely cause. If the problem follows the element, replace the element first.
Yes. Each burner control switch is separate, so you usually replace only the faulty one.
A clear photo is often enough, but labeling helps when the terminals are crowded or several wires are the same color. Using both is the safest approach.
The switch has to match the burner function, shaft style, terminal layout, and electrical rating. A close-looking but incorrect switch can wire up wrong or control the burner poorly.