
Screwdriver set
Use it for: Removes handle screws, trim screws, and cover plates.
Shop screwdriver setsTo replace a shower diverter trim kit, first confirm the trim is the problem and that the new kit matches your shower. Then shut off the water, remove the old handle and trim pieces, install the new trim, and test that the diverter switches water cleanly without leaks.
This is usually a manageable homeowner repair when the handle is loose, stripped, corroded, or the trim is damaged and no longer lets you operate the diverter properly. The key is getting a matching replacement and checking that the valve behind the wall is still in good shape.
Before you start: Match the replacement part to your exact shower before ordering.
Use it for: Removes handle screws, trim screws, and cover plates.
Shop screwdriver sets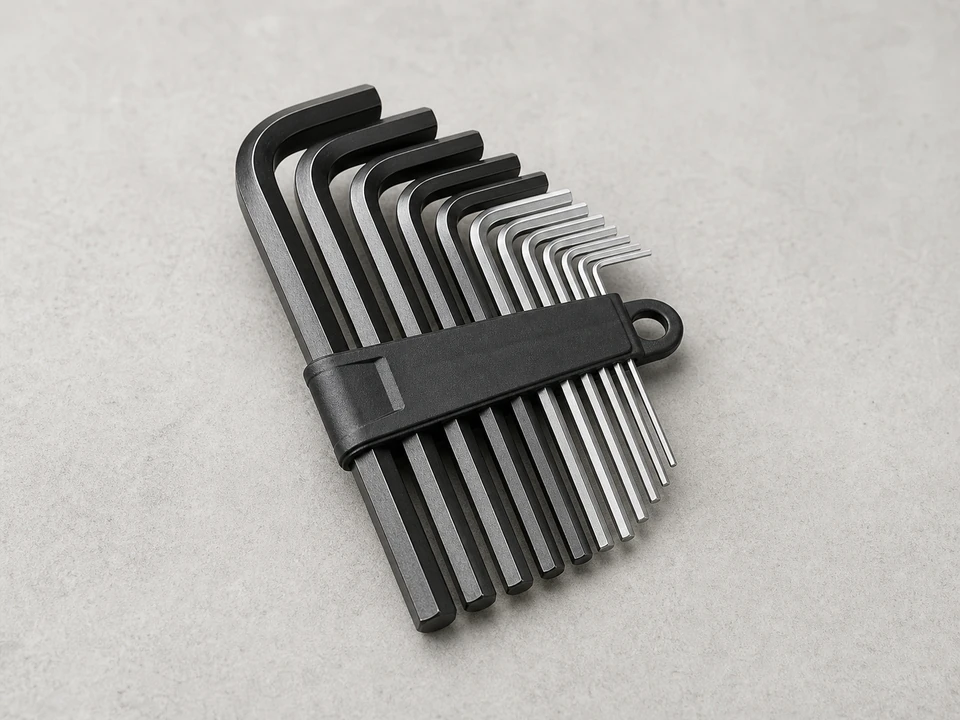
Use it for: Loosens hidden set screws on some diverter handles.
Shop Allen key sets
Use it for: Helps remove or snug threaded trim pieces without over-tightening.
Shop adjustable wrenches
Use it for: Cuts old caulk around the trim plate so it comes off cleanly.
Shop utility knives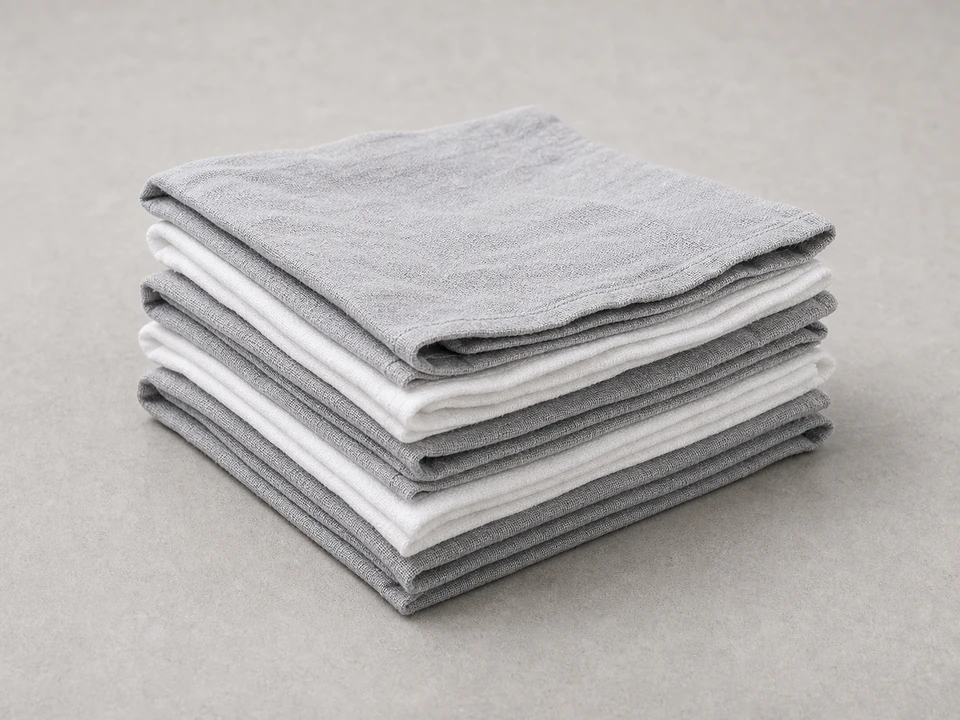
Use it for: Protects finishes and wipes away debris before reassembly.
Shop microfiber cleaning cloths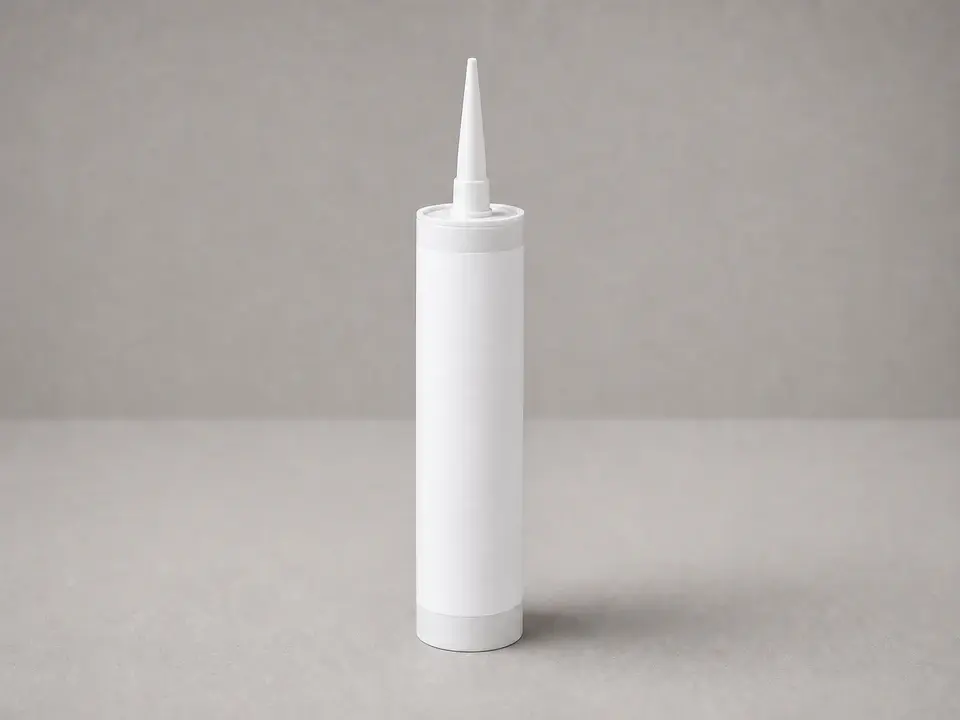
Use it for: Seals the trim plate to help keep splash water out of the wall opening.
Shop bathroom caulkAs an Amazon Associate I earn from qualifying purchases. Repair Riot may earn a commission at no extra cost to you.
If it works: You have confirmed the outside trim is damaged or worn and the replacement kit appears to match your shower.
If it doesn’t: If the handle and trim look fine but the diverter still will not redirect water properly, the problem may be inside the valve rather than in the trim kit.
If it works: The old handle and trim are off without damaging the wall or losing hardware down the drain.
If it doesn’t: If the handle is stuck, wiggle it gently while pulling straight out. A little mineral buildup is common, but avoid prying hard against tile or fiberglass.
If it works: The valve area is clean, the mounting surface is ready, and the new trim fits over the existing valve correctly.
If it doesn’t: If the new plate rocks, will not sit flat, or the handle connection does not line up, recheck that you bought the correct trim kit for your shower.
If it works: The new trim is straight, secure, and moves without rubbing or wobbling.
If it doesn’t: If the handle binds or feels misaligned, remove it and check whether an adapter or spacer is installed backward or missing.
If it works: The diverter handle works smoothly, the trim stays dry on the outside, and the shower switches water as expected.
If it doesn’t: If the trim is secure but the shower still does not divert correctly, the internal diverter parts may need service or replacement.
If it works: The new shower diverter trim kit stays secure, the diverter works in real use, and no leaks show up during or after the shower.
If it doesn’t: If the trim loosens, leaks, or the diverter still acts up in normal use, the next step is diagnosing the valve stem or internal diverter assembly behind the trim.
Match the replacement part to your exact shower before ordering.
As an Amazon Associate I earn from qualifying purchases. Repair Riot may earn a commission at no extra cost to you.
If the outside handle or trim is cracked, loose, stripped, corroded, or missing pieces, a trim kit is a reasonable repair. If the trim looks fine but the shower still will not divert water correctly, the problem is more likely inside the valve.
Only if you do not have local shutoffs for that shower. You want the water off before removing trim so the valve cannot be opened with parts removed.
Usually yes. A trim kit is designed to be replaced from the finished side of the shower. If you find a loose valve body, hidden leak, or damaged wall material, that is when the repair may go beyond trim replacement.
That usually means the replacement kit is not the correct match for your shower, or an adapter is missing or installed wrong. Compare the stem connection, screw pattern, and plate size before forcing anything.
Many trim plates are caulked to help keep splash water out of the wall opening. Use bathroom-rated caulk and follow the trim design. Do not block any intended drain gap if the plate is designed to let incidental moisture escape.