
Screwdriver set
Use it for: To remove the handle, trim plate screws, and install the new hardware.
Shop screwdriver setsTo replace a shower trim kit, shut off the water, remove the old handle and trim plate, install a matching new kit over the existing valve, then test for smooth operation and leaks.
This job is usually straightforward if the valve body in the wall is still in good shape and you have the correct trim kit for it. The key is matching the new trim to the valve you already have, then reinstalling everything without damaging the wall or leaving gaps where water can get behind the plate.
Before you start: Match the replacement part to your exact shower before ordering.
Use it for: To remove the handle, trim plate screws, and install the new hardware.
Shop screwdriver sets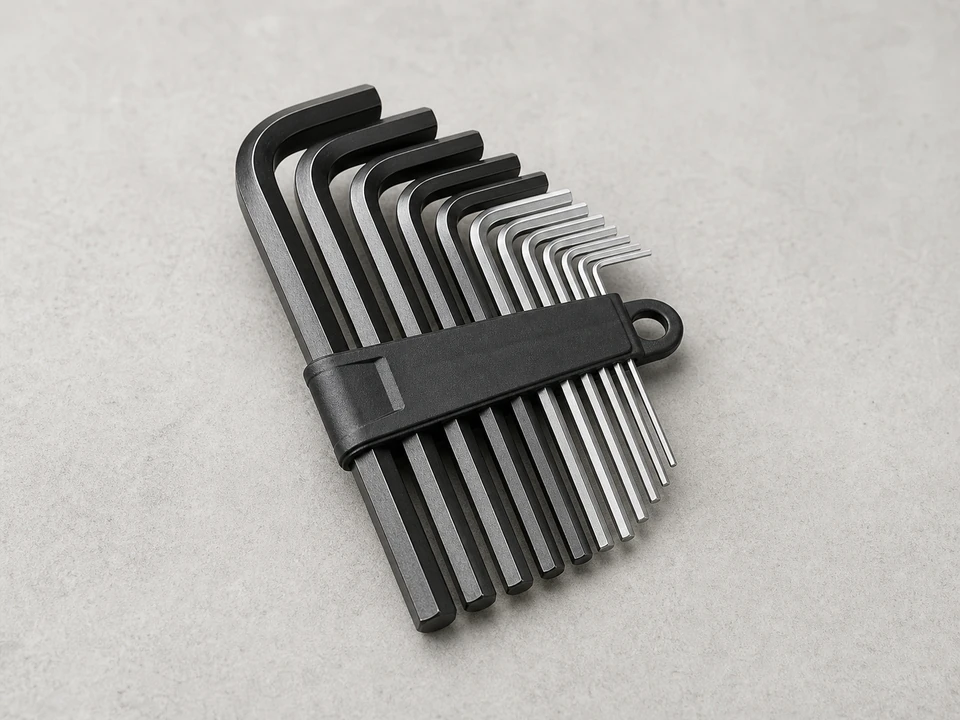
Use it for: Many shower handles use a small set screw instead of a visible face screw.
Shop Allen wrench sets
Use it for: To cut old caulk cleanly around the trim plate without tearing the wall surface.
Shop utility knives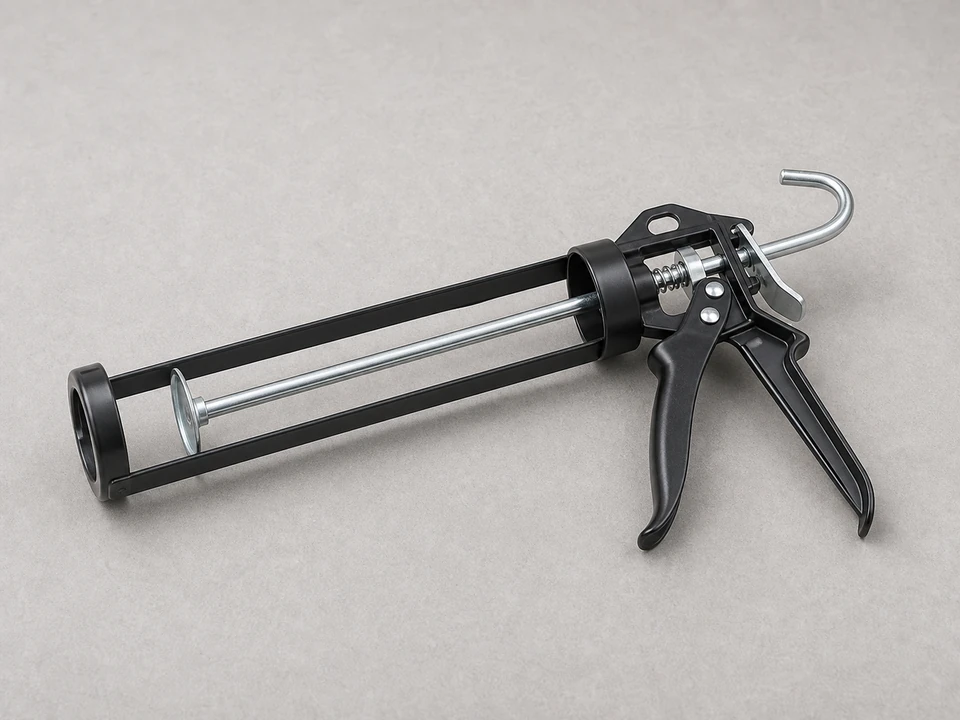
Use it for: To apply a neat bead of bathroom caulk around the new trim plate if needed.
Shop caulk guns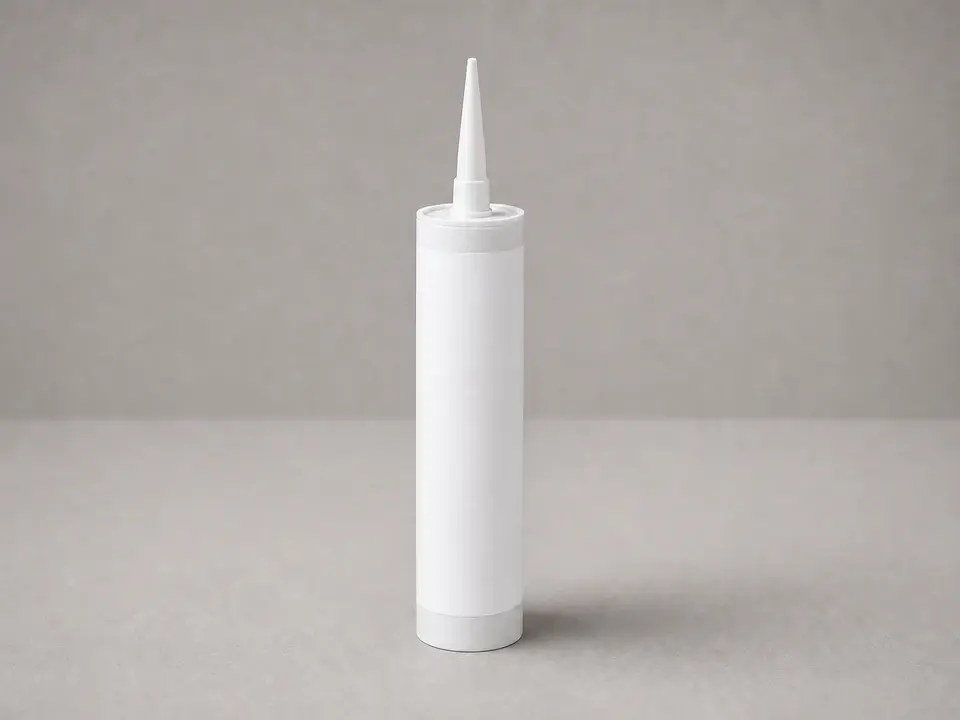
Use it for: To seal the trim plate so shower water does not get behind the wall.
Shop bathroom silicone caulk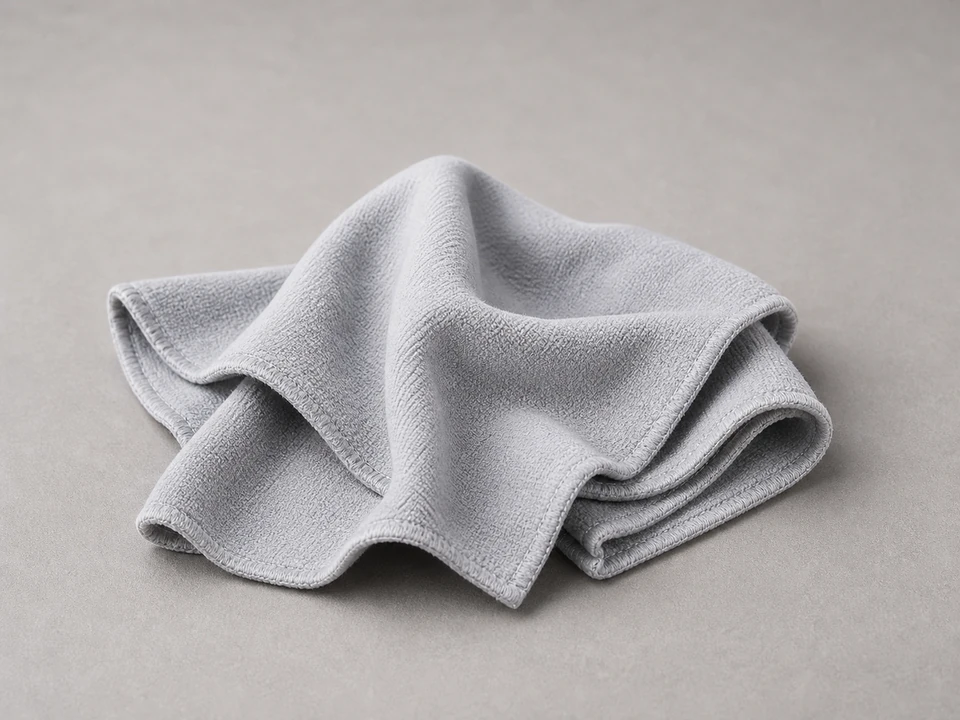
Use it for: To protect finished surfaces and wipe away old residue and fingerprints.
Shop microfiber clothsAs an Amazon Associate I earn from qualifying purchases. Repair Riot may earn a commission at no extra cost to you.
If it works: You have a matching shower trim kit and the visible trim is the part that needs replacement.
If it doesn’t: If the new kit does not match the valve or handle connection, pause and identify the exact valve before buying parts.
If it works: The old handle, plate, and related trim pieces are off without damaging the wall surface.
If it doesn’t: If the handle is stuck, wiggle it gently and keep working it loose rather than prying hard against tile or fiberglass.
If it works: The wall surface is clean, dry, and ready for the new trim plate to seal properly.
If it doesn’t: If old caulk or buildup keeps the plate from sitting flat, keep cleaning until the surface is smooth enough for a tight fit.
If it works: The new trim plate is straight, snug, and sealed so shower spray cannot easily get behind it.
If it doesn’t: If the plate rocks or leaves a gap, remove it and check for debris, misalignment, or the wrong sleeve depth before tightening again.
If it works: The handle feels solid, moves smoothly, and lines up normally in the off position.
If it doesn’t: If the handle binds, remove it and recheck the stem fit, handle orientation, and whether the trim plate is interfering with movement.
If it works: The shower operates normally, the handle stays secure, and no water leaks around or behind the new trim.
If it doesn’t: If water still leaks from behind the trim or the handle area, the problem may be the cartridge, valve seals, or valve body rather than the trim kit.
Match the replacement part to your exact shower before ordering.
As an Amazon Associate I earn from qualifying purchases. Repair Riot may earn a commission at no extra cost to you.
Usually no. A trim kit is the visible handle and plate assembly. You only replace the valve if the valve body or internal parts are damaged or incompatible with the new trim.
It has to match the valve already installed in the wall. Compare the handle connection, screw layout, and trim style to your existing setup before ordering.
Usually seal the top and sides, but leave the bottom open unless the kit instructions say otherwise. That lets any trapped moisture escape instead of staying behind the plate.
First check that the handle is fully seated and the screw or set screw is tight. If it still feels loose, the stem connection may be worn or the trim kit may not match the valve correctly.
It can help if water was getting behind a damaged plate or failed trim seal. It will not fix a leaking cartridge, worn valve seals, or a leaking valve body inside the wall.