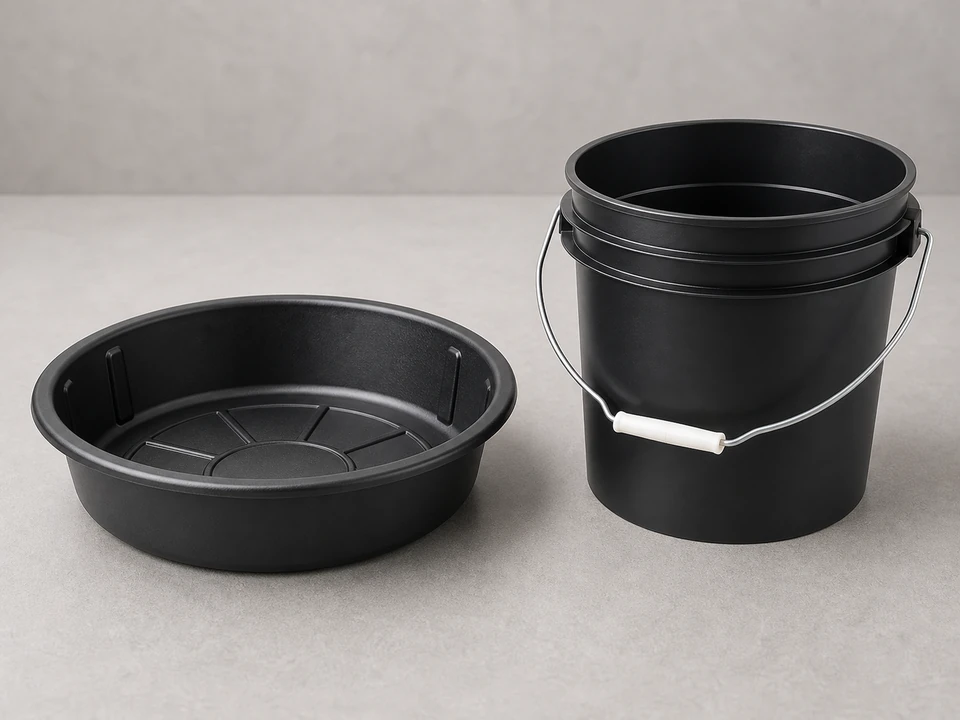
Small bucket or shallow pan
Use it for: Catches the water that spills when you open the trap.
Shop small bucket for plumbing jobsIf your sink leaks at a slip-joint connection on the P-trap, replacing the slip joint washers usually fixes it. The job is mostly loosening the trap, swapping the old washers for the same size and orientation, then tightening the joints evenly.
This repair is a good fit when the leak comes from a trap nut connection, not from a cracked pipe or a loose sink basket above. Work with a bucket underneath, keep the parts in order, and do a careful leak check before putting everything away.
Before you start: Match the pipe diameter, inlet and outlet configuration, and trap style before ordering.
Use it for: Catches the water that spills when you open the trap.
Shop small bucket for plumbing jobs
Use it for: Helps loosen or snug slip-joint nuts if they are too tight by hand.
Shop channel-lock pliers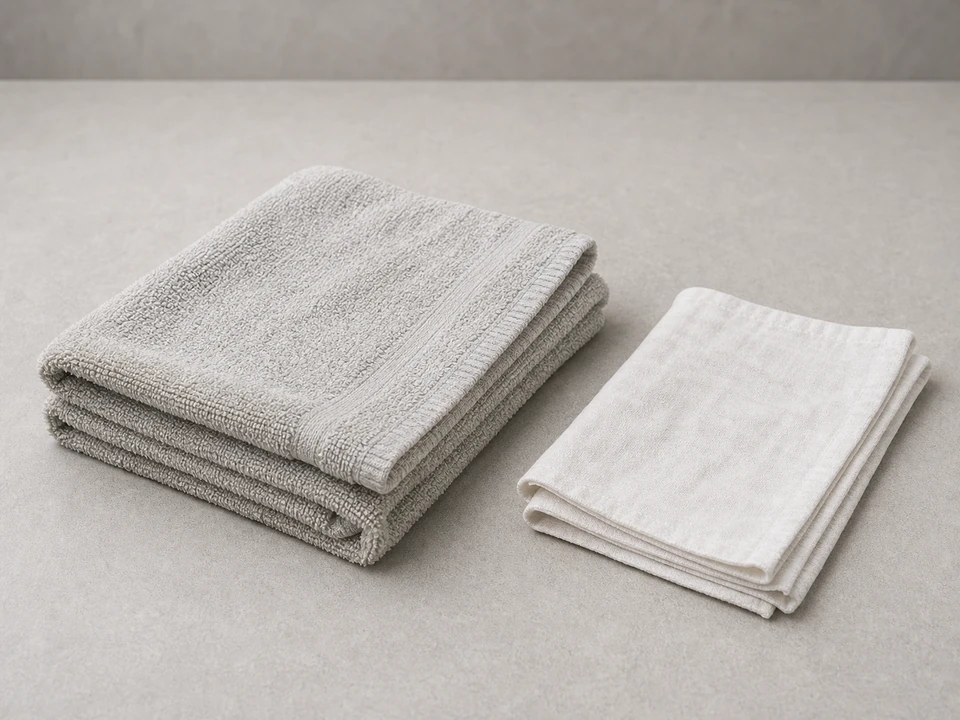
Use it for: Wipes the trap parts clean so the new washers can seat properly.
Shop absorbent shop towels
Use it for: Lets you see exactly which joint is leaking and check for hairline cracks.
Shop LED flashlightAs an Amazon Associate I earn from qualifying purchases. Repair Riot may earn a commission at no extra cost to you.
If it works: You have confirmed the leak starts at a slip-joint connection and not from a cracked pipe or a fitting above the trap.
If it doesn’t: If the water starts higher up, inspect the sink basket, tailpiece, or supply lines instead. If the trap body itself is cracked, replace the trap assembly rather than just the washers.
If it works: The trap is apart, drained, and the old washers are accessible.
If it doesn’t: If a nut will not move, try a little more hand pressure first, then use pliers carefully so you do not crack the plastic nut.
If it works: The joint surfaces are clean and ready for new washers that match the old size and style.
If it doesn’t: If the replacement washers do not match the old ones, bring the old parts to the store or order the correct size before reassembling.
If it works: Both new washers are installed and the trap is reassembled with hand-tight, evenly aligned joints.
If it doesn’t: If the nut cross-threads or the washer keeps slipping out, back it off, realign the pipes, and start the nut again by hand.
If it works: The repaired joints stay dry during a slow-flow test.
If it doesn’t: If a joint still leaks, take it back apart and check for a backwards washer, wrong size washer, dirt on the sealing surface, or a misaligned trap.
If it works: The trap stays dry during a full drain and normal use, confirming the new washers are sealing properly.
If it doesn’t: If the paper towel shows moisture later, recheck the exact source. A slow drip after use usually means the washer is mis-seated, the nut needs slight adjustment, or another nearby connection is leaking.
Match the pipe diameter, inlet and outlet configuration, and trap style before ordering.
As an Amazon Associate I earn from qualifying purchases. Repair Riot may earn a commission at no extra cost to you.
If you already have the trap apart, replacing both washers on the P-trap is usually worth it. The second washer is often the same age and may start leaking soon after the first one.
On most standard sink trap connections, the tapered side faces into the joint and the flat side faces the nut. If you are unsure, compare it to the old washer and the shape of the fitting before tightening.
No. Slip-joint washers are meant to seal by compression. Tape or putty usually does not help and can make the joint harder to seat correctly.
The most common causes are the wrong washer size, backwards washer orientation, dirt on the sealing surface, cross-threaded nuts, or trap parts that are out of alignment and under side pressure.
It is better to replace it. Old washers harden, flatten, or take a set over time, and they often leak again once disturbed.