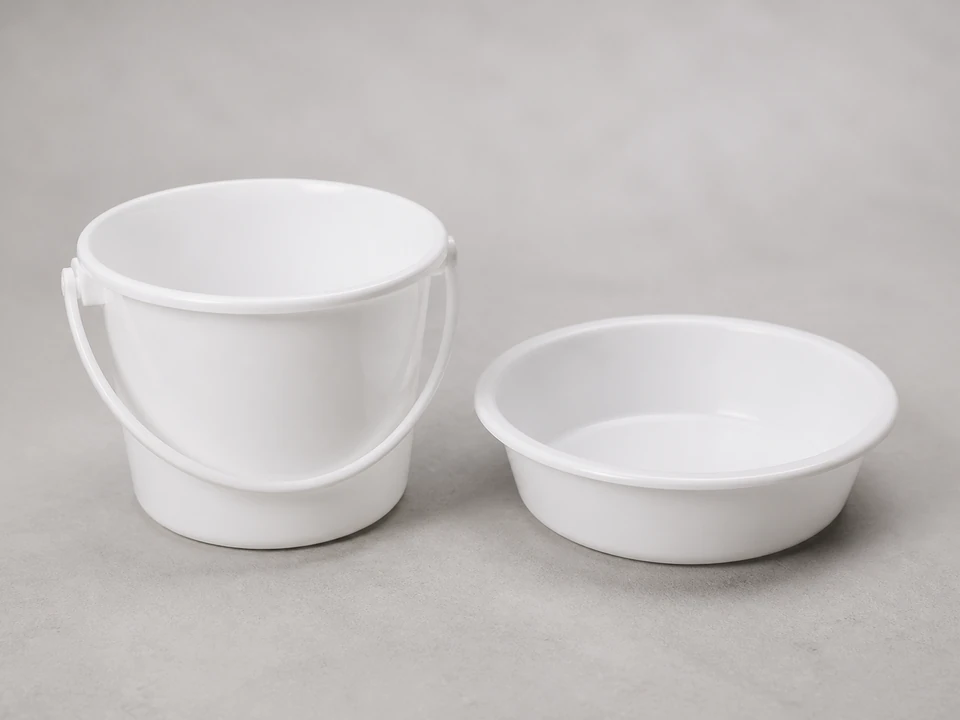
Small bucket or bowl
Use it for: Catches the water that drains out when you open the trap or slip joint.
Shop small bucket for under-sink workIf your sink is dripping from a slip-joint connection under the basin, replacing the sink slip joint washers is often the right fix. The job is usually simple: take the joint apart, swap in new washers, realign the pipe, and tighten the nut just enough to seal.
Slip joint washers seal the hand-tightened drain connections under many kitchen and bathroom sinks. When they dry out, crack, flatten, or get knocked out of place, the joint starts leaking even if the nut feels tight. This repair works best when the leak is coming from the joint itself, not from a cracked pipe or a loose sink basket above.
Before you start: Match the replacement part to your exact sink before ordering.
Use it for: Catches the water that drains out when you open the trap or slip joint.
Shop small bucket for under-sink work
Use it for: Helps loosen a stuck slip-joint nut without crushing the plastic.
Shop channel-lock pliers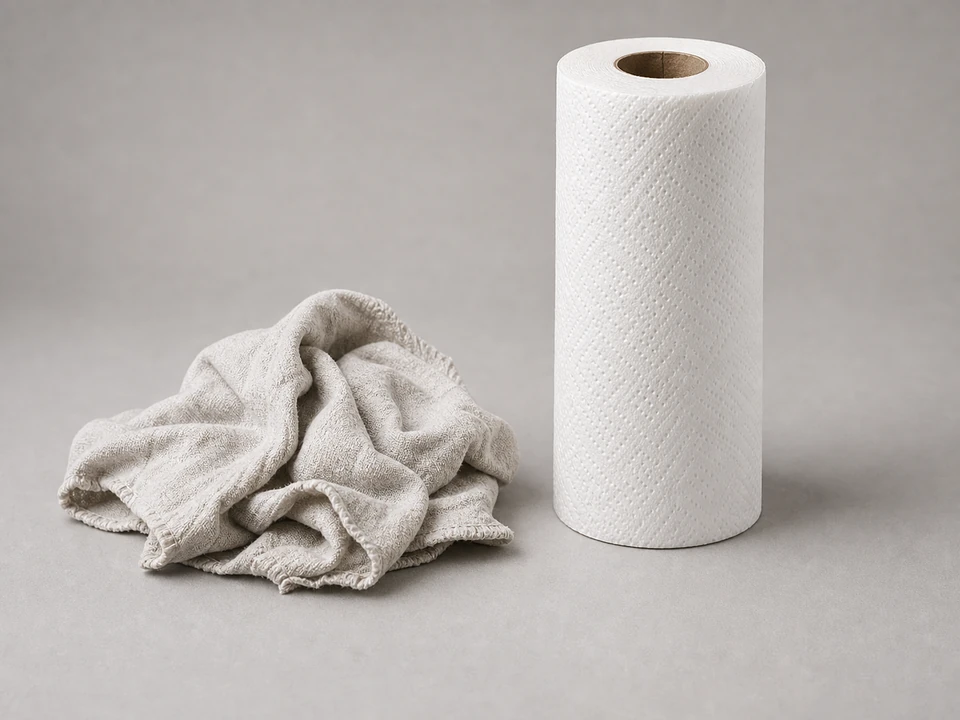
Use it for: Wipes off grime and dries the joint so you can see whether it still leaks.
Shop cleaning rags
Use it for: Lets you inspect the washer seat, nut, and pipe ends under the sink.
Shop flashlightAs an Amazon Associate I earn from qualifying purchases. Repair Riot may earn a commission at no extra cost to you.
If it works: You can clearly see the leak starts at a slip-joint connection, which makes worn or misaligned washers a likely cause.
If it doesn’t: If the water starts above the joint, comes from a cracked pipe, or appears around the sink basket, fix that problem instead of replacing the washers first.
If it works: The leaking joint is apart, the old washers are out, and you have access to the sealing surfaces.
If it doesn’t: If the nut will not move, wipe off buildup and try again with gentle pressure. Avoid forcing plastic parts hard enough to crack them.
If it works: The joint surfaces are clean, smooth enough to seal, and ready for the new washers.
If it doesn’t: If the new washers do not match the old ones closely in size or shape, pause and get the correct replacement before reassembling.
If it works: The new washers are seated, the pipes are aligned, and the nut is snug without obvious strain on the joint.
If it doesn’t: If the nut cross-threads or the pipes do not line up, back it off, realign the pieces, and reassemble before tightening again.
If it works: The joint stays dry during both a light flow and a full drain test.
If it doesn’t: If you see a small drip, tighten the nut a little more and test again. If it still leaks, reopen the joint and check washer size, orientation, and pipe alignment.
If it works: The area under the sink stays dry in real use, confirming the new washers are sealing properly.
If it doesn’t: If the leak returns after normal use, the joint may be misaligned or another drain part may be worn and need replacement.
Match the replacement part to your exact sink before ordering.
As an Amazon Associate I earn from qualifying purchases. Repair Riot may earn a commission at no extra cost to you.
Usually no. Slip-joint connections are meant to seal with the washer and the nut, not with thread tape or putty. If the joint leaks, the usual causes are a worn washer, the wrong washer, poor alignment, or overtightening.
The most common reasons are the wrong washer size, the washer facing the wrong way, dirt left on the sealing surface, or pipes that are not lined up straight. A cracked nut or damaged pipe end can also keep the joint from sealing.
It is better to replace it. Old washers often flatten out or harden with age, and they may not reseal well once the joint has been opened.
Start hand-tight, then add only a small extra turn if needed. Too loose can drip, but too tight can distort the washer or crack the nut, especially on plastic drain parts.
Not always, but it can save time if the drain assembly is older and several joints use the same style washer. If one has failed from age, the others may not be far behind.