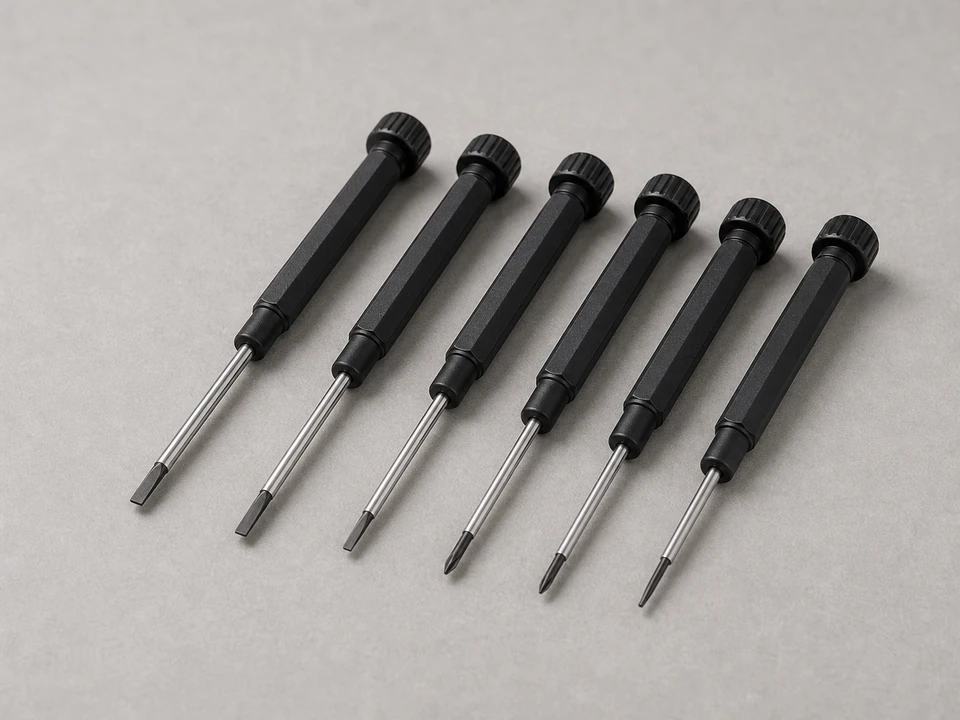
Small screwdriver set
Use it for: To remove the thermostat face, loosen terminal screws, and mount the new wall plate.
Shop small screwdriver setsTo replace a thermostat wall plate, turn off power to the HVAC equipment, remove the thermostat face, label and transfer the wires, mount the new wall plate level, reconnect the wires to matching terminals, and test heating and cooling.
A cracked, loose, or damaged wall plate can keep the thermostat from mounting correctly or holding wire connections securely. This is a manageable homeowner repair if you work carefully, keep the wires identified, and stop if the wiring does not match the replacement plate.
Before you start: Match the thermostat brand or model family, terminal layout, mounting hole pattern, and wall plate compatibility before ordering.
Use it for: To remove the thermostat face, loosen terminal screws, and mount the new wall plate.
Shop small screwdriver sets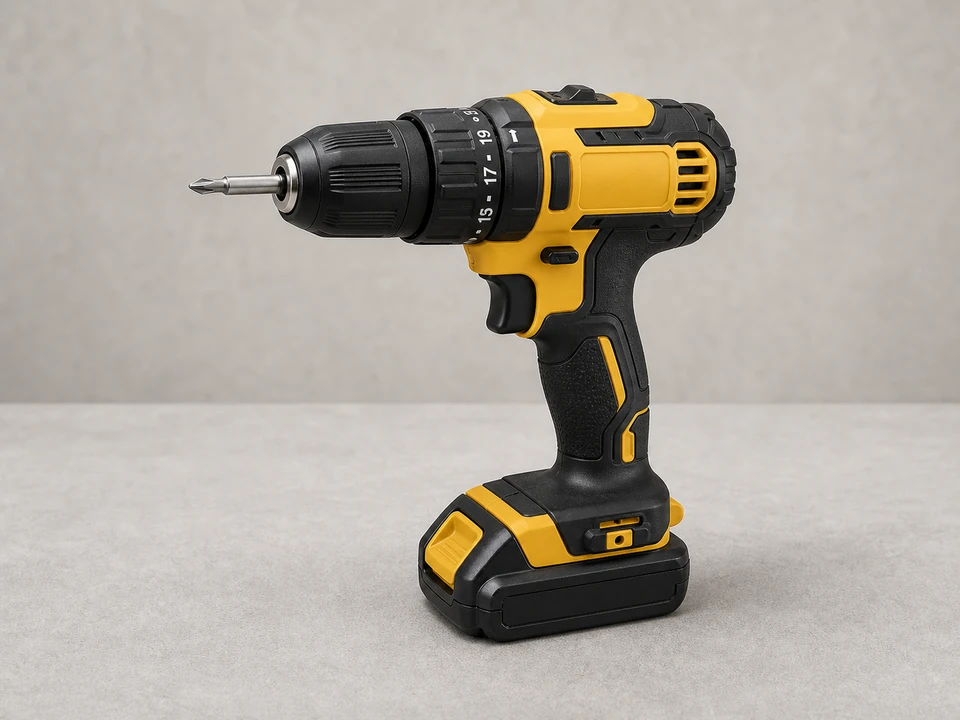
Use it for: To install new wall anchors or mounting screws if the old holes do not line up.
Shop drill/drivers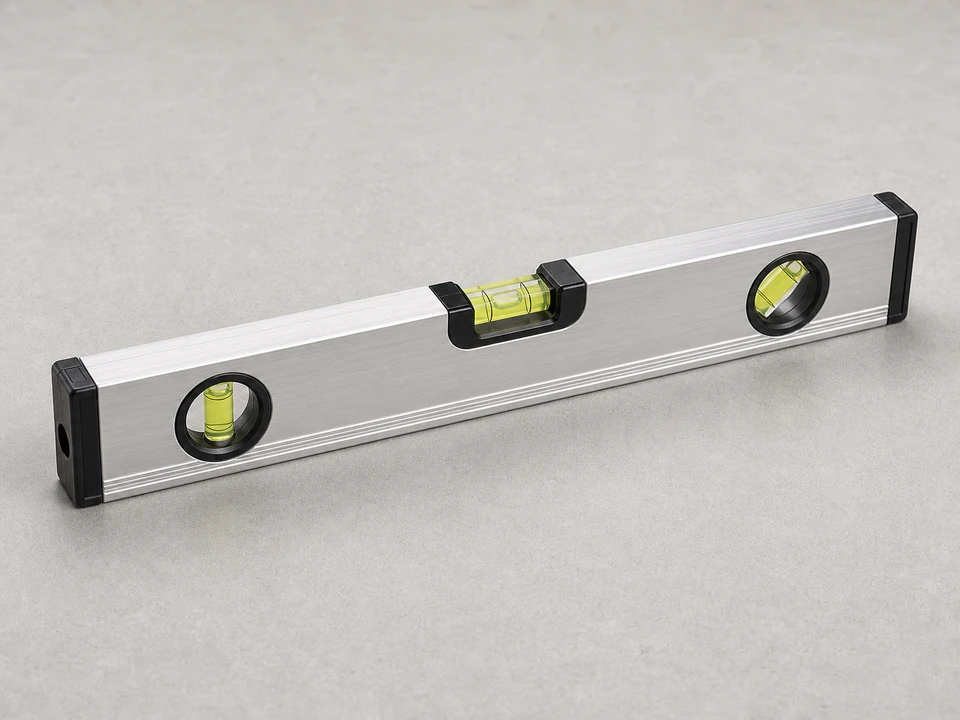
Use it for: To keep the new wall plate straight before tightening the screws.
Shop small levels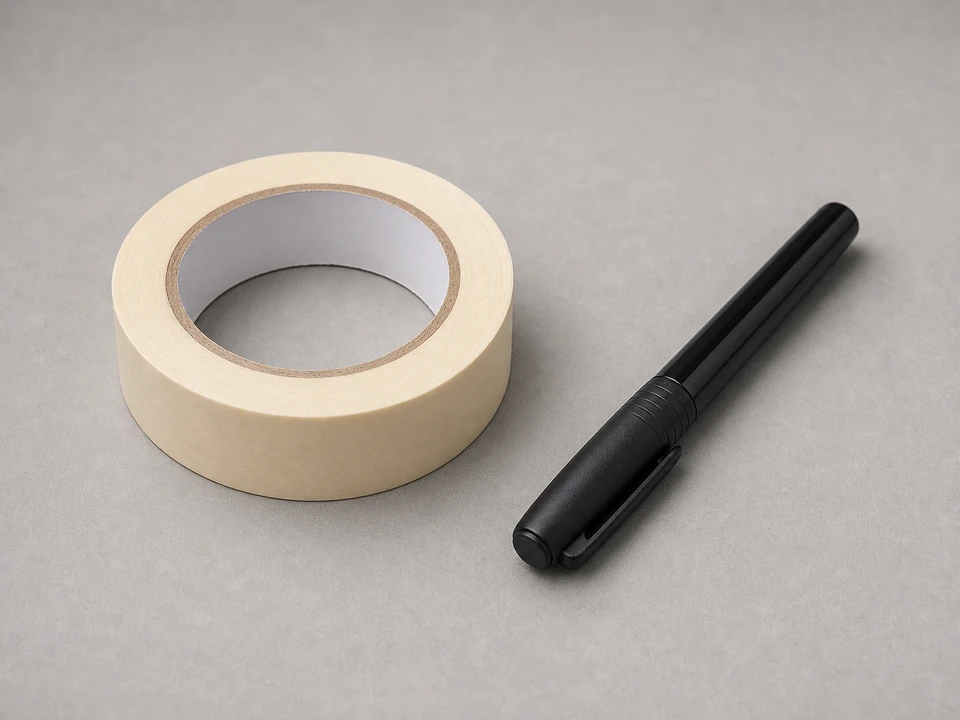
Use it for: To label each thermostat wire before disconnecting it.
Shop masking tape
Use it for: To hold short wires and guide them onto terminals without bending them sharply.
Shop needle-nose pliers
Use it for: To secure the new wall plate if the old screw holes are stripped or oversized.
Shop wall anchorsAs an Amazon Associate I earn from qualifying purchases. Repair Riot may earn a commission at no extra cost to you.
If it works: You have confirmed the wall plate is damaged or no longer holding the thermostat properly, and the replacement plate appears compatible.
If it doesn’t: If the wall plate looks intact and the problem is blank power, bad temperature readings, or HVAC equipment not responding, the issue may be elsewhere and this replacement may not fix it.
If it doesn’t: If the thermostat will not attach cleanly, remove it and check for a crooked plate, pinched wires, or a mismatch between the thermostat body and wall plate.
If it works: The thermostat is secure on the new wall plate and the heating or cooling system responds normally during a real test.
If it doesn’t: If the thermostat powers up but the system does not respond correctly, recheck the wire labels against your photo and terminal positions. If the wiring is correct, the original problem may not have been the wall plate.
Match the thermostat brand or model family, terminal layout, mounting hole pattern, and wall plate compatibility before ordering.
As an Amazon Associate I earn from qualifying purchases. Repair Riot may earn a commission at no extra cost to you.
Yes, if the replacement wall plate is made for that thermostat or model family and the terminal layout matches. The thermostat body has to fit the new plate correctly.
Not reliably. Always use the terminal labels and a photo of the old connections. Wire colors are helpful only if they already match the labels and have not been changed in the past.
Stop and avoid stretching them tight. Short thermostat wires can pull loose or slip back into the wall. If you cannot reconnect them comfortably, it is better to get help than force the repair.
The plate may be slightly crooked, the wires may be bunching behind the thermostat, or the replacement plate may not be the correct match. Remove the thermostat and check fit before forcing it.
Only if the old wall plate had broken terminals or a bad physical connection. A blank thermostat can also be caused by a tripped breaker, blown low-voltage fuse, equipment issue, or wiring problem elsewhere.