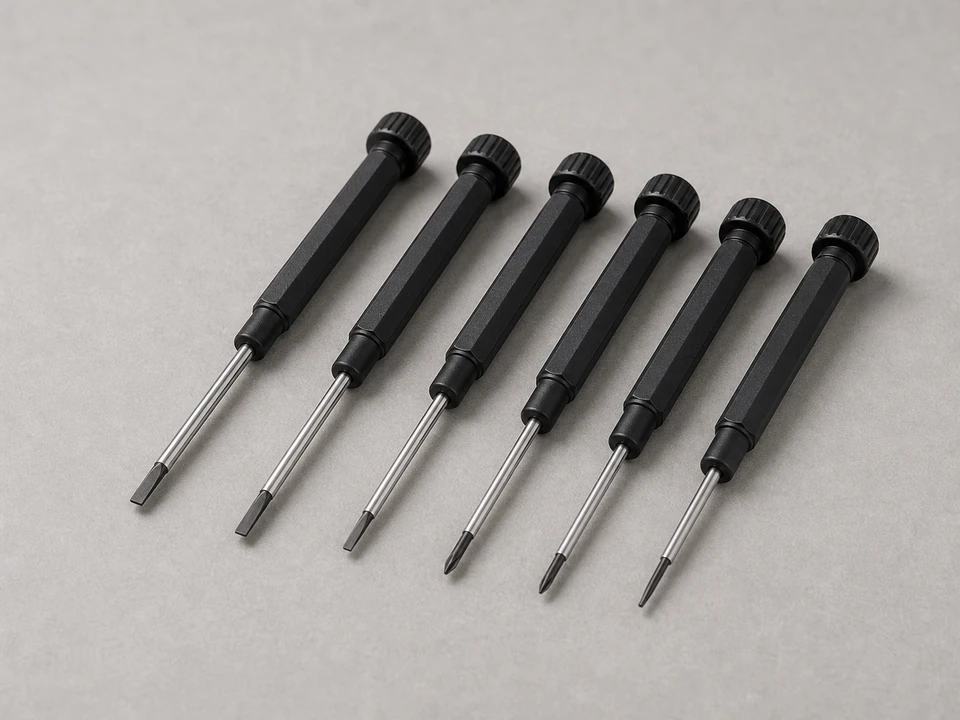
Small screwdriver set
Use it for: To remove the thermostat cover, loosen terminal screws, and mount the new base.
Shop small screwdriver setsTo replace a thermostat wall plate or subbase, turn off power to the HVAC equipment, remove the thermostat face, label and transfer the low-voltage wires, install the new base level on the wall, then reconnect the thermostat and test heating or cooling.
This repair makes sense when the thermostat face is fine but the wall-mounted base is cracked, loose, has damaged terminals, or no longer makes a solid wire connection. The key is keeping the wires identified and preventing them from slipping back into the wall.
Before you start: Match the replacement part to your exact thermostat before ordering.
Use it for: To remove the thermostat cover, loosen terminal screws, and mount the new base.
Shop small screwdriver sets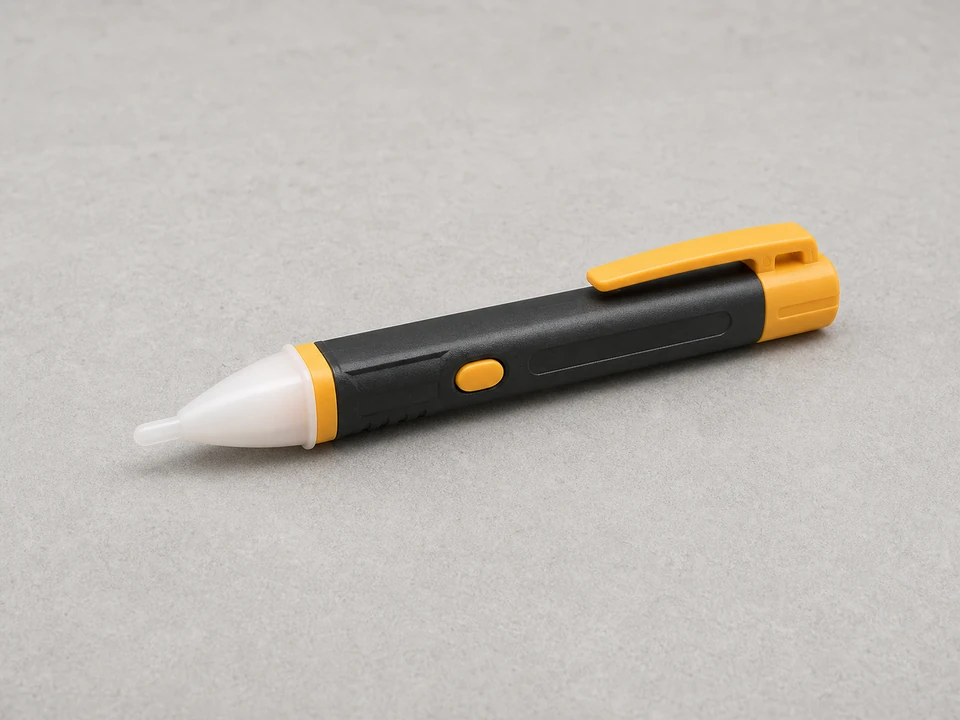
Use it for: To confirm nearby line-voltage circuits are not live before you work around the thermostat area.
Shop non-contact voltage testers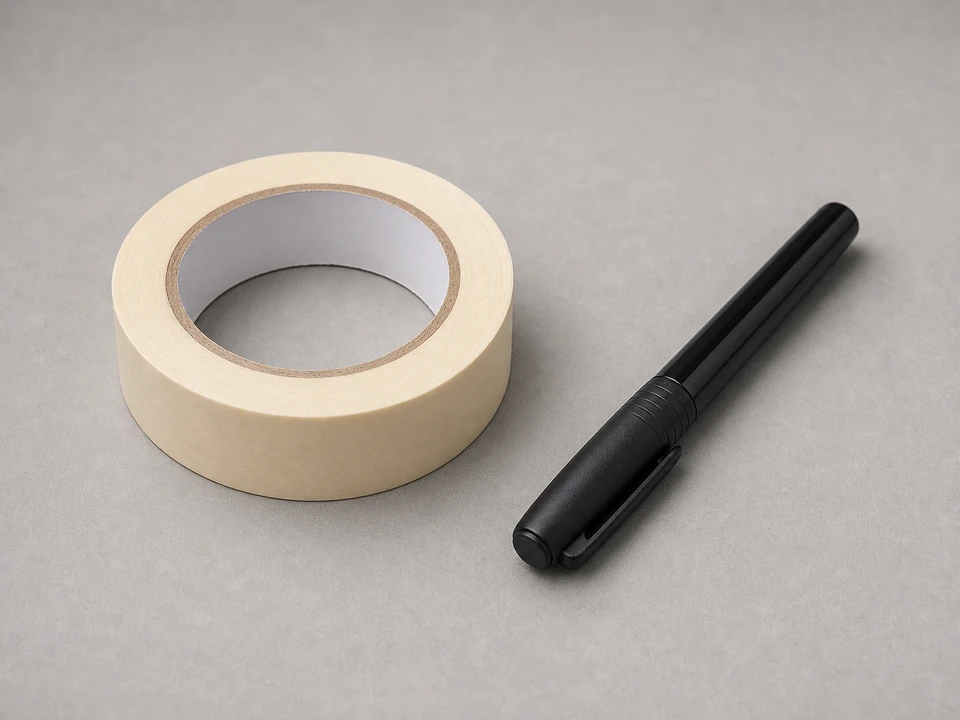
Use it for: To label each thermostat wire before moving it to the new subbase.
Shop masking tape and markers
Use it for: To hold short wires and guide them onto terminal screws without bending them sharply.
Shop needle-nose pliers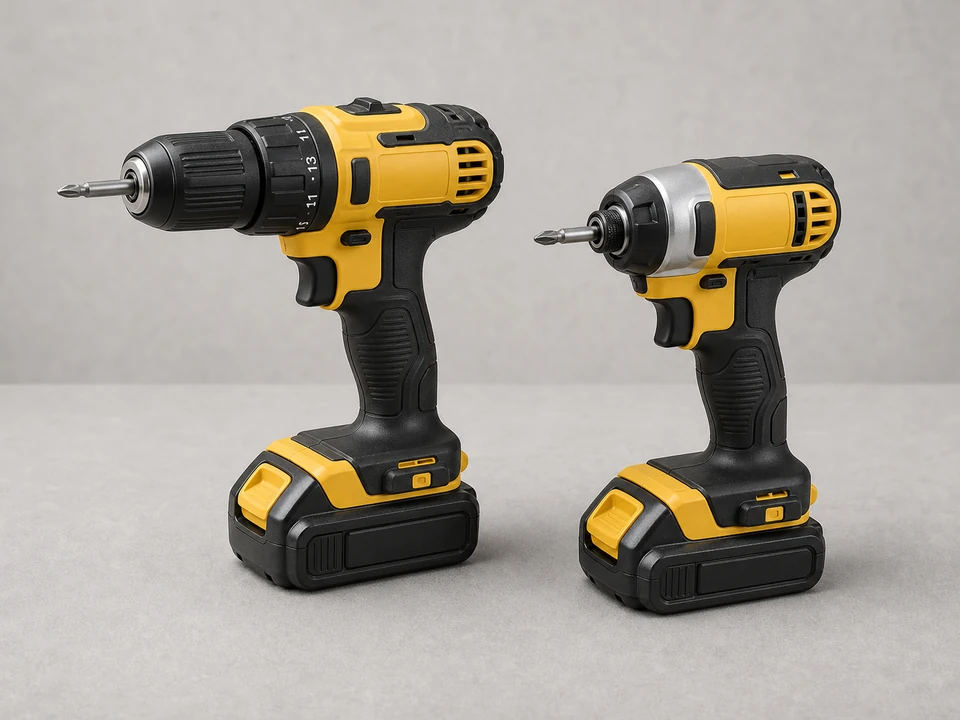
Use it for: To install wall anchors or mounting screws if the new base does not line up with the old holes.
Shop compact drill drivers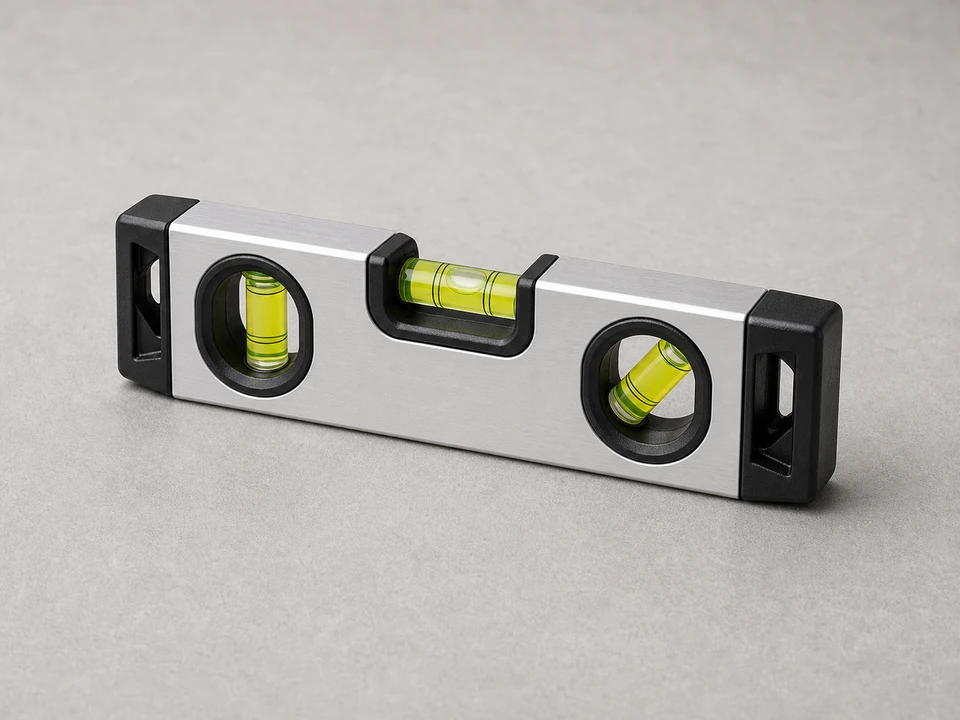
Use it for: To mount the new wall plate straight so the thermostat sits flat and looks right.
Shop small torpedo levelsAs an Amazon Associate I earn from qualifying purchases. Repair Riot may earn a commission at no extra cost to you.
If it works: You have confirmed the wall plate or subbase is damaged, loose, or not holding wire connections properly, and you have a photo of the wiring.
If it doesn’t: If the base looks sound and the issue is only settings, batteries, or system operation, troubleshoot the thermostat or HVAC system before replacing this part.
If it works: Power is off, the thermostat face is removed, and every wire is labeled and secured where you can reach it.
If it doesn’t: If the display stays on, there may be separate power feeding the thermostat. Double-check the correct breaker or service switch before continuing.
If it works: The old wall plate or subbase is off the wall and the labeled wires are still accessible and organized.
If it doesn’t: If a wire slips back into the wall, turn off work for the moment and use needle-nose pliers or a wire hook carefully to bring it back out before installing the new base.
If it works: The new wall plate or subbase is mounted straight, secure, and ready for the wires.
If it doesn’t: If the new base will not sit flat or the screw holes do not hold, reposition it slightly and use proper anchors so the thermostat can mount securely.
If it works: All wires are connected to their matching terminals, secured tightly, and tucked back neatly.
If it doesn’t: If a terminal letter on the new base does not clearly match the old one, stop and verify the exact replacement part before powering the system back on.
If it works: The thermostat sits firmly on the new base, responds normally, and the heating or cooling system starts and keeps running as expected.
If it doesn’t: If the thermostat powers up but the system does not respond, recheck wire placement against your photo and labels. If the wiring is correct and the problem remains, the issue may be elsewhere in the thermostat circuit or HVAC equipment.
Match the replacement part to your exact thermostat before ordering.
As an Amazon Associate I earn from qualifying purchases. Repair Riot may earn a commission at no extra cost to you.
Yes, if the replacement is the correct matching base for your exact thermostat. Many thermostat faces only fit their own matching subbase.
Yes. A photo helps, but labels make the swap much safer if wires cross, move, or are hard to see once the old base is off.
Do not stretch them hard or force the thermostat onto the wall. If there is not enough wire to make secure connections, it is better to stop and have the cable repaired or extended properly.
The most common causes are a wire on the wrong terminal, a loose terminal screw, or a problem elsewhere in the thermostat circuit or HVAC equipment. Recheck your labels and photo first.
It should be mounted straight and flat. On most modern thermostats, level is mainly for fit and appearance, but a crooked base can keep the thermostat from seating properly.