Safety first
- Wear gloves when handling cut trim coil because the edges are sharp.
- Use eye protection when cutting metal or pulling nails.
- Work from stable footing and avoid overreaching on ladders.
- Do not open wet wall sections further if you suspect major hidden damage; get the area evaluated first.
Step-by-step fix
Step 1: Confirm the trim coil is the problem
- Inspect the area during or after rain if possible and look for water entering at a window trim edge, roof-to-wall joint, corner, or other flashed transition.
- Check the exposed trim coil for holes, open seams, crushed bends, loose fasteners, or sections that slope inward instead of shedding water out.
- Gently press on nearby siding and trim to see whether the metal is simply loose or whether the wall behind it feels soft.
- Compare the damaged section to nearby intact flashing so you know what shape and overlap the replacement needs to match.
If it works: You have a clearly damaged or mis-shaped trim coil section that lines up with the leak path or visible water entry point.
If it doesn’t: If the metal looks sound and the leak path is unclear, inspect higher up for a roof, window, or housewrap problem before replacing the trim coil.
Stop if:- The wall sheathing, trim board, or framing feels soft, crumbles, or shows widespread rot.
- You find mold, insect damage, or a leak source that is clearly above or behind the flashing area.
- The repair area is too high to reach safely from stable footing.
Step 2: Set up the area and document the old flashing
- Choose a dry day so the wall cavity and siding edges are not wet while open.
- Clear furniture, plants, or decorations away from the work area.
- Take a few close photos before removal so you can copy the original layering and overlaps.
- Measure the old trim coil section length, visible face, bend depths, and how far it tucks behind siding or trim.
- Mark those measurements on the new trim coil before cutting.
If it works: The area is safe to work on, and you have photos and measurements to copy the original flashing shape.
If it doesn’t: If you cannot tell how the old piece is layered, remove only enough siding edge or trim to expose one end and confirm the overlap before cutting the replacement.
Stop if:- Removing access trim would require forcing brittle siding that is already cracking badly.
- You discover the old flashing was covering a larger hidden opening or missing backing material.
Step 3: Remove the damaged trim coil section
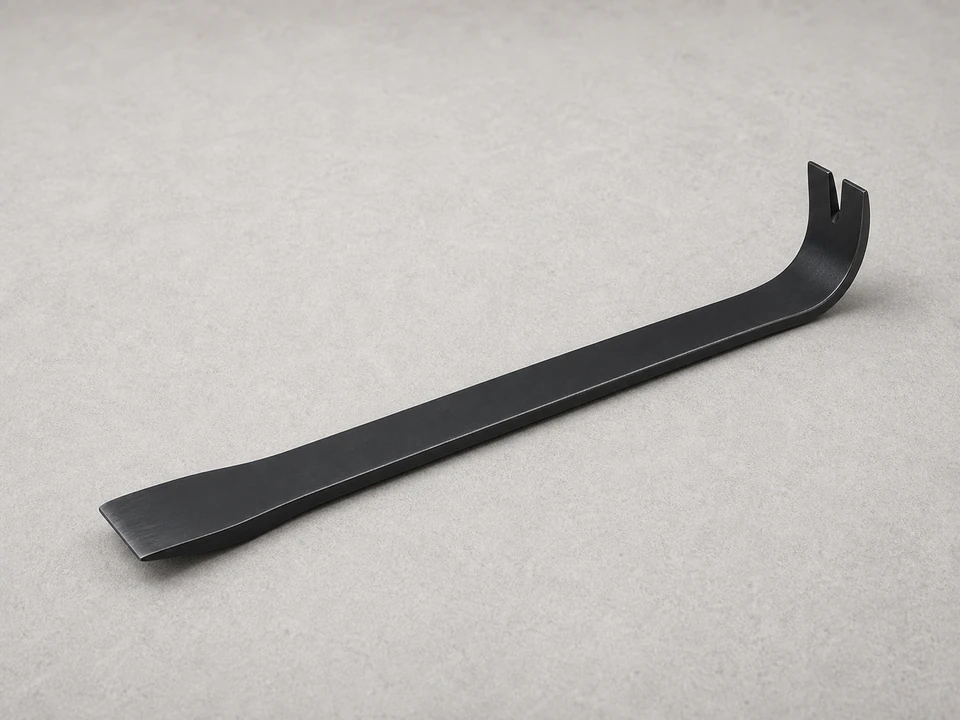
- Use a flat pry bar to carefully lift the siding or trim just enough to expose the fasteners holding the damaged flashing.
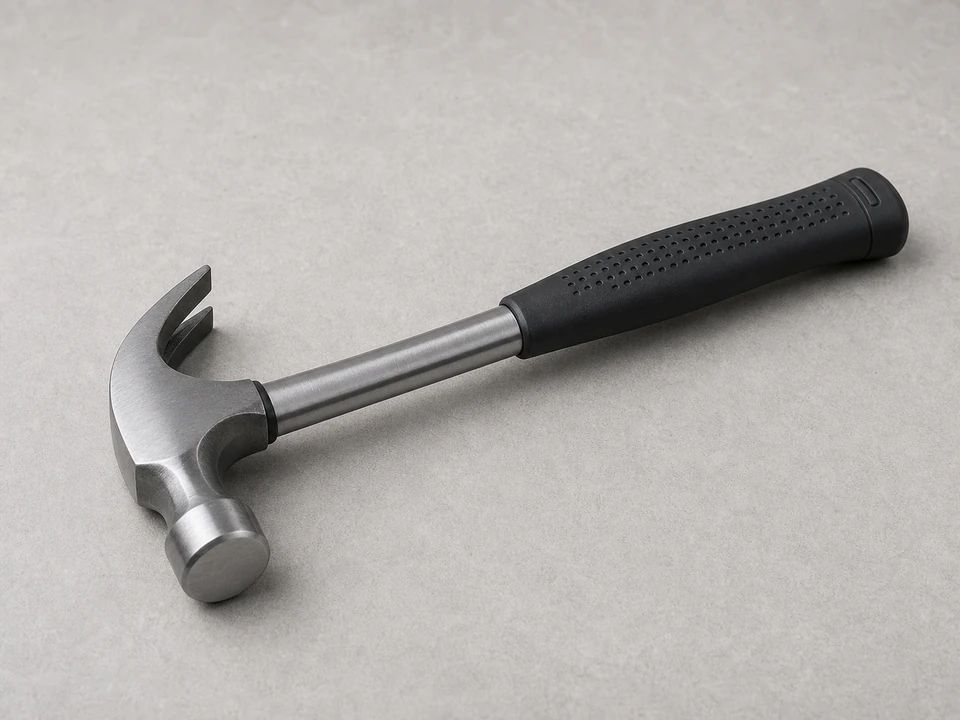
- Pull the nails or fasteners without tearing the weather barrier or enlarging the holes more than necessary.
- Slide the old trim coil out and keep it intact if possible to use as a bending template.
- Scrape away failed sealant and clean the contact surfaces so the new piece can sit flat.
- Check the exposed area for damp debris and let it dry if needed before reinstalling flashing.
If it works: The old trim coil is out, the surrounding surfaces are clean, and the opening is ready for a new piece.
If it doesn’t: If the old piece comes out in fragments, use your measurements and nearby matching flashing to recreate the profile.
Stop if:- The sheathing behind the flashing is rotten, delaminated, or missing.
- The weather barrier is torn open over a large area and cannot be kept lapped correctly with a simple flashing replacement.
Step 4: Cut and bend the replacement trim coil
- Transfer the old piece dimensions or your field measurements onto the new trim coil.
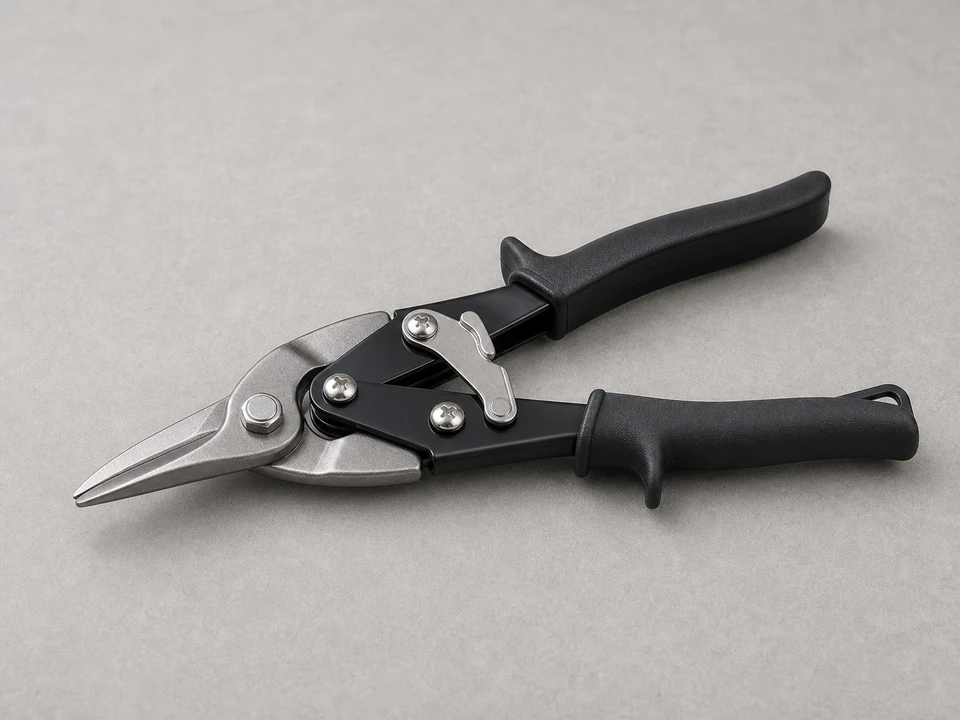
- Cut the new piece with tin snips, keeping the edges straight and the corners neat.
- Use a hand seamer or bending tool to form the same bends as the original piece so water will run out and away from the wall.
- Dry-fit the replacement before fastening it and trim small amounts if needed for a snug fit without buckling.
- Make sure the replacement overlaps the lower piece and tucks behind the upper layer wherever the original flashing did.
If it works: The new trim coil matches the old profile closely and sits in place without forcing the siding or trim out of alignment.
If it doesn’t: If the fit is off, rebend or recut a new piece rather than forcing a bad profile that can trap water.
Stop if:- You cannot create a shape that sheds water because the surrounding trim or siding was installed incorrectly or has shifted out of place.
Step 5: Install the new flashing and reassemble the siding edge
- Position the new trim coil so the top and side laps follow the original water-shedding direction.
- Fasten it with trim nails only where the original piece was secured, keeping fasteners neat and not overdriven.
- Re-seat the siding or trim over the flashing and check that the metal stays tucked where it belongs.
- Apply exterior sealant only to the same small joints that were meant to be sealed, such as end joints or trim-to-trim seams.
- Leave drainage edges and weep paths open so trapped water can escape instead of being sealed in.
If it works: The replacement is secure, the siding sits back in place cleanly, and the flashing is layered to shed water outward.
If it doesn’t: If the siding will not sit flat after reassembly, remove the piece and reduce the bend thickness or adjust the tuck depth.
Stop if:- Fastening the new piece would require nailing through a visible drainage path or through damaged material that will not hold.
Step 6: Test the repair in real conditions
- After the sealant cures as directed, run a gentle hose test from low to high above the repair area, copying normal rainfall instead of spraying directly into seams.
- Check inside and outside for drips, dampness, or water tracking behind the siding edge.
- Watch the repaired area during the next real rain and confirm water sheds over the flashing face and away from the wall.
- Recheck the fasteners and sealant after a few days to make sure nothing loosened as the materials settled.
If it works: The area stays dry in a hose test and during normal rain, and water visibly sheds away from the wall.
If it doesn’t: If water still gets behind the siding, the leak source is likely higher up or tied to adjacent flashing, trim, or weather barrier details that need further diagnosis.
Stop if:- Water still enters the wall after the new trim coil is installed correctly.
- You see staining or moisture spreading beyond the original repair area, suggesting a larger hidden leak path.
Replacement Parts
Match the replacement part to your exact siding flashing before ordering.
As an Amazon Associate I earn from qualifying purchases. Repair Riot may earn a commission at no extra cost to you.
Verify the repair
- The new trim coil follows the same water-shedding direction as the original flashing.
- Siding or trim sits flat again without being forced outward by the new metal.
- Only intended joints are sealed, and drainage edges are left open.
- A gentle hose test and the next rainfall do not produce new leaks or damp spots.
FAQ
Can I patch a hole in trim coil instead of replacing it?
A small temporary patch may slow water entry, but replacement is the better repair when the metal is torn, badly bent, rusted through, or no longer lapped correctly.
Do I need to remove a lot of siding to replace trim coil?
Usually no. Many repairs only need enough siding or trim loosened to slide the old piece out and the new piece in without damaging the surrounding wall.
Should every edge be sealed with caulk?
No. Flashing works by layering and draining. Seal only the joints that were meant to be sealed, and do not block weep paths or lower drainage edges.
What material should I use for the replacement?
Use trim coil that matches the existing flashing material and size as closely as practical so it bends similarly and fits the same space.
When should I call a pro for this repair?
Call for help if the wall feels soft, the leak source is unclear, the repair is high off the ground, or the surrounding siding and flashing details are too damaged to copy safely.