
Tape measure
Use it for: To match the width, length, and overlap of the old flashing before cutting the replacement.
Shop tape measuresTo replace siding trim coil flashing, first confirm the existing flashing is bent, loose, torn, or no longer shedding water, then remove the damaged section carefully, cut and shape a matching replacement, fasten it without crushing the metal, and verify water runs out and away from the wall.
This is a manageable repair when the damage is limited to the flashing itself. Work from a stable ladder, take your time around siding edges, and stop if you uncover rotten trim, soft sheathing, or a leak path that goes behind the wall.
Before you start: Match the replacement part to your exact siding flashing before ordering.
Use it for: To match the width, length, and overlap of the old flashing before cutting the replacement.
Shop tape measures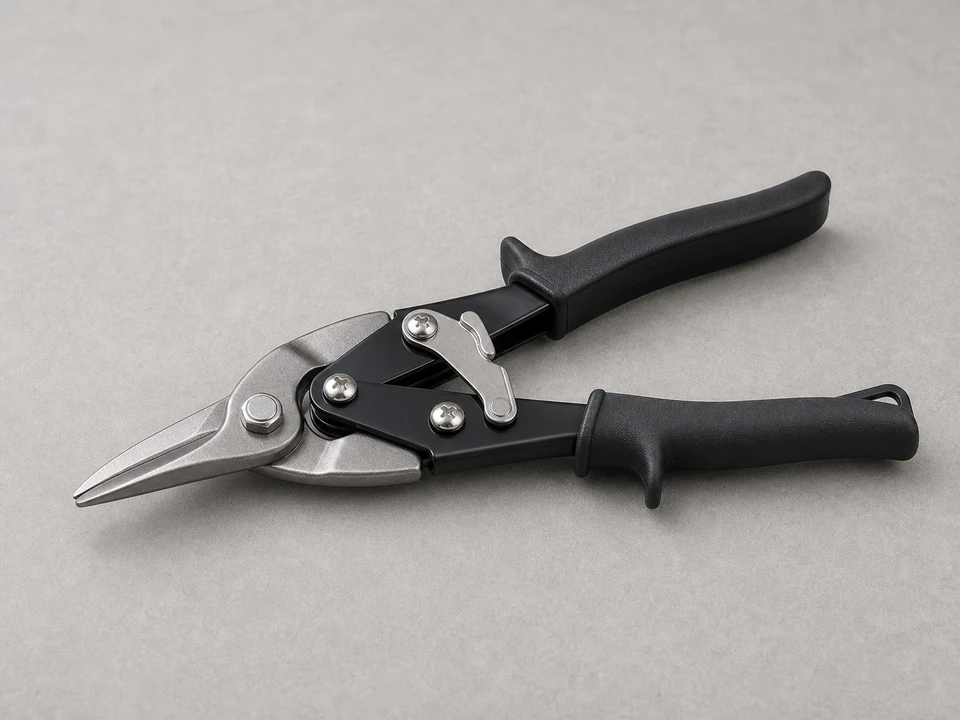
Use it for: To cut the replacement flashing cleanly without tearing the metal.
Shop tin snips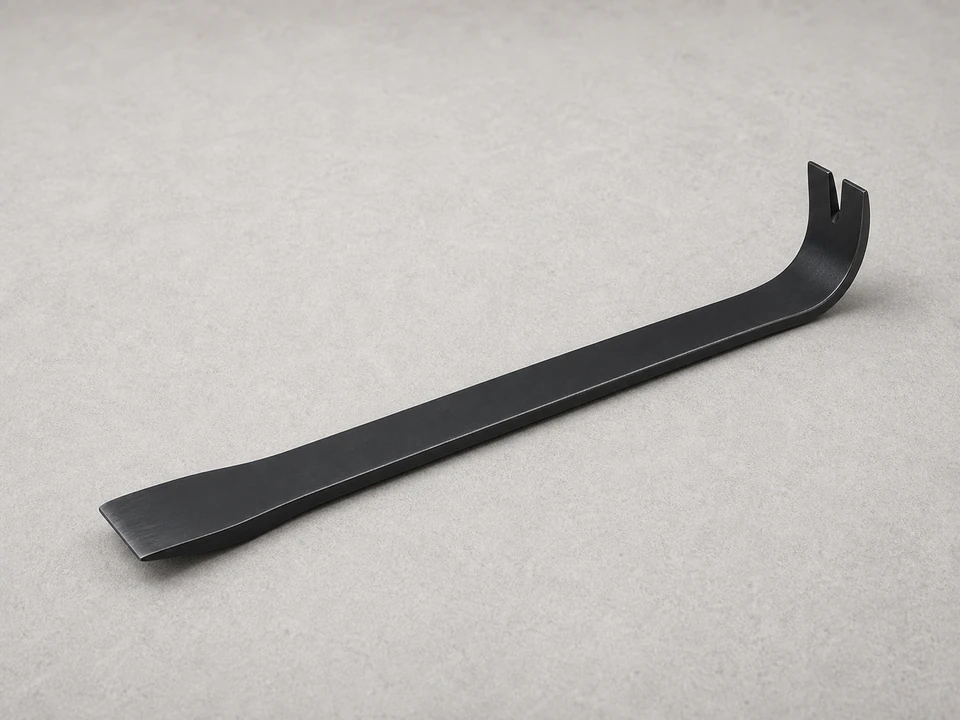
Use it for: To lift trim, loosen old fasteners, and remove the damaged flashing with less damage to surrounding materials.
Shop flat pry bars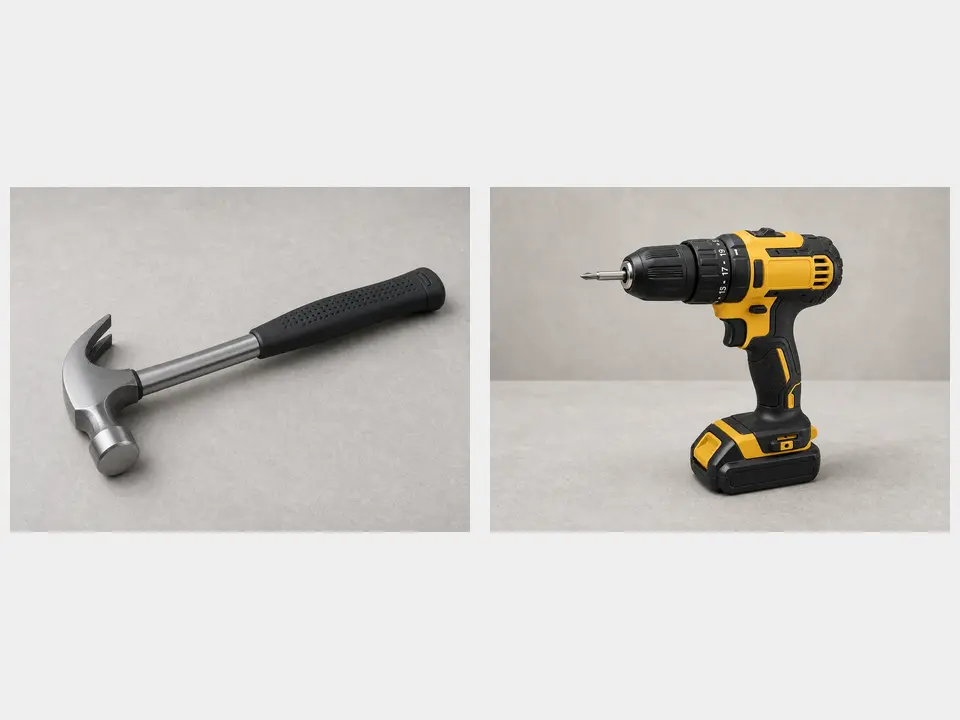
Use it for: To remove and reinstall fasteners depending on how the existing flashing is attached.
Shop hammer and screw guns
Use it for: To protect your hands from sharp metal edges and siding corners.
Shop work gloves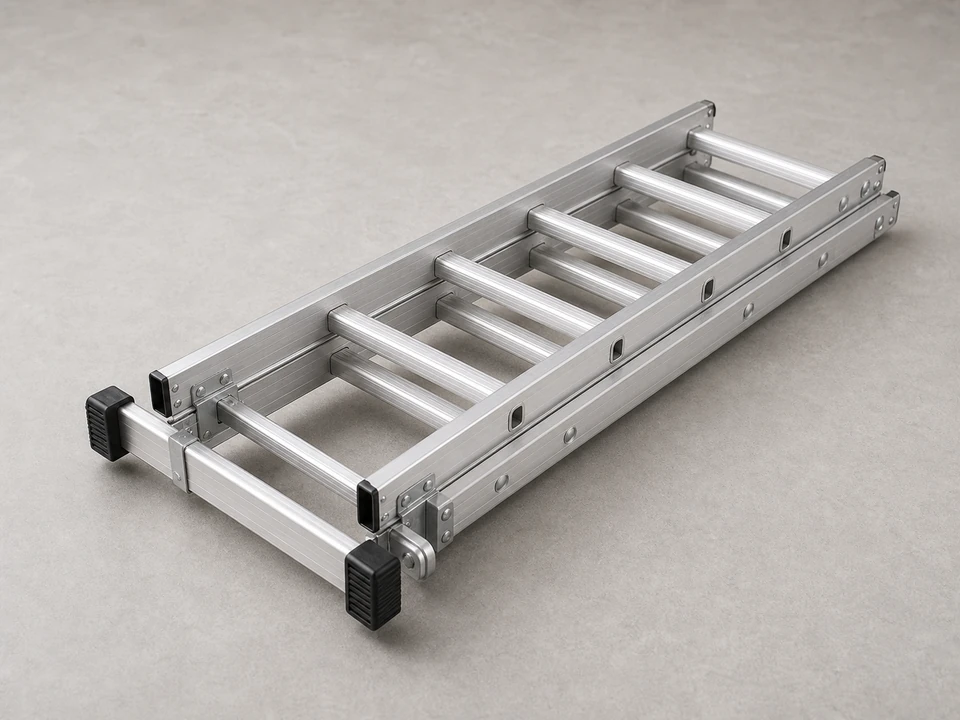
Use it for: To reach upper trim safely and keep both hands free while working.
Shop extension laddersAs an Amazon Associate I earn from qualifying purchases. Repair Riot may earn a commission at no extra cost to you.
If it works: You have confirmed the flashing itself is damaged or no longer secure, and the surrounding area appears solid enough for a straightforward replacement.
If it doesn’t: If the metal looks fine but water is entering from above, trace the leak higher up before replacing this section.
If it works: The damaged flashing is off, and the surrounding siding and trim are still intact.
If it doesn’t: If the old piece will not come free, look for hidden fasteners or caulked joints and release them carefully instead of forcing the metal.
If it works: The area is clean, dry, and ready for the new flashing to sit flat and drain properly.
If it doesn’t: If the area is damp, let it dry before installing the new piece so you are not trapping moisture behind the trim.
If it works: The replacement flashing fits the opening, covers the vulnerable edge, and follows the same basic shape as the original.
If it doesn’t: If the fit is too tight or leaves a gap, trim or recut the piece before fastening it.
If it works: The new flashing is secure, lies flat, and does not rattle or lift by hand.
If it doesn’t: If the metal flexes or lifts, add or adjust fasteners where support is missing, but avoid overdriving them.
If it works: Water sheds off the flashing and away from the wall, and the piece stays secure after weather exposure.
If it doesn’t: If water still gets behind the siding or the flashing lifts again, inspect the trim and wall detail above this area because the root cause may be higher up.
Match the replacement part to your exact siding flashing before ordering.
As an Amazon Associate I earn from qualifying purchases. Repair Riot may earn a commission at no extra cost to you.
If the flashing is bent, torn, rusted through, badly creased, or no longer shaped to shed water, replacement is usually better than trying to reuse it. If it is only slightly loose and otherwise intact, refastening may be enough.
Yes, if the surrounding flashing, trim, and siding are still sound. Match the size and overlap of the original so the new section sheds water the same way.
Not always. Many flashing details work by overlap and shape rather than heavy sealant. If the original detail relied on a sealed joint, use a product appropriate for exterior trim and flashing, but do not depend on sealant alone to fix a bad water path.
Stop and repair the damaged trim or wall material first. New flashing will not hold well or solve the problem if the surface behind it is soft or deteriorated.
Common causes include loose fasteners, wind damage, metal fatigue, poor overlap, or water getting behind the trim and moving the metal over time. Replacing the flashing works best when you also correct the reason it came loose.