
Tape measure
Use it for: To copy the old face widths, returns, and overall length before cutting new coil.
Shop tape measuresTo replace siding trim coil, remove the damaged coil without tearing up the trim underneath, measure the old bends, cut and bend a matching new piece, then fasten it so it sits tight and sheds water away from the wall.
This repair is usually worth doing when the coil is bent, loose, cut through, or pulling away around windows, doors, fascia, or other exterior trim. The goal is not just to make it look better. The new coil also needs to cover the wood cleanly and direct water out instead of behind the siding.
Before you start: Match the trim coil width, material, color, finish, and bend requirements before ordering.
Use it for: To copy the old face widths, returns, and overall length before cutting new coil.
Shop tape measures
Use it for: Trim coil edges are sharp and can slice fingers easily.
Shop work gloves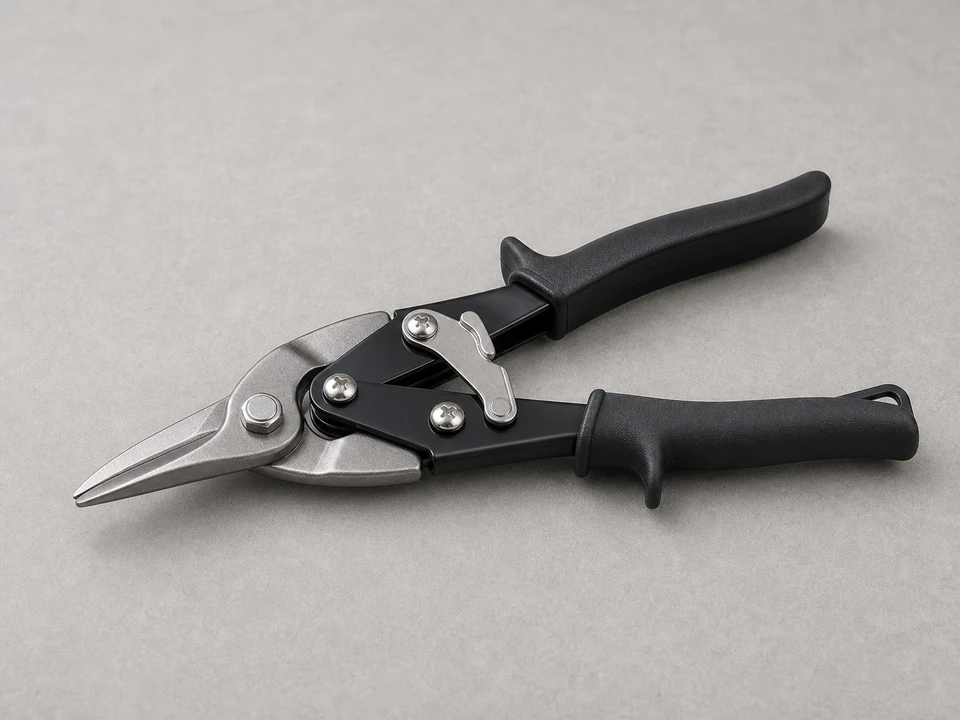
Use it for: To cut the new coil to length and trim corners or tabs.
Shop tin snips
Use it for: To make small bends, tighten edges, and tune the fit if you are not using a brake for every bend.
Shop hand seamers
Use it for: To form straight, clean bends that match the original wrap.
Shop siding brakes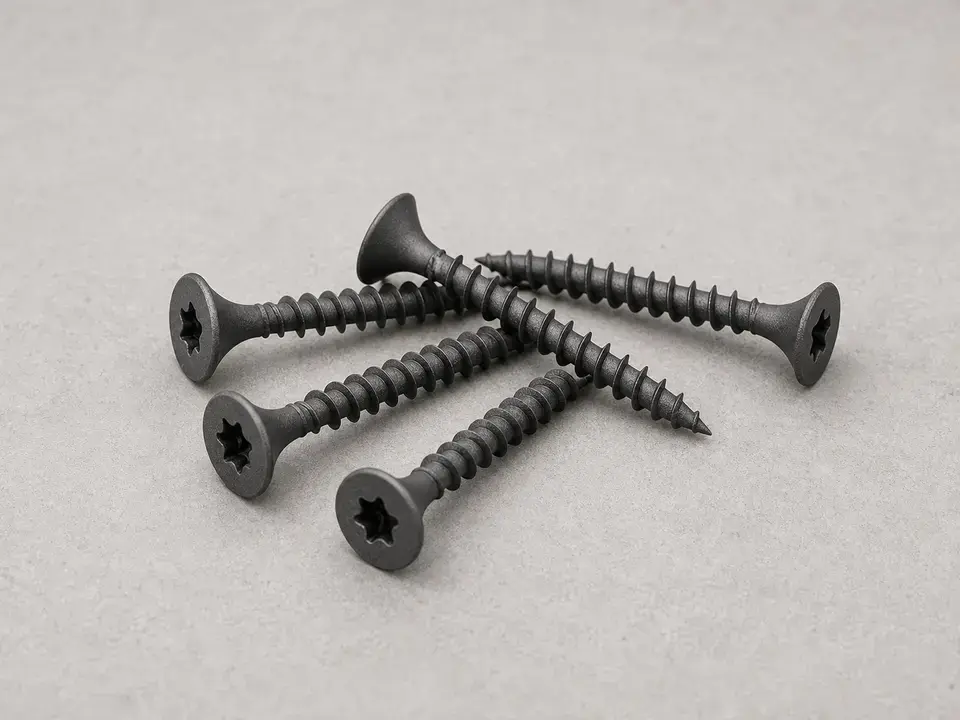
Use it for: To secure the new coil without leaving it loose or oil-canning badly.
Shop trim fasteners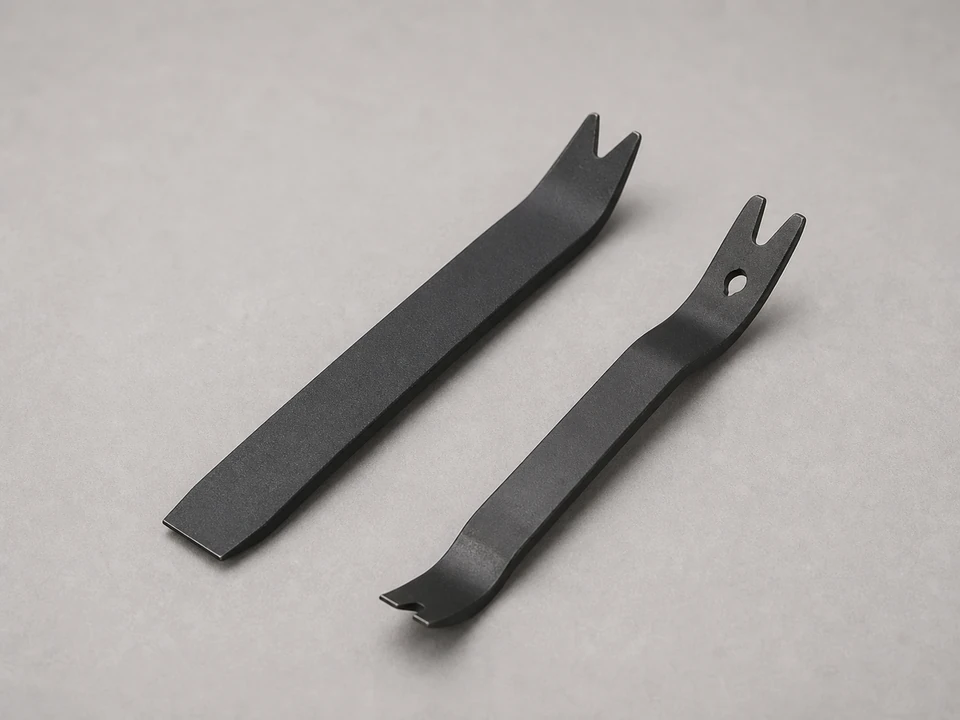
Use it for: To lift loose edges and remove old fasteners carefully without damaging the trim board.
Shop trim pullersAs an Amazon Associate I earn from qualifying purchases. Repair Riot may earn a commission at no extra cost to you.
If it works: You have confirmed the trim coil is the failed part and the trim underneath still looks sound enough to re-wrap.
If it doesn’t: If the trim board is soft, swollen, blackened, or crumbling, address the hidden water damage first before installing new coil.
If it doesn’t: If the old piece was badly distorted, measure the exposed trim board directly and allow enough material to cover the face and wrap the edges cleanly.
If it works: The replacement held its shape, stayed attached, and shed water properly in normal use.
If it doesn’t: If water gets behind the repair or the coil loosens again, inspect the surrounding flashing and trim for a larger leak path or hidden damage.
Match the trim coil width, material, color, finish, and bend requirements before ordering.
As an Amazon Associate I earn from qualifying purchases. Repair Riot may earn a commission at no extra cost to you.
Yes, if the damage is localized and you can end the new piece at a natural break, corner, or overlap that still sheds water properly. If the whole run is loose or badly faded, replacing the full section usually looks better and lasts longer.
For clean, straight bends, a brake is the easiest way to get a good result. Small touch-up bends can be made with a hand seamer, but long visible wraps are much harder to make straight without a brake.
Do not wrap over rotten trim. Replace or repair the damaged wood first, then install new coil over a solid, dry surface.
It should be held snugly, but not crushed. Overdriving fasteners can dimple the face and make the metal buckle or oil-can.
Match the width, material, color, finish, and the bend profile you need. The old piece is the best pattern if it came off mostly intact.