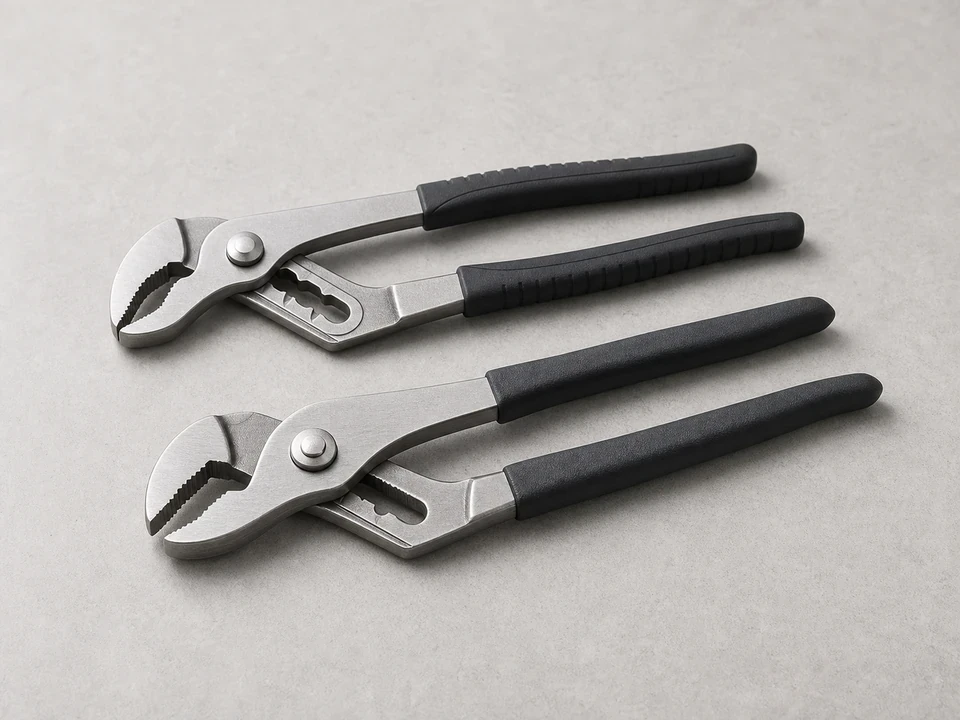
Adjustable pliers
Use it for: To loosen and snug plastic nuts or hose connections without over-tightening.
Shop adjustable pliersIf your water softener is leaking around the brine tank opening, valve connection, or float assembly where a gasket seals the joint, replacing the water softener brine tank seal kit is a practical fix.
This job is mostly about confirming the leak is really coming from a worn seal, then cleaning the sealing surfaces and installing the new parts without twisting or pinching them. Work slowly so the new seal seats flat the first time.
Before you start: Match the gasket profile, size, and equipment or opening compatibility before ordering.
Use it for: To loosen and snug plastic nuts or hose connections without over-tightening.
Shop adjustable pliers
Use it for: To remove covers, clamps, or fasteners around the brine tank assembly.
Shop screwdriver set
Use it for: To catch brine or rinse water when lines or fittings are opened.
Shop bucket or drain pan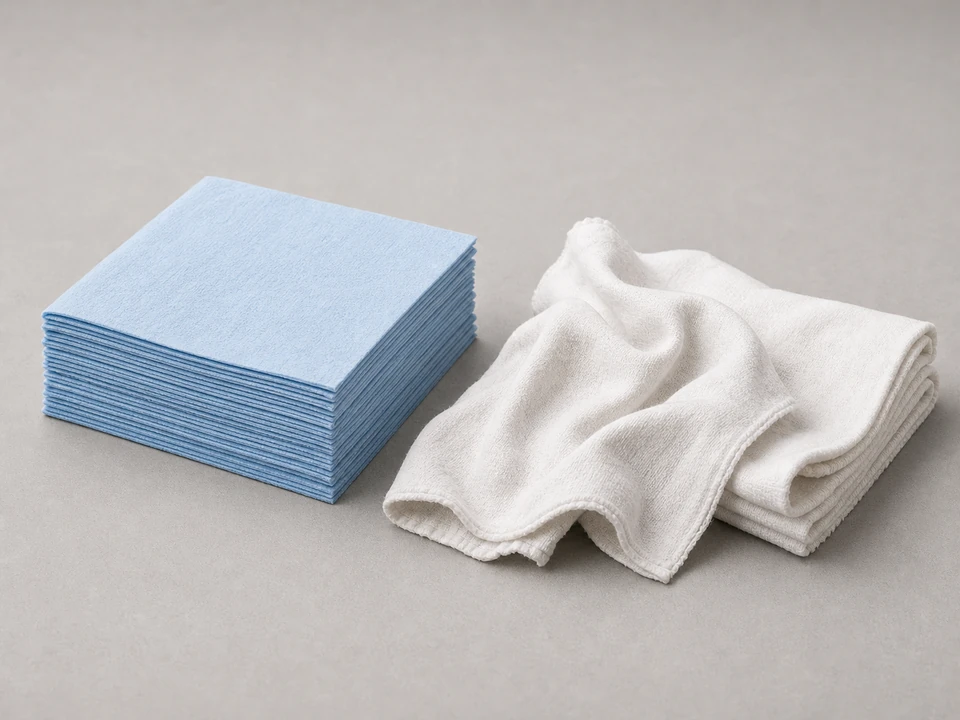
Use it for: To dry the area and wipe old salt residue off the sealing surfaces.
Shop shop towels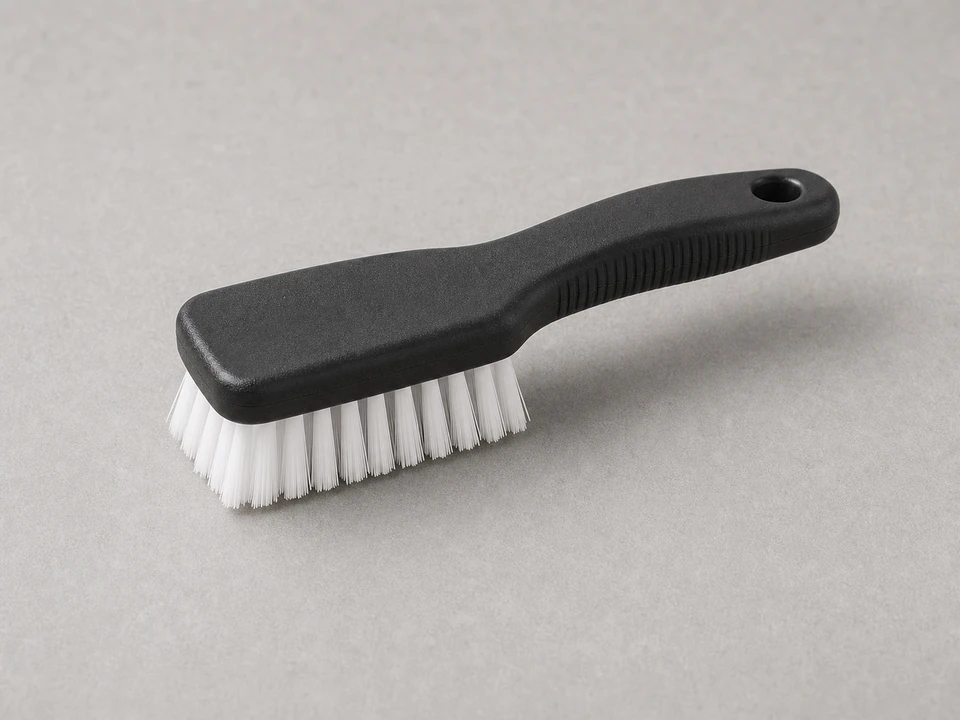
Use it for: To clean crusted salt and debris without gouging plastic sealing surfaces.
Shop nylon scrub brush
Use it for: To protect your hands from sharp edges, salt crust, and dirty brine.
Shop work glovesAs an Amazon Associate I earn from qualifying purchases. Repair Riot may earn a commission at no extra cost to you.
If it works: You have traced the leak to a gasketed brine tank connection and the seal kit appears to match.
If it doesn’t: If the leak is coming from a cracked tank, damaged tubing, or a fitting that does not use this seal, fix that problem first instead of replacing the seal kit.
If it works: The unit is safe to work on, the area is accessible, and any spill will be controlled.
If it doesn’t: If you cannot isolate the unit or safely reach the leaking connection, pause and clear the area before continuing.
If it works: The leaking joint is apart and the old seal is exposed or removed.
If it doesn’t: If the connection will not separate, check again for a hidden clip, screw, or locking tab before applying more force.
If it works: The old seal is fully removed and both mating surfaces are clean and smooth enough for the new seal.
If it doesn’t: If residue keeps flaking off, keep cleaning until the surfaces are smooth and dry enough for the new seal to seat evenly.
If it works: The new seal is installed and the connection is reassembled squarely with the seal seated evenly.
If it doesn’t: If the seal keeps slipping out, take the joint back apart and reseat it before tightening again.
If it works: The repaired brine tank connection stays dry during refill and normal operation.
If it doesn’t: If you still see leaking, shut the unit back down and check for a pinched seal, debris on the mating surfaces, uneven tightening, or a cracked part nearby.
Match the gasket profile, size, and equipment or opening compatibility before ordering.
As an Amazon Associate I earn from qualifying purchases. Repair Riot may earn a commission at no extra cost to you.
It usually fixes leaks where a gasket or O-ring seals a brine tank opening, float assembly, or similar connection. It will not fix a cracked tank or split tubing.
Not usually. You only need to lower the brine level enough to work cleanly at the leaking connection and avoid a mess.
It is better not to. Old seals often flatten, harden, or take a set, so they may leak again once disturbed.
Usually no unless your equipment specifically calls for it. A clean sealing surface and a properly seated replacement seal are usually what matter most.
The most common causes are debris left on the sealing surface, a twisted or pinched seal, uneven tightening, the wrong replacement profile, or a nearby crack that was missed during diagnosis.