
Screwdriver set
Use it for: To remove the control cover, screws, and small fasteners on the valve head.
Shop screwdriver setsIf your water softener is leaking through the control head, stuck draining, or bypassing water internally, replacing the water softener control head seal kit can restore proper sealing inside the valve.
This repair is manageable for a careful homeowner if you work cleanly, keep parts in order, and avoid forcing the valve apart. The main job is to isolate the softener, open the control head, replace the old seals and spacers, then test the unit under real water pressure.
Before you start: Match the valve style, seal and spacer shape, and your softener's control head layout before ordering.
Use it for: To remove the control cover, screws, and small fasteners on the valve head.
Shop screwdriver sets
Use it for: To pull clips, seals, or small internal parts without using excessive force.
Shop needle-nose pliers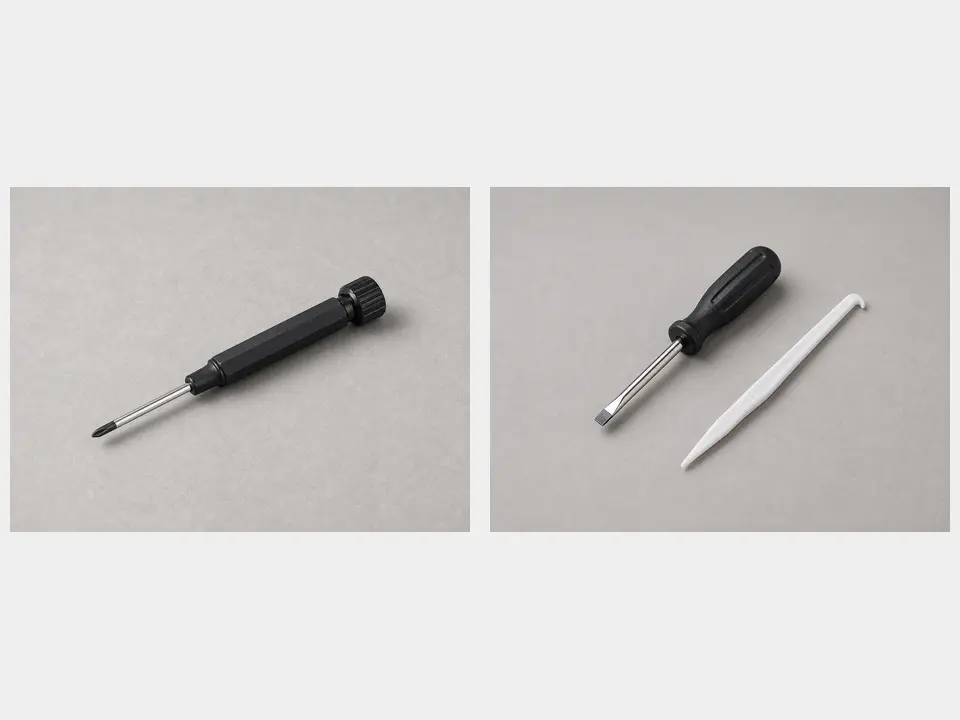
Use it for: To lift old seals and spacers out of the valve body without gouging sealing surfaces.
Shop seal pick tools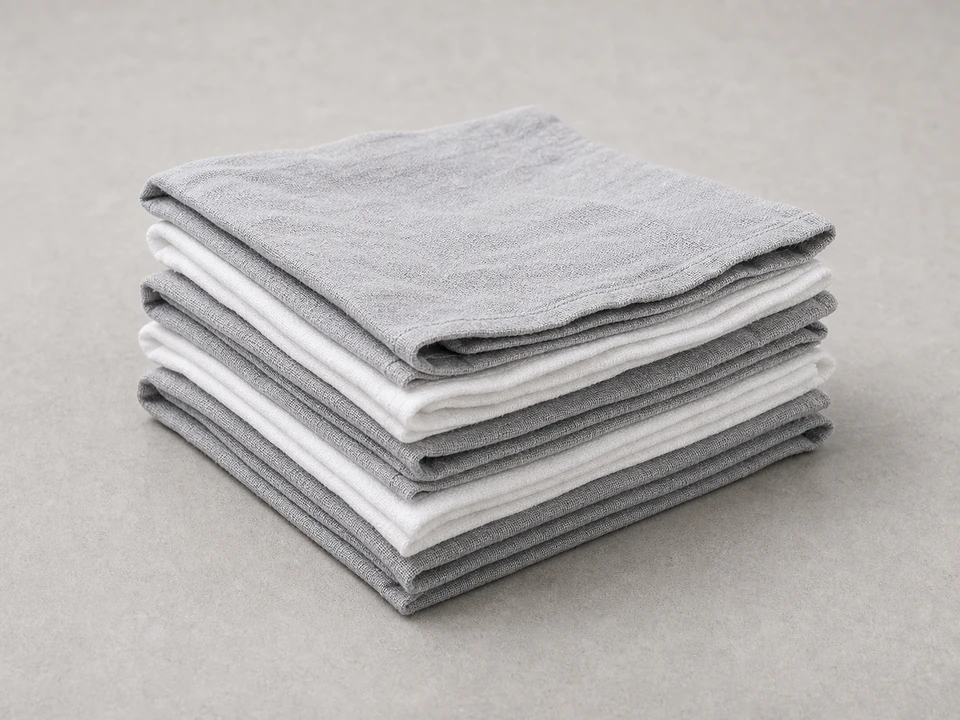
Use it for: To wipe out the valve body and keep grit away from the new seals.
Shop cleaning rags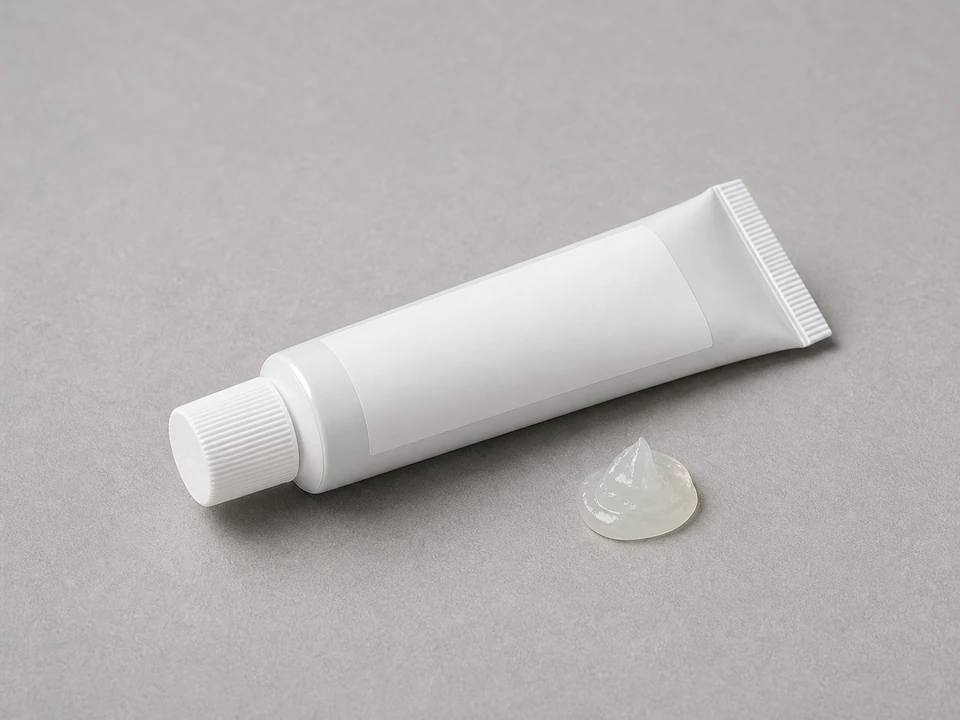
Use it for: To lightly lubricate new seals so they seat without twisting or tearing.
Shop silicone plumber's grease
Use it for: To keep screws, clips, and internal parts in the order they came out.
Shop small parts traysAs an Amazon Associate I earn from qualifying purchases. Repair Riot may earn a commission at no extra cost to you.
If it works: The symptoms and visual check still point to worn internal control head seals rather than a cracked body or unrelated plumbing issue.
If it doesn’t: If the leak is from a cracked tank neck, broken fitting, or external plumbing connection, fix that problem first instead of opening the control head.
If it works: The unit is de-energized, isolated from house pressure, and no longer pushing water through the control head.
If it doesn’t: If water keeps flowing strongly from the valve area after bypass and pressure relief, recheck the bypass position before taking the control head apart.
If it works: The control head is open and the internal parts are laid out in the same order they came out.
If it doesn’t: If parts seem stuck, stop and look for a hidden clip or screw instead of forcing the assembly apart.
If it works: The old seals are out, the valve body is clean, and the sealing surfaces are ready for the new kit.
If it doesn’t: If the bore is badly scored or the piston is visibly worn, the valve may need more than a seal kit to seal properly.
If it works: The new seals are seated correctly and the control head is fully reassembled without leftover parts.
If it doesn’t: If the cover will not sit flat or the piston does not move freely, reopen the valve and check for a misaligned seal or spacer.
If it works: The control head stays dry, the softener cycles normally, and the original leak or internal bypass symptom is gone.
If it doesn’t: If the unit still leaks, keeps draining, or delivers hard water, reopen the valve to check seal order and part fit, or move on to piston or valve body diagnosis.
Match the valve style, seal and spacer shape, and your softener's control head layout before ordering.
As an Amazon Associate I earn from qualifying purchases. Repair Riot may earn a commission at no extra cost to you.
It fixes internal sealing problems in the valve head, such as water bypassing where it should not, leaking through the control head, or failing to direct water correctly during service and regeneration.
Not always. If the piston is smooth and undamaged, a seal kit may be enough. If it is scored, worn, or sticking, the valve may still leak or misroute water after new seals are installed.
It is better to use a food-grade silicone lubricant made for plumbing seals. Petroleum-based grease can damage some rubber and plastic parts.
The most common causes are a seal installed in the wrong order, a twisted seal, a worn piston, or damage inside the valve body that the seal kit cannot correct.
Take photos at each stage, lay parts out in order on a clean surface, and remove only one seal or spacer at a time if the layout is easy to confuse.