
Screwdriver set
Use it for: To remove the cover and open the valve housing or access panels.
Shop screwdriver setsTo replace a water softener seal kit, shut off the water, relieve pressure, open the valve area, remove the worn seals, install the matching new seals with the correct lubricant, then reassemble and test for leaks and normal regeneration.
A worn seal kit can let water bypass internally, cause constant draining or running, or keep the softener from sealing between cycles. This job is manageable for many homeowners if you work cleanly, keep parts in order, and stop if you find cracked valve parts or heavy internal damage.
Before you start: Match the seal shapes, valve style, and your softener's model information before ordering. Seal kits are not universal.
Use it for: To remove the cover and open the valve housing or access panels.
Shop screwdriver sets
Use it for: To pull clips, small seals, or spacers without damaging nearby parts.
Shop needle-nose pliers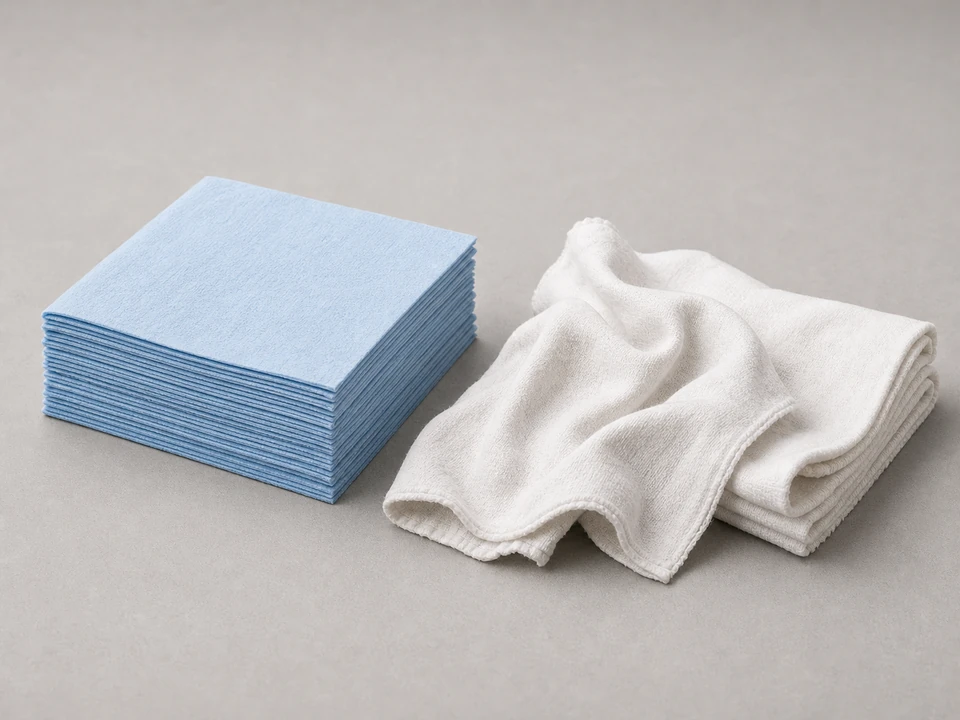
Use it for: To wipe out old lubricant, catch drips, and keep grit away from new seals.
Shop shop towels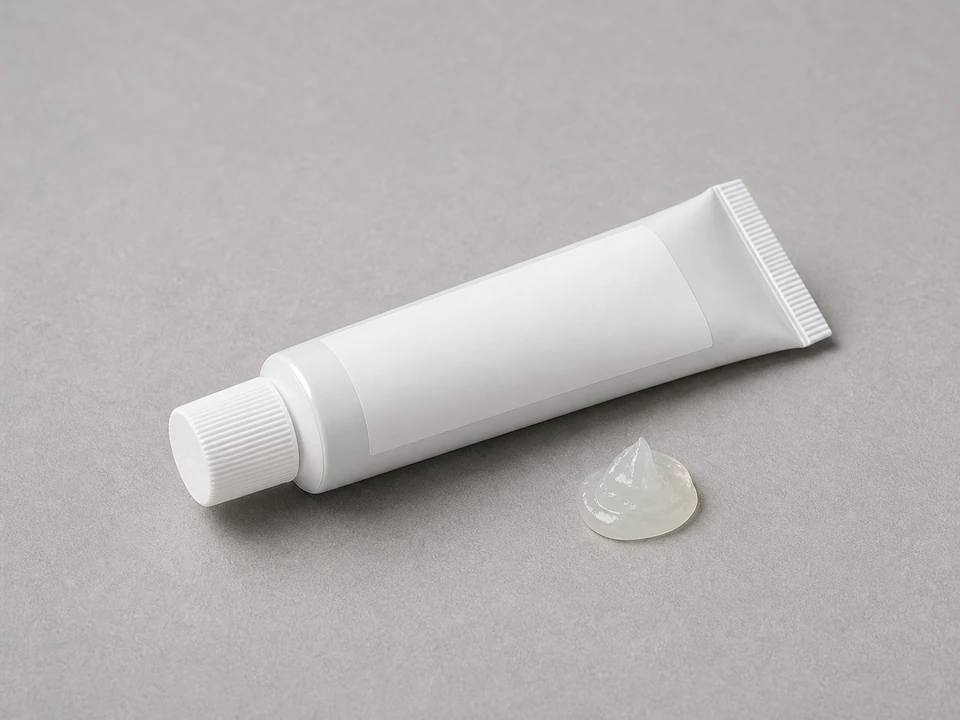
Use it for: To lightly lubricate new seals so they seat without twisting or tearing.
Shop silicone plumber's grease
Use it for: To keep screws, clips, and small internal parts from getting lost.
Shop magnetic parts trays
Use it for: To inspect the valve body for scoring, cracks, or leftover seal material.
Shop LED flashlightsAs an Amazon Associate I earn from qualifying purchases. Repair Riot may earn a commission at no extra cost to you.
If it works: The symptoms fit an internal sealing problem and you have a matching seal kit ready.
If it doesn’t: If the leak is from an outside fitting or the softener works normally in service, fix that simpler issue first before opening the valve.
If it works: The softener is de-energized, isolated from water pressure, and ready to open with only minor drips expected.
If it doesn’t: If water keeps pushing out under pressure, recheck the bypass or shutoff position before taking the valve apart.
If it works: The old seals are out and the sealing surfaces are clean and visible.
If it doesn’t: If a seal is stuck, work it out gently with pliers or a plastic pick rather than prying hard against the housing.
If it works: The new seals are seated evenly and the internal parts move back into place without forcing them.
If it doesn’t: If a seal keeps rolling out or a part will not slide in smoothly, remove it and check for the wrong orientation, leftover debris, or the wrong seal size.
If it works: The softener repressurizes without external leaks and powers back on normally.
If it doesn’t: If you see a small drip, depressurize again and check for a pinched seal, misaligned cover, or loose retainer.
If it works: The softener seals properly, does not leak, and returns to normal service without constant running or bypass symptoms.
If it doesn’t: If the same symptoms return, the problem may also involve the piston, valve body, control head, or another internal component that the seal kit alone did not fix.
Match the seal shapes, valve style, and your softener's model information before ordering. Seal kits are not universal.
As an Amazon Associate I earn from qualifying purchases. Repair Riot may earn a commission at no extra cost to you.
It replaces the internal seals and O-rings that help the valve direct water to the right passages during service and regeneration. When those seals wear out, the softener can leak internally, bypass hard water, or keep running to drain.
A bad seal kit often causes internal bypass, constant drain flow, or poor sealing between cycles. If the valve body is cracked or the piston is worn or scored, the seal kit may not solve the problem by itself.
Usually yes, but only a light film of food-grade silicone lubricant. It helps the seals slide into place without twisting or tearing. Avoid petroleum grease unless your replacement instructions specifically allow it.
It is usually better to replace the full kit once the valve is open. If one seal is worn, the others are often not far behind, and reopening the valve later means doing the same labor twice.
The unit may also have a worn piston, damaged valve body, control problem, or debris still inside the valve. Recheck the seal orientation and look for scoring or cracks that would keep the new seals from sealing.