
Adjustable wrench
Use it for: To loosen the old gauge and snug the new one into place.
Shop adjustable wrenchesTo replace a well pressure tank gauge, shut off power to the well pump, relieve water pressure, remove the old gauge, install a matching new gauge, then restore power and confirm the reading is steady and leak-free.
A bad gauge can make a healthy well system look like it has a pressure problem. If the needle is stuck, the face is fogged, or the reading clearly does not match how the system is behaving, replacing the gauge is usually a straightforward repair.
Before you start: Match the replacement part to your exact well pump pressure tank before ordering.
Use it for: To loosen the old gauge and snug the new one into place.
Shop adjustable wrenches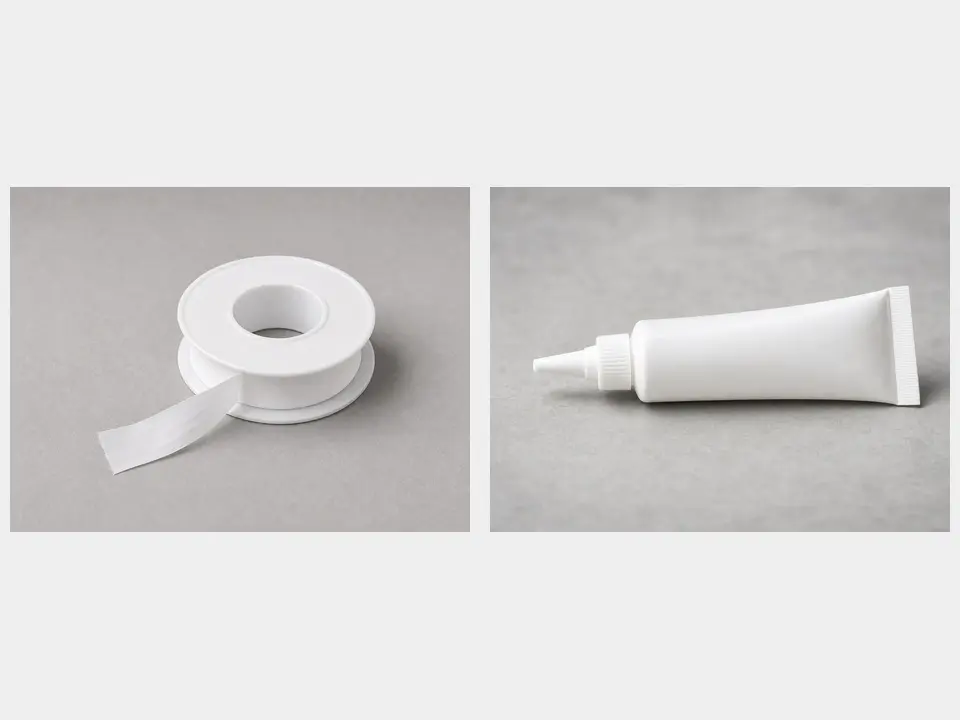
Use it for: To help seal the new gauge threads and prevent small leaks.
Shop thread seal tape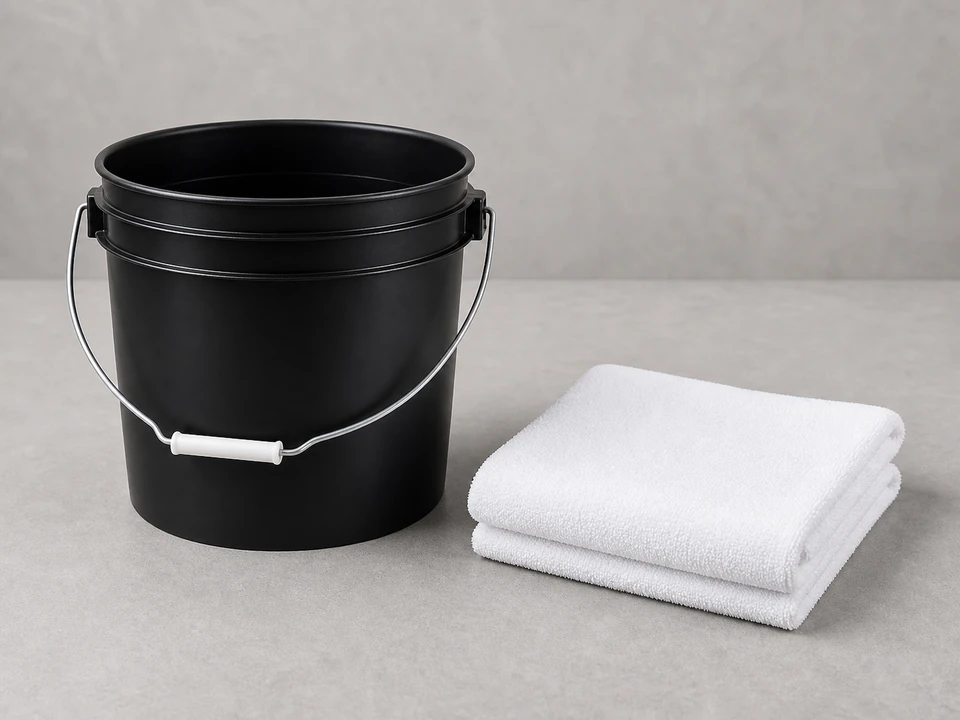
Use it for: To catch the small amount of water that usually comes out when the gauge is removed.
Shop utility towels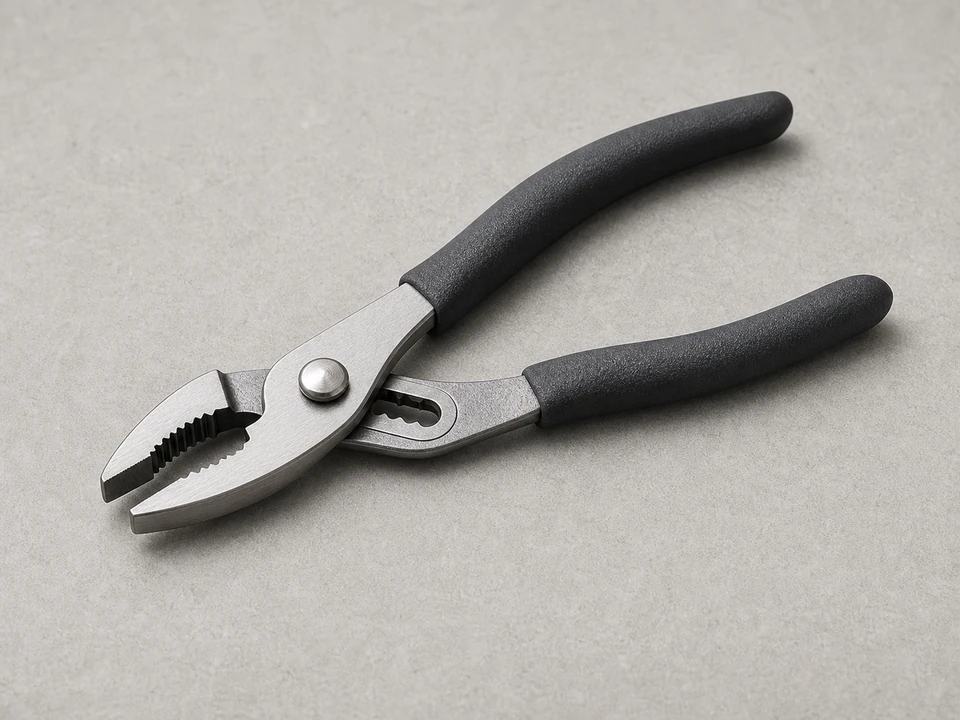
Use it for: To hold nearby fittings steady if the gauge is tight and you need a second grip.
Shop slip-joint pliers
Use it for: To see the gauge port, fittings, and any slow leaks clearly.
Shop flashlightsAs an Amazon Associate I earn from qualifying purchases. Repair Riot may earn a commission at no extra cost to you.
If it works: You have a clear reason to replace the gauge instead of chasing a different problem first.
If it doesn’t: If the gauge appears to work normally, check for pressure switch, tank air charge, or pump problems before replacing parts.
If it works: The pump is off and the pressure tank connection is no longer under normal operating pressure.
If it doesn’t: If pressure will not drop or water keeps flowing strongly, close the faucet and confirm the pump power is actually off before continuing.
If it works: The old gauge is out and the threaded opening is clean and ready for the replacement.
If it doesn’t: If the gauge is stuck, apply steady pressure and support the fitting so you do not stress the piping.
If it works: The new gauge is installed straight, snug, and positioned so you can read it easily.
If it doesn’t: If the gauge will not thread in by hand, remove it and start again to avoid damaging the port.
If it works: The system builds pressure normally and the new gauge connection stays dry.
If it doesn’t: If the gauge leaks after resealing, the threads or the replacement gauge may be the wrong match.
If it works: The gauge reads smoothly, the connection stays dry, and the pressure shown matches real water use.
If it doesn’t: If the new gauge reads oddly but does not leak, the system may have a pressure switch, tank, or pump issue that needs separate diagnosis.
Match the replacement part to your exact well pump pressure tank before ordering.
As an Amazon Associate I earn from qualifying purchases. Repair Riot may earn a commission at no extra cost to you.
A bad gauge may stick in one spot, read zero all the time, bounce around without reason, fog up inside the lens, or show a pressure that clearly does not match how the water system is acting.
Usually no. You normally just shut off pump power and relieve system pressure through a faucet until the line at the gauge is no longer pressurized.
No. The gauge should not be removed from a live, pressurized well system. Shut off power and relieve pressure first.
If the new gauge does not leak but the reading still seems wrong, the issue may be with the pressure switch, tank air charge, pump, or another part of the well system rather than the gauge itself.
Yes, in most cases a small amount of thread seal tape or pipe thread sealant helps prevent leaks at the threaded connection. Use it sparingly and avoid cross-threading the gauge.