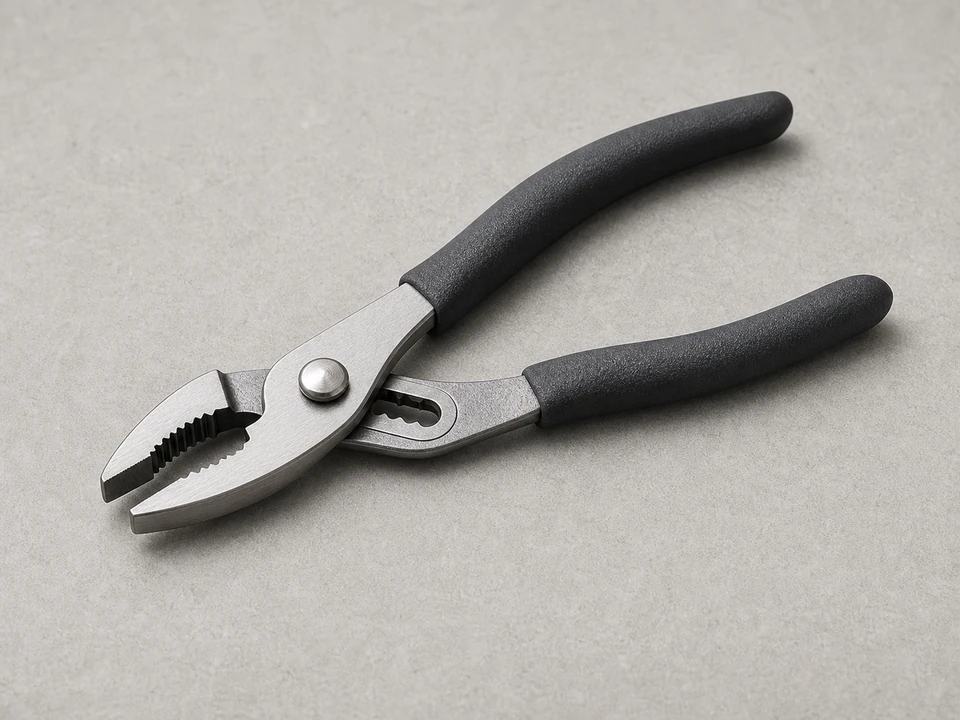
Slip joint pliers
Use it for: To loosen a stuck aerator without forcing it by hand.
Shop slip-joint pliersTo clean a faucet aerator, unscrew the aerator from the faucet tip, take the small parts apart in order, rinse out grit and mineral buildup, soak the pieces if needed, then reassemble and test the flow.
A clogged faucet aerator is a common cause of low flow, sputtering, or a spray that shoots sideways. This is usually a quick cleanup job, and you can often fix it without replacing the faucet.
Before you start: Match the thread size, thread type, and faucet compatibility before ordering. Stop if the repair becomes unsafe or unclear.
Use it for: To loosen a stuck aerator without forcing it by hand.
Shop slip-joint pliers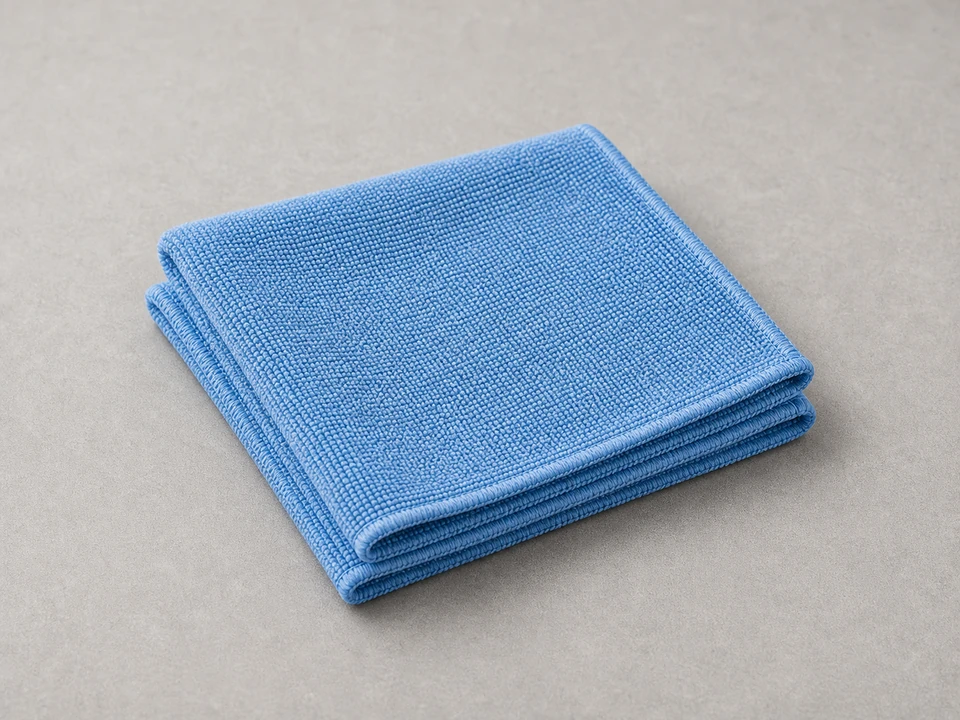
Use it for: To protect the aerator finish when using pliers and to catch small parts.
Shop microfiber cloths
Use it for: To soak the aerator pieces and keep them from getting lost.
Shop small soaking bowls
Use it for: To dissolve light mineral buildup on the screen and housing.
Shop white vinegar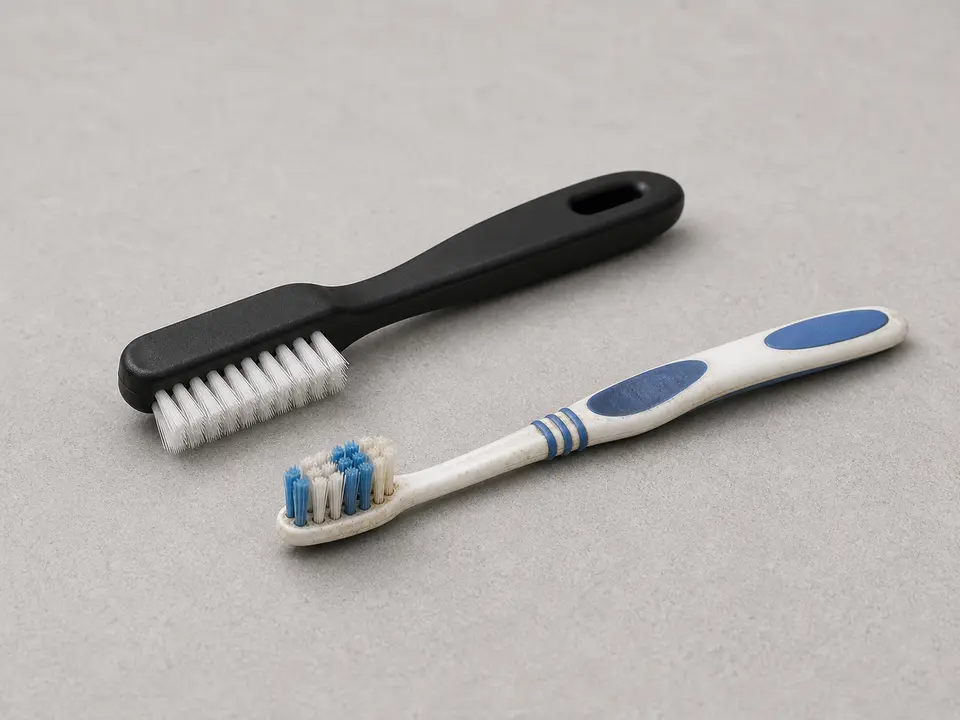
Use it for: To scrub away loosened scale and debris without damaging the screen.
Shop small cleaning brushes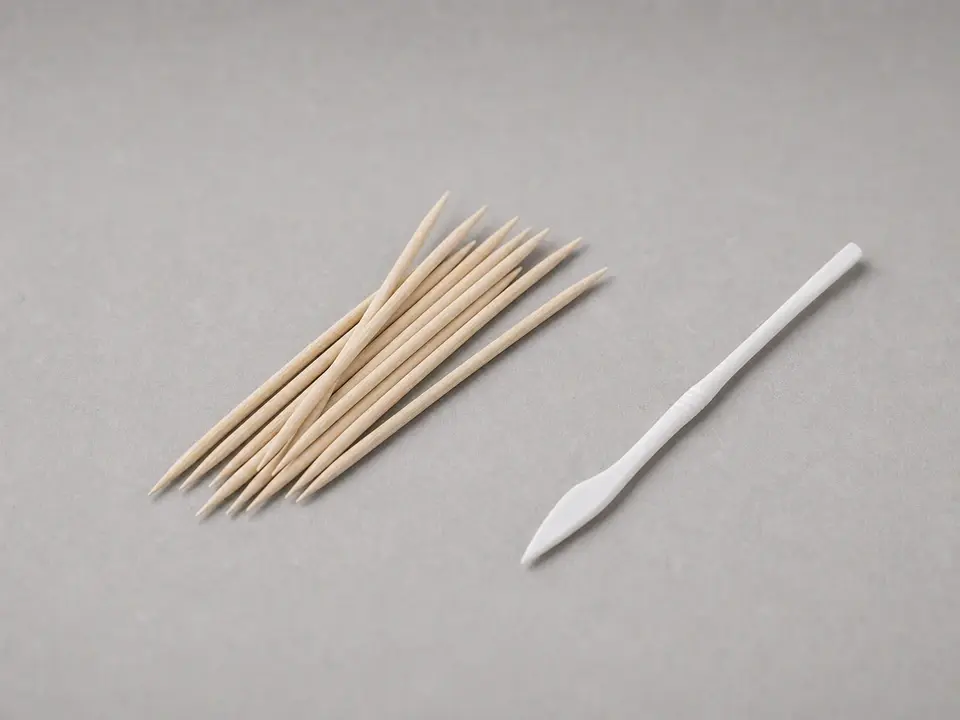
Use it for: To lift out trapped grit from small openings and threads.
Shop plastic picksAs an Amazon Associate I earn from qualifying purchases. Repair Riot may earn a commission at no extra cost to you.
If it works: The symptoms point to a clogged faucet aerator rather than a whole-house water problem.
If it doesn’t: If several fixtures have low pressure, or both the faucet and nearby shower are weak, the issue is probably upstream and cleaning the aerator may not solve it.
If it works: The aerator is off the faucet and the parts are kept in order for reassembly.
If it doesn’t: If the aerator will not budge, soak the joint with vinegar on a rag for a while, then try again with light pressure.
If it works: Loose debris is removed and you know how the parts stack back together.
If it doesn’t: If the parts are packed with white or green mineral buildup, move on to a vinegar soak before trying to reassemble.
If it works: The parts look clear, the screen openings are open, and the threads are free of crusted buildup.
If it doesn’t: If the screen stays clogged, the housing is badly corroded, or the parts will not clean up, replace the faucet aerator with a matching one.
If it works: The aerator is back on straight, snug, and ready for testing.
If it doesn’t: If the aerator will not thread on smoothly, back it off and start again by hand. Cross-threading will damage the faucet tip.
If it works: The faucet has a smooth, even stream with better flow and no dripping at the aerator.
If it doesn’t: If flow improves only briefly or stays weak, the aerator may need replacement or the restriction may be deeper in the faucet or supply line.
A clogged aerator usually causes low flow at one faucet, a choppy or sputtering stream, or spray that shoots off at odd angles. If the rest of the house has normal pressure, the aerator is a strong suspect.
Usually no. You are removing the tip piece at the spout, not opening the supply lines. Just keep the faucet off while you remove and clean the aerator, then briefly run it to flush debris before reinstalling.
You might loosen some buildup by soaking the tip with vinegar, but the best result usually comes from taking the aerator off, cleaning the screen and inserts directly, and flushing the spout.
Try removing it by hand first, then use pliers over a rag for light grip. If mineral buildup is locking it in place, hold a vinegar-soaked rag around the aerator for a while and try again gently.
Replace it if the screen is torn, the housing is badly corroded, the threads are damaged, or the flow stays poor after a thorough cleaning. A matching replacement is often inexpensive and faster than fighting a worn-out one.