Turn the HRV / ERV off. Pull the filter from its slot, vacuum it, and wash it only if the media allows water. Reinstall it dry, flat, and facing the same direction.
A dirty HRV / ERV filter can choke airflow and leave the house feeling stuffy. The key checks are simple: media type, frame shape, airflow arrow, and full dry time.
Before you start: Turn the HRV / ERV off before opening the access panel. Match the old filter's size, thickness, frame style, airflow direction, and unit model before ordering a replacement.
Last reviewed: 2026-06-17
Make sure this is the right repair
Before washing or buying a filter, separate normal dust buildup from replacement signs or a ventilation problem elsewhere.
This page fits
This page fits when: The filter is dusty or lightly clogged. The frame is still square, and the media is reusable foam or plastic mesh.
Check something else when: Weak airflow after cleaning points past the filter. Check the core, outdoor hoods, ducting, blower, and controls.
Replace instead of washing
This page fits when: Replace torn, badly warped, moldy, crumbling, or paper-like disposable media. Do not soak those filters.
Check something else when: Before ordering, match the old part number, dimensions, thickness, frame style, airflow arrow, and unit model.
Stop for cabinet problems
This page fits when: The compartment is dry, the fan is off, the access door opens normally, and the filter slides out without force.
Check something else when: Stop if you see standing water, mold growth, damaged wiring, burned smells, a broken latch, or bent metal that traps the filter.
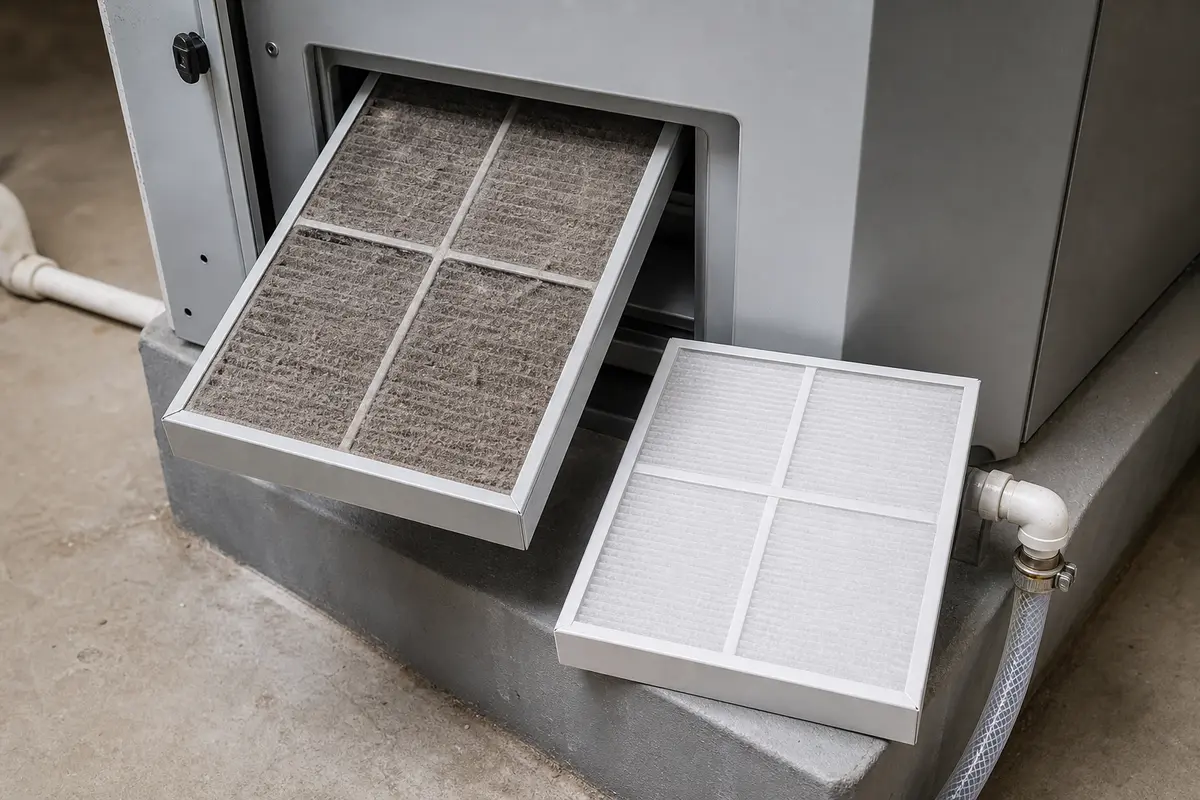
Use the photos to judge clean, replace, and fit
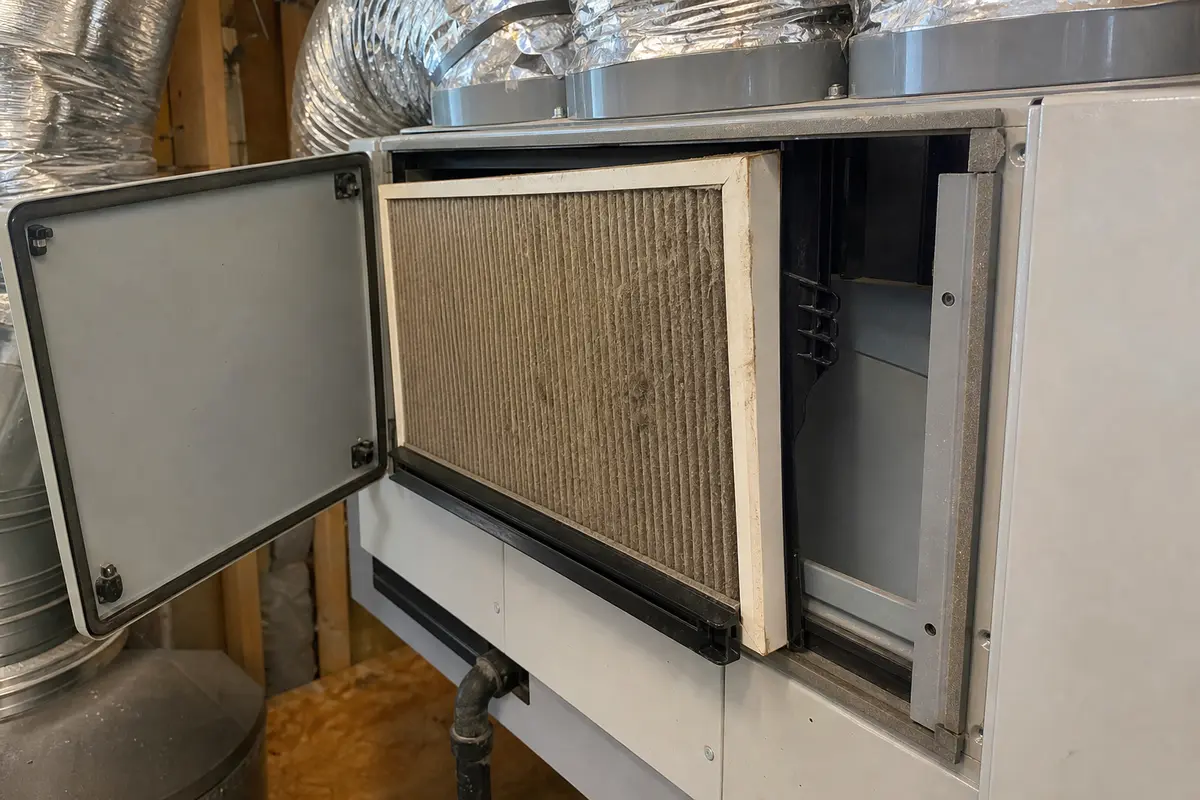
A useful filter photo shows the dirty face, frame edge, and track position. Use those details before washing, replacing, or reinstalling.
Check dust load, torn spots, warped corners, stamped size, and any airflow arrow before washing. Disposable, moldy, crumbling, or loose media needs replacement.The cleaned filter should sit flat in the track. If the door needs pressure, pull the filter back out and check the airflow arrow, frame corners, and track before closing it again.
Safety first
Turn the HRV / ERV off before opening the access panel or removing the filter.
Do not reinstall a wet filter, because trapped moisture can lead to odor, poor airflow, or internal damage.
Handle the filter gently so the media does not tear or pull away from the frame.
If you find mold, damaged wiring, or standing water inside the cabinet, stop and address that problem before running the unit again.
Tools you may need
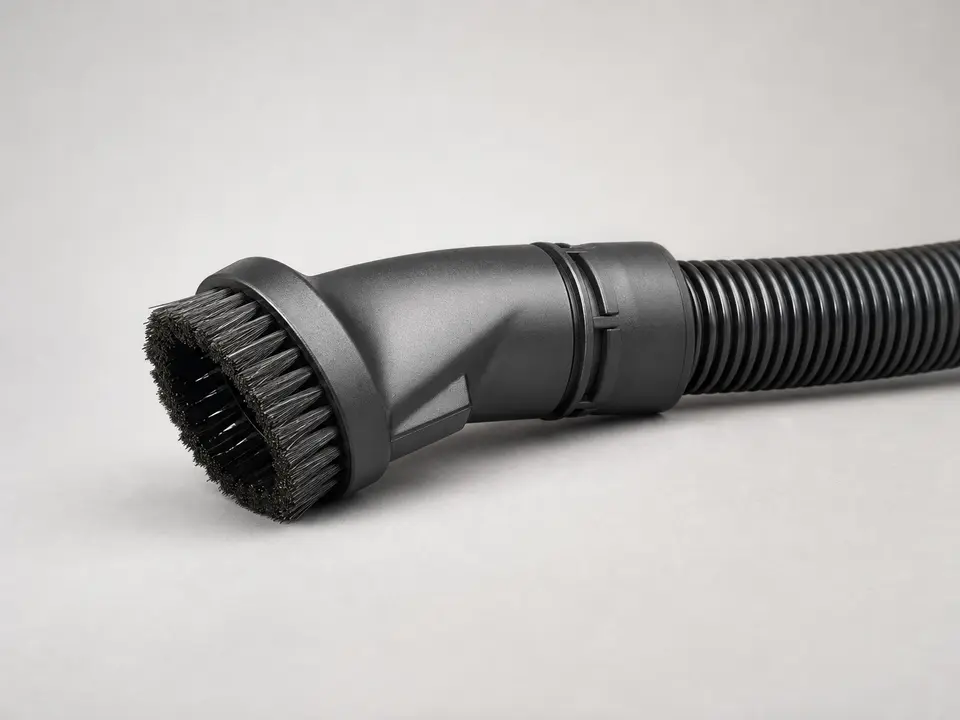
Vacuum with brush attachment
Use it for: Dusty reusable media that needs dry cleaning before any rinse. The brush lifts dust and lint without tearing the media.
As an Amazon Associate I earn from qualifying purchases. Repair Riot may earn a commission at no extra cost to you.
Step-by-step fix
Step 1: Make sure filter cleaning matches the problem
Check for signs of restricted airflow, like a dirty filter surface, weak fresh-air flow at vents, extra dust buildup around the unit, or a maintenance reminder on the control.
Open the HRV / ERV access panel and look at the filter, frame edge, slot, gasket, and any airflow arrow before doing anything else.
Dusty or lightly clogged reusable media is worth cleaning when the frame still holds a square shape.
Torn, crumbling, badly warped, or permanently stained media belongs in the replacement pile.
If it works: You have confirmed the filter is dirty enough to clean and still in reusable condition.
If it doesn’t: A clean-looking filter points elsewhere. Check the core, ducting, outdoor hoods, or blower before repeating this task.
Stop if:
You see mold growth, standing water, burnt wiring, or damaged internal parts inside the unit.
The filter media is falling apart or the frame will not hold its shape.
Step 2: Shut the unit off and remove the filter carefully
Turn the HRV / ERV off at its wall control or service switch, then wait for the fan to stop before opening the cabinet.
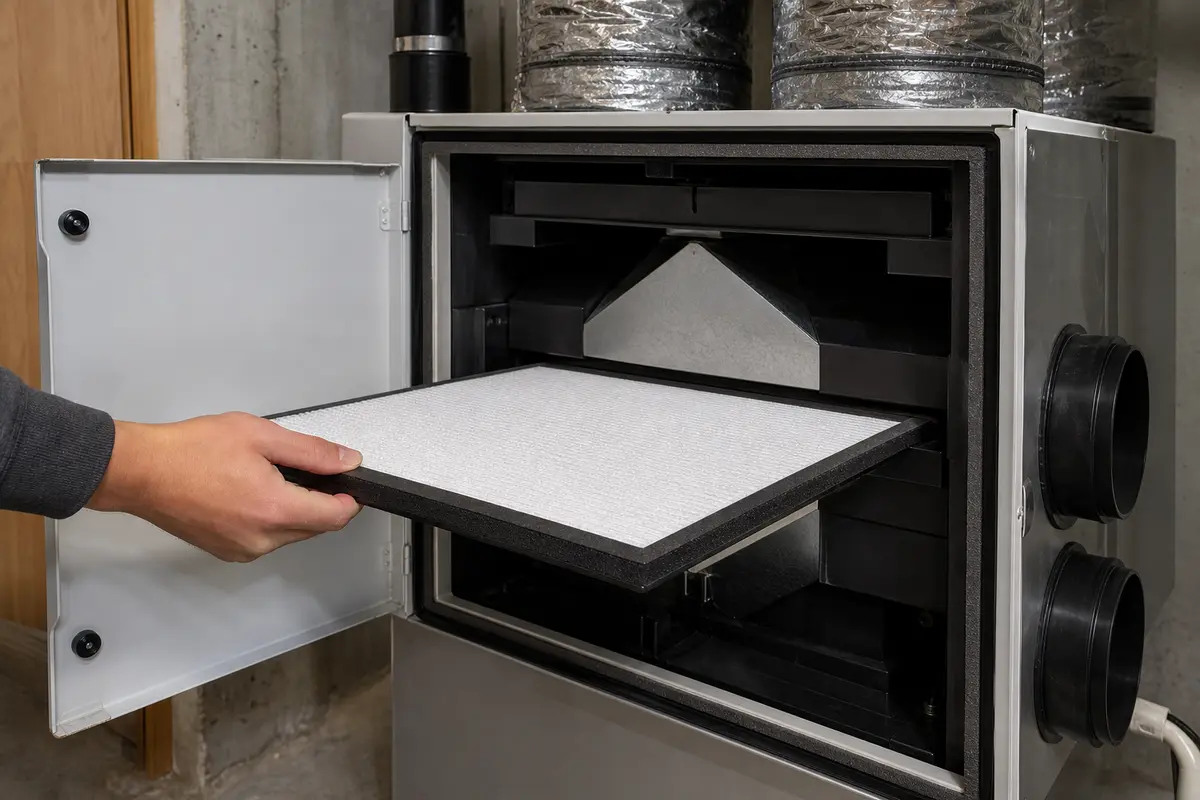
Open the access door or panel and note how the filter sits in the slot, including which edge faces the gasket or airflow path.
Look for a stamped size, part number, or airflow arrow on the frame. Write it down before dust or water wipes it away.
Take a quick photo so you can reinstall it the same way.
Slide the filter out slowly to avoid dumping dust into the cabinet or room.
If it works: The filter is out and you know its original orientation.
If it doesn’t: If the filter stops partway out, look for a clip, tab, second panel, or bent frame holding it. Free that point before pulling harder.
Stop if:
The access panel exposes damaged wiring, loose electrical parts, or sharp broken metal.
The filter is jammed because the frame or housing is bent or broken.
Step 3: Dry-clean loose dust first
Take the filter to a sink, utility area, garage, or outside spot where dust cleanup is easy.
Use a vacuum with a brush attachment to clean both sides of the filter, starting on the dustiest face.
Brush gently from the surface outward so you do not tear the media or push lint deeper into the mesh.
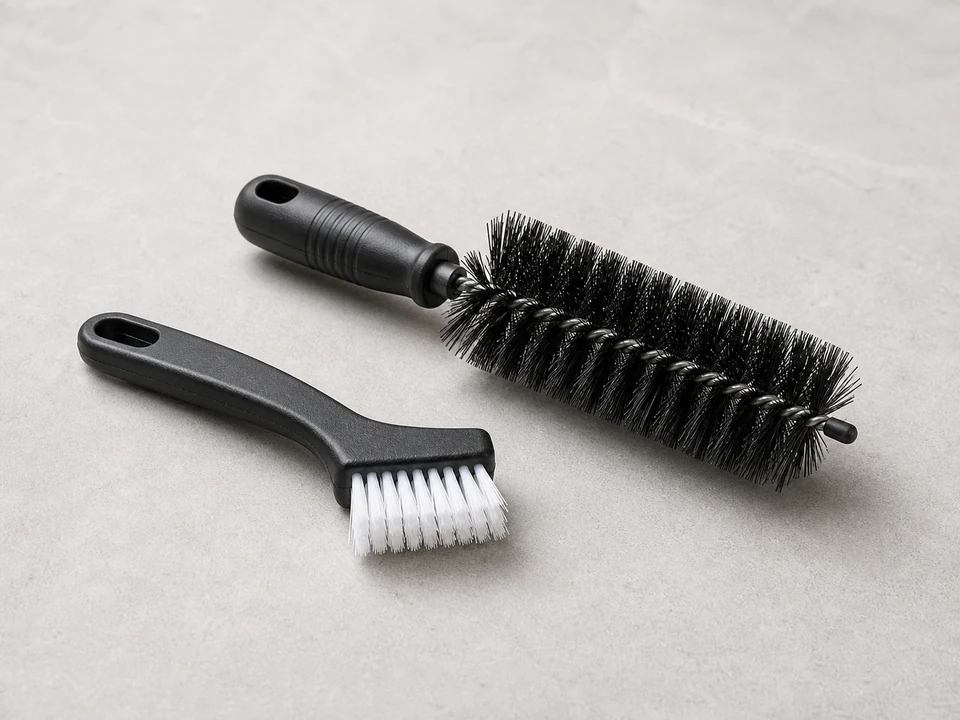
Use a soft brush to loosen lint packed into corners or the frame.
Wipe dust out of the filter slot and nearby cabinet surfaces with a dry or slightly damp cloth.
If it works: Most loose dust and lint are removed from the filter and compartment.
If it doesn’t: If the filter still looks packed with grime after vacuuming, continue to a gentle wash only if the filter material appears reusable and washable.
Stop if:
The filter media starts separating from the frame or tearing during cleaning.
Step 4: Wash the filter only if the material allows it
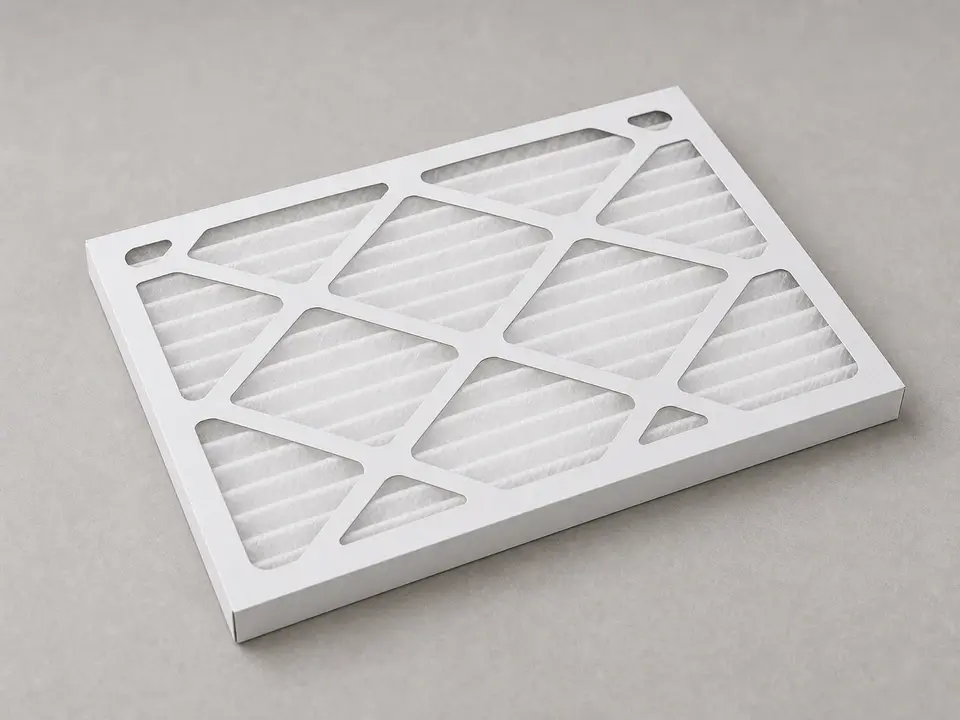
Check the media before it gets wet. Foam or plastic mesh can usually take a gentle rinse; paper-like media cannot.
For reusable foam or plastic mesh, rinse with lukewarm water from the cleaner side toward the dirtier side.
Use a small amount of mild dish soap if greasy dust remains, then press the frame lightly on a flat surface.
Stop washing if the frame flexes out of shape, separates at a seam, or sheds media.
Do not scrub aggressively or twist the filter frame.
Rinse until the water runs clear and no soap remains.
Compare both faces before drying. The mesh should look open, not packed with lint in the corners.
If it works: The filter is clean without damage and free of soap residue.
If it doesn’t: If there is no washable label or the media does not clearly look reusable, replace the filter rather than risk ruining it.
Stop if:
Paper-like media, loose glued seams, or water damage appears while rinsing.
Step 5: Let the filter dry completely and reinstall it
Shake off excess water and set the filter upright or flat on a towel in a well-ventilated area.
Let it dry fully before putting it back in the unit; the frame, corners, and media should feel dry to the touch.
Reinstall the filter in the same direction you noted earlier, following any airflow arrow if present.
Seat the filter fully in its track or slot so the frame sits flat, the gasket is not folded, and the access door closes without pressure.
Turn the HRV / ERV back on.
If it works: The clean filter is back in place, dry, and seated flat.
If it doesn’t: A filter that will not sit flat is usually backward, warped, or outside the track. Remove it and compare the orientation again.
Stop if:
The cleaned media still feels damp at the corners or frame.
The access door will not latch because something inside the unit is out of place.
Step 6: Verify airflow in normal use
Run the HRV / ERV through a normal cycle or fan setting with the access panel shut and sealed.
Check that airflow at supply and exhaust points feels more normal than before.
Listen for rattling, whistling, or a panel vibration that could mean the filter is not seated correctly.
If your control has a maintenance reminder, reset it only after the unit is running properly.
Check again after 10 to 15 minutes to make sure the repair held in real use.
If it works: Airflow is improved, the unit sounds normal, and the filter stays in place during operation.
If it doesn’t: If airflow is still weak after cleaning, check the core, outdoor hoods, ducting, and blower for blockage or noise before you blame the cleaned filter.
Stop if:
The unit shuts down, trips power, makes burning smells, or leaks water after restart.
Buy a filter only after you match the unit model, filter length, width, thickness, frame style, and airflow arrow.
As an Amazon Associate I earn from qualifying purchases. Repair Riot may earn a commission at no extra cost to you.
Verify the repair
The filter is clean, dry to the touch, and installed in the correct direction.
The access panel is closed fully and the unit starts normally.
Airflow feels stronger or more even than it did before cleaning.
No new rattles, whistles, leaks, or warning signs show up during a full run cycle.
FAQ
How often should I clean an HRV / ERV filter?
Check it every 1 to 3 months, especially during heavy heating or cooling seasons. If vents feel weak, dust gathers around the unit, or the home has pets, smoke, or renovation work, look at the filter sooner.
Can I wash any HRV / ERV filter?
No. Some are reusable foam or mesh filters, while others are disposable. Paper-like media, delicate pleats, or separating seams are replacement signs.
What happens if I put the filter back in wet?
A damp filter can restrict airflow, hold odors, and add moisture where it does not belong. Let it dry completely before reinstalling it.
Why is airflow still weak after I cleaned the filter?
The filter may not be the only restriction. Check the heat or energy recovery core, outdoor hoods, ducting, blower, and controls next.
Do I need to replace the filter instead of cleaning it?
Replace the filter if the media is torn, warped, moldy, disposable, or still badly stained after cleaning. Clean only a sound reusable filter that keeps its shape.
Sources and reference notes
Repair Riot keeps this HRV / ERV filter cleaning guide focused on power-off access, washable-media limits, full drying, orientation, and model-matched replacement when cleaning is not the right fix.
How to Replace an HRV / ERV Filter - Use when the filter is torn, warped, crumbling, disposable, or still not safe to wash after you check the media type.
How to Clean an HRV / ERV Core - Use when filter cleaning does not restore normal airflow and the core needs a separate inspection.