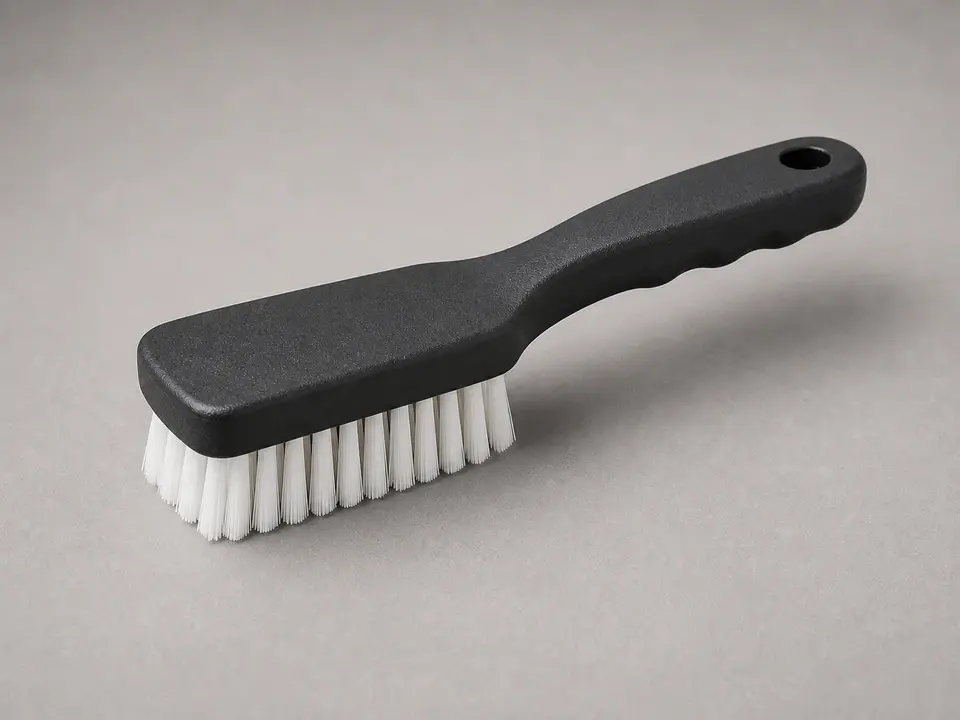
Stiff push broom
Use it for: Sweeps away loose gravel, dirt, and dust before and after cleaning.
Find a stiff push broomTo prepare a driveway surface for patching, remove all loose material, clean out dust and debris, make sure the area is dry, and leave solid edges for the patch to grab onto.
Most patch failures start with poor prep, not bad filler. If you take time to clean out weak material and start with a solid, dry surface, the patch has a much better chance of staying put through traffic and weather.
Before you start: Choose prep tools and patch materials that match your driveway surface, such as asphalt or concrete, and the size of the damaged area. Stop if the repair becomes unsafe or unclear.
Use it for: Sweeps away loose gravel, dirt, and dust before and after cleaning.
Find a stiff push broom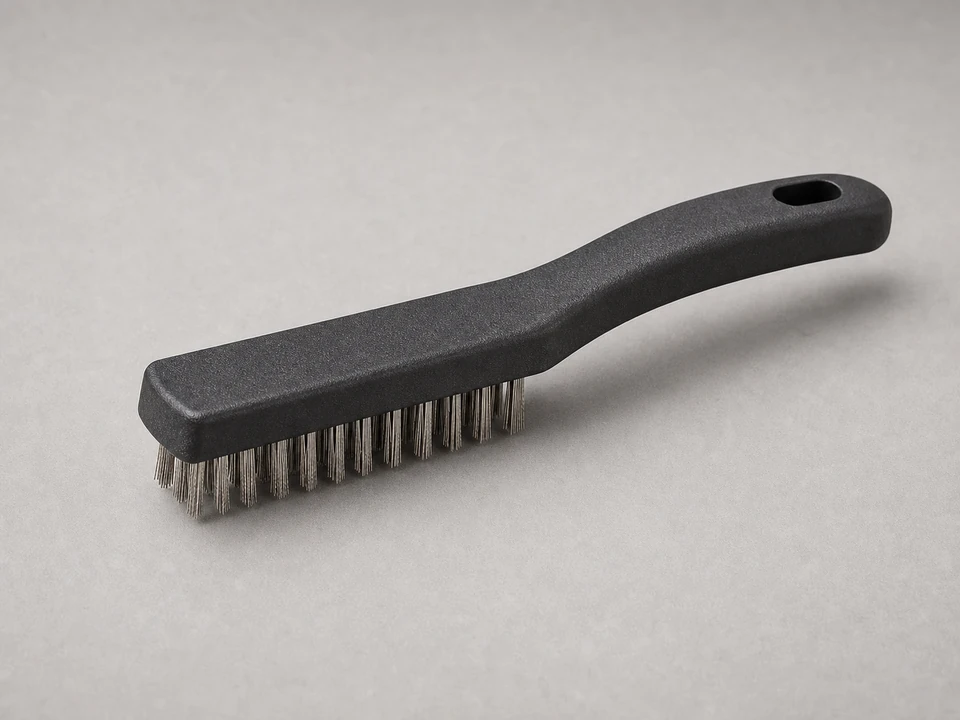
Use it for: Scrubs out packed debris and weak surface material from cracks, holes, and edges.
Shop wire brushes for masonry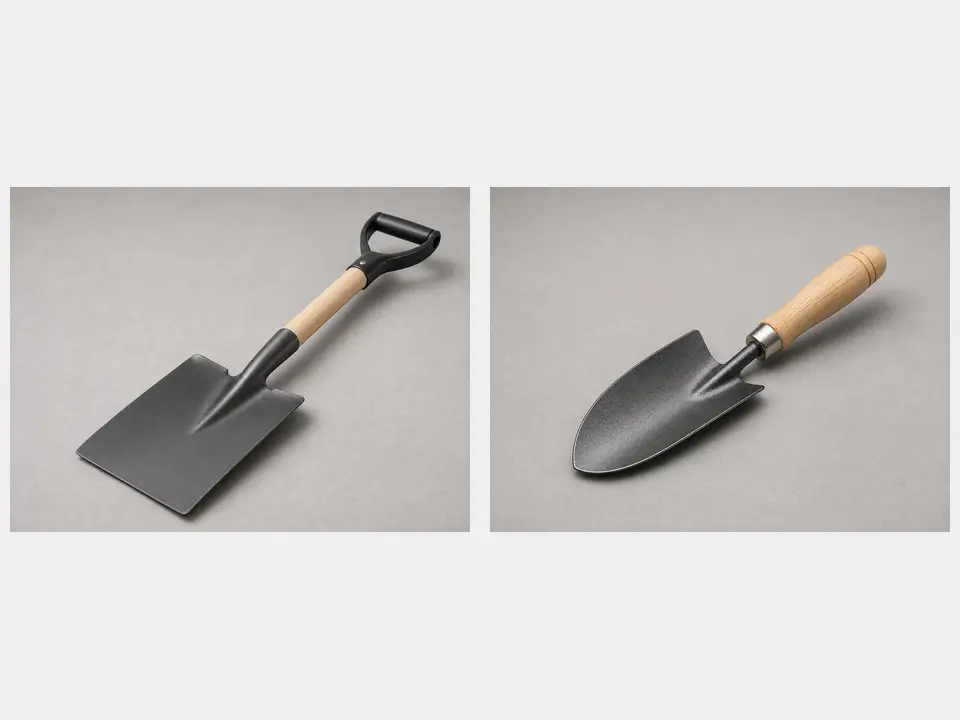
Use it for: Lifts out loose chunks and scoops debris from deeper damaged spots.
Find a flat shovel or trowel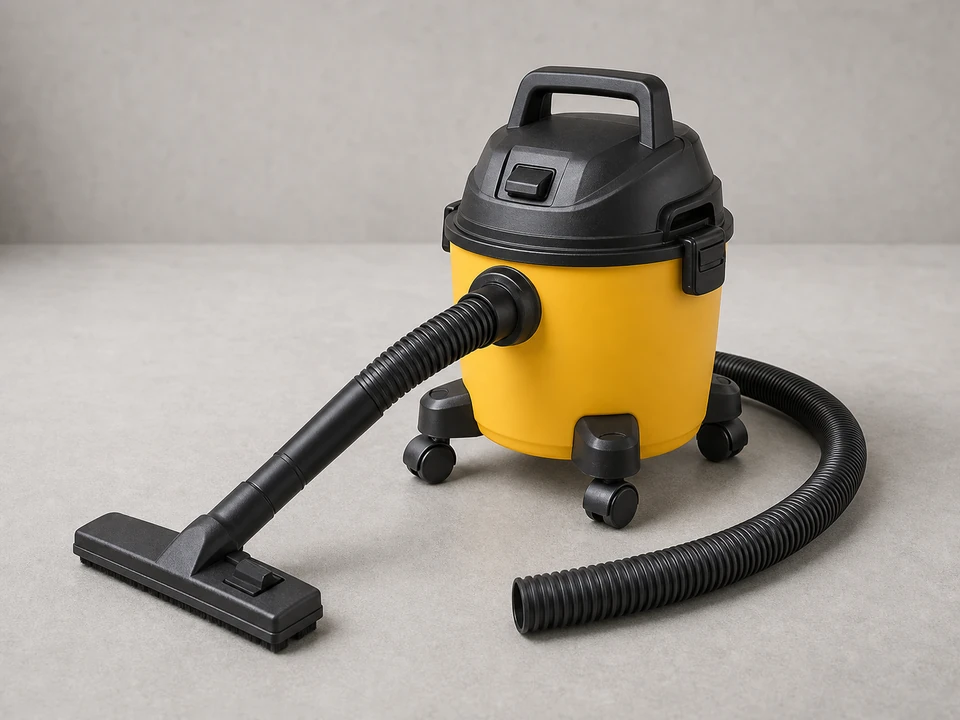
Use it for: Pulls fine dust and grit out of the repair area so the patch can bond better.
Shop wet dry vacs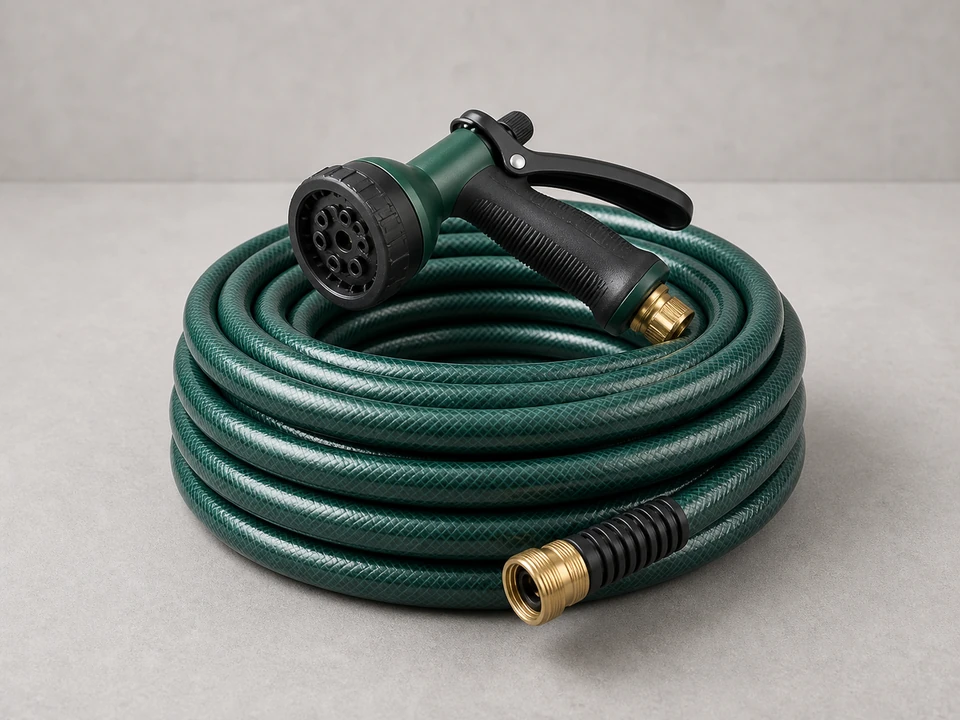
Use it for: Rinses away remaining dirt when dry cleaning is not enough.
Find a hose spray nozzle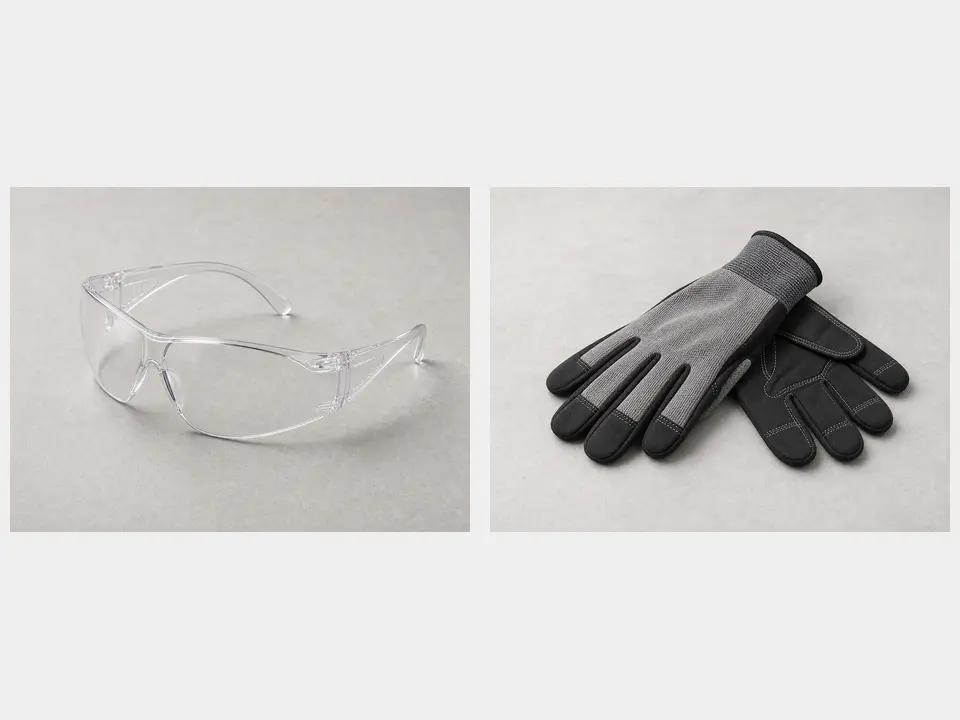
Use it for: Protects your eyes and hands from flying grit, sharp edges, and dirty debris.
Shop safety glasses and work glovesAs an Amazon Associate I earn from qualifying purchases. Repair Riot may earn a commission at no extra cost to you.
If it works: You have a patch-sized repair area with solid driveway around it and clear access to work.
If it doesn’t: If the damage runs across large sections of the driveway or the base feels soft and unstable, shift from patch prep to a larger driveway repair plan.
If it works: The repair area is down to solid material with no loose chunks left behind.
If it doesn’t: If debris keeps breaking free, keep brushing and scraping until the remaining surface feels firm and looks sound.
If it works: The damaged spot has solid edges that can hold patch material instead of crumbling away.
If it doesn’t: If the edges still chip when you brush them, remove a little more weak material until the perimeter stays intact.
If it works: The repair area is clean, mostly dust-free, and not holding loose dirt or muddy residue.
If it doesn’t: If dust keeps appearing, vacuum again right before patching so the surface is as clean as possible.
If it works: The area is clean, dry enough, and ready for patching without extra delay.
If it doesn’t: If the surface is still damp, give it more drying time or choose a patch product that is suitable for the actual site conditions.
If it works: The surface was prepped well enough that the patch stays bonded and stable in real use.
If it doesn’t: If the patch loosens quickly, remove the failed material and revisit the prep steps, especially loose debris, dust, moisture, and unstable edges.
Yes. A patch only holds as well as the surface under it. If loose chunks, dust, or weak edges stay in place, the new patch can break free early.
Usually you want the area dry or close to it, but the exact requirement depends on the patch material. If the spot has standing water or constant seepage, fix that problem first.
Start dry with sweeping, scraping, and vacuuming. If dirt is packed in or the surface is muddy, rinsing can help, but let the area dry again before patching if the product calls for it.
Clean enough that the edges are solid and not shedding grit when you brush them. Thin, broken edges are one of the main reasons a patch fails around the perimeter.
That usually means the base below is not sound. A simple patch may not last until the loose base, washout, or drainage problem is corrected.