Direct answer: Fix a drywall fastener pop by checking that the drywall is dry and firm, confirming the stud or joist line, and pressing the panel for flex. Drive a new drywall screw 1 to 2 inches from the popped screw or nail head. Set it just below the face paper, then seat or remove the old fastener. Skim only after the panel sits flush.
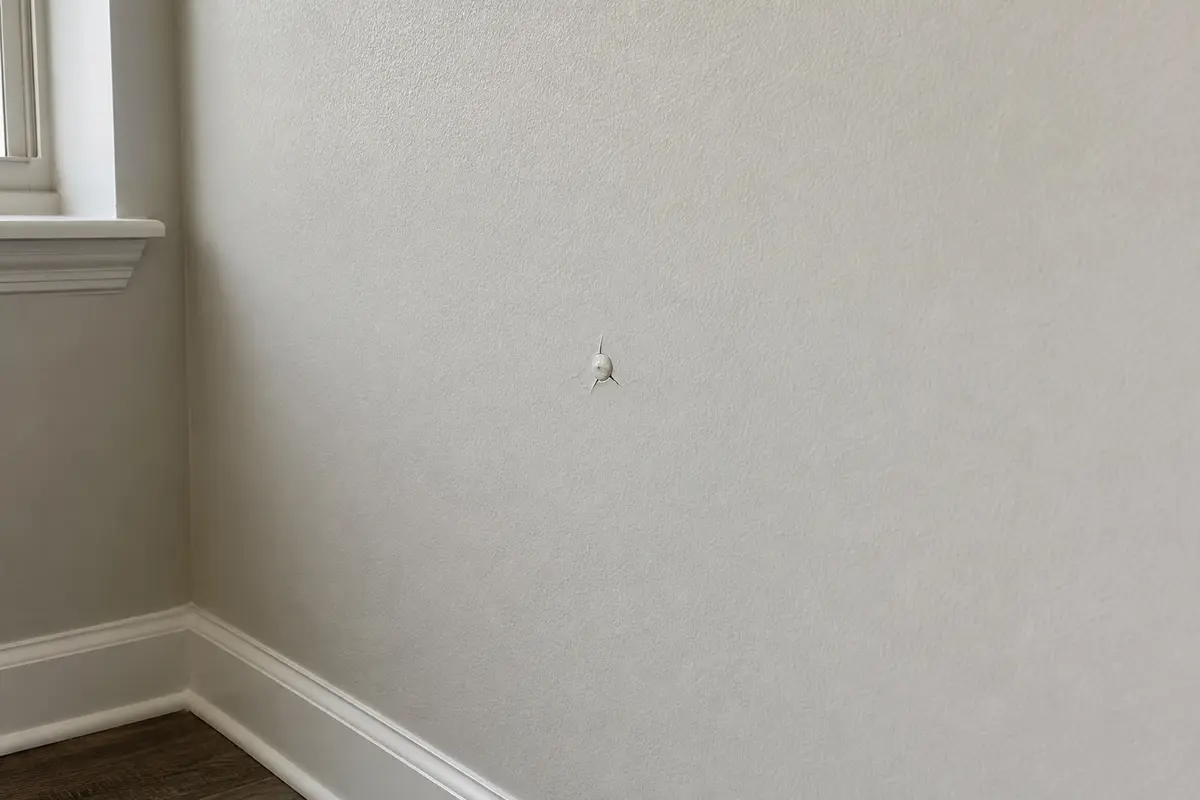
Check the bump before you scrape. A true fastener pop is a small round spot with dry, firm drywall around it. If you see staining, soft face paper, a sagging ceiling, or several pops in a line, stop and look for moisture or movement before patching.
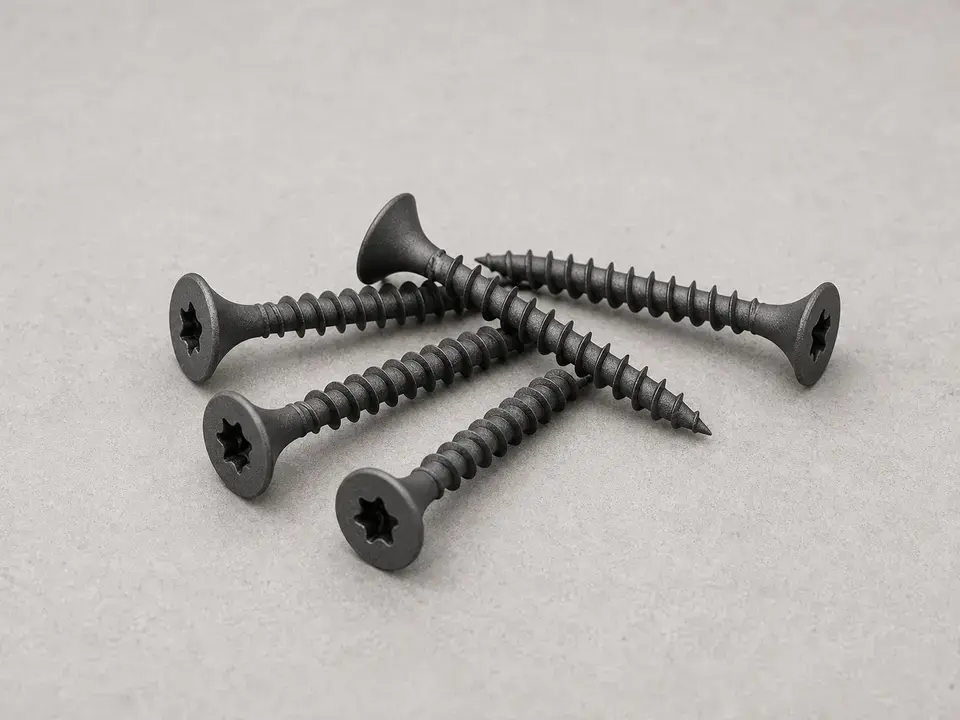
Before you start: Before buying screws, confirm whether the framing is wood or light gauge metal. Match the screw thread and length to that backing, and use a depth setting that leaves the head just below the paper. Stop if the drywall is wet, sagging, moldy, or too loose to pull tight with one or two nearby screws.
Last reviewed: 2026-06-16
Check the fit before patching
Check the fit before compound. Use this repair for one or a few small round pops where the drywall is dry and firm. A stud or joist should be close enough for a new screw. If the panel is stained, soft, cracked, or sagging, find that moisture or movement issue before compound covers the clue.
This page fits
This page fits when: A round screw or nail head is raised. The drywall around it is dry and firm, and a stud or joist is close enough for a new screw.
Check something else when: If the surface is stained, soft, sagging, or cracked beyond the fastener head, check for moisture or movement before patching.
Match the screw to framing
This page fits when: The new drywall screw has a bugle head and a thread style that matches wood or metal framing. It also needs enough length to bite the framing after passing through the panel.
Check something else when: If the screw spins, misses the stud, or tears the face paper, stop driving and recheck the framing line before making more holes.
Stop for hidden damage
This page fits when: The repair area is dry, solid, easy to reach, and small enough that one or two nearby screws can pull the drywall tight.
Check something else when: Stop if you uncover active moisture, mold-like growth, missing backing, structural movement, unsafe ladder access, or a larger loose ceiling area.
Read the pop before you patch
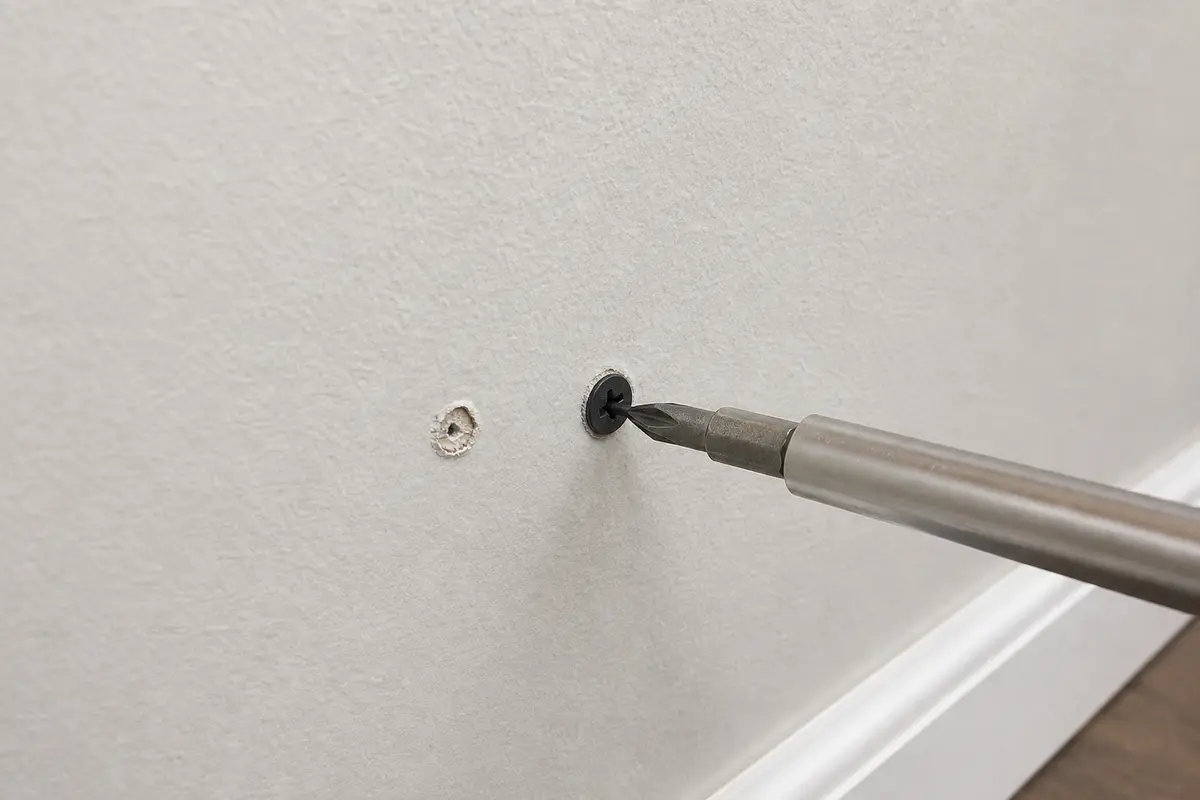
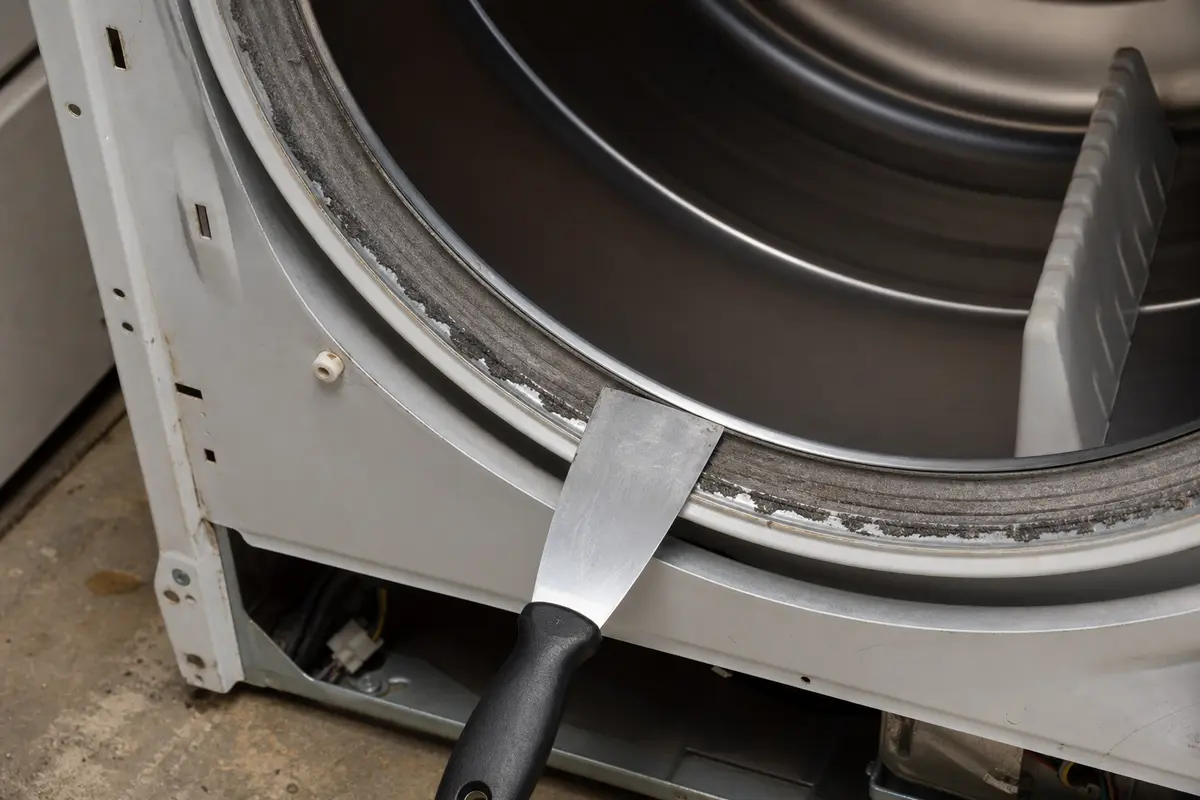
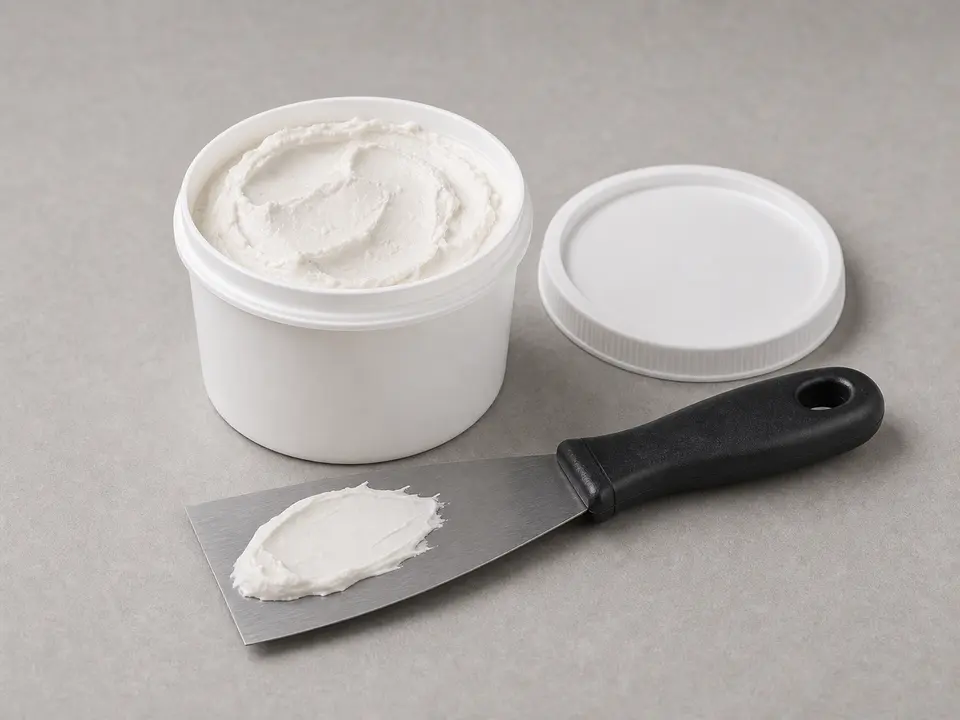
Use the first image to separate a small raised fastener head from moisture or movement. Use the second as the dry-fit check: the new screw should land on solid framing and pull the panel flush before compound goes on.
A true fastener pop is a small raised spot with firm drywall around it. Stop for staining, softness, sagging, or cracks running away from the spot.Before finishing, set the new screw in solid framing and press the panel. The surface should sit flush without torn paper or fresh movement.
Safety first
Wear eye protection when scraping, driving screws, or sanding overhead.
Use a dust mask when sanding joint compound and keep dust out of the room if you can.
Use a stable ladder for ceiling repairs and keep both feet planted while working.
Do not overdrive screws so deeply that they tear through the drywall face paper.
Stop if a screw hits unexpected hard resistance or the drywall is wet, moldy, or loose across a larger area.
Tools you may need
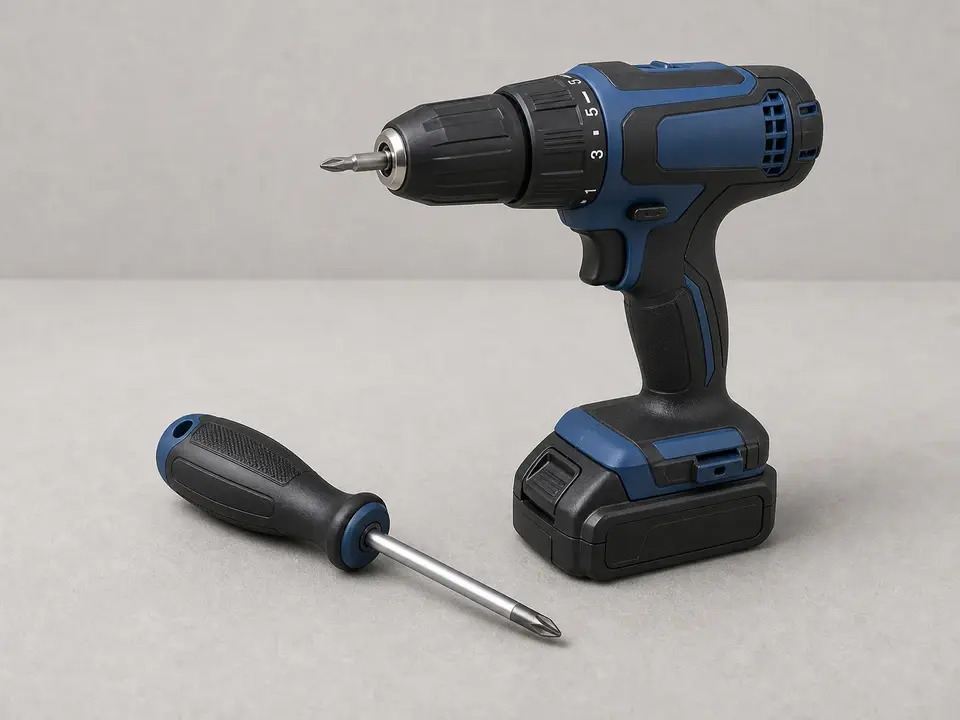
Drywall screw gun or drill/driver
Use it for: Use the clutch or depth setting to set a new drywall screw into the stud or joist without tearing the face paper.
As an Amazon Associate I earn from qualifying purchases. Repair Riot may earn a commission at no extra cost to you.
Step-by-step fix
Step 1: Confirm this is really a fastener pop
Look for a small round or slightly raised bump, about the size of a screw or nail head. A hairline crack may show in the paint or joint compound.
Press gently around the bump with your fingertips. A true fastener pop feels firm at the head, but the drywall beside it may click, flex slightly, or move against the framing.
Before you drive a screw, check what you can see and feel around the bump. Watch for soft face paper, brown staining, bubbling paint, a long spreading crack, or a sagging ceiling area. Any one of those needs moisture or movement checks before patching.
For a ceiling pop, use a stable ladder and good lighting. Check whether there is just one popped spot or a wider loose area.
If it works: You have a small, localized drywall fastener pop and the surrounding drywall still looks sound.
If it doesn’t: If the area is soft, stained, spreading, or sagging, solve the moisture or movement problem first before patching the surface.
Stop if:
The drywall is soft from water damage.
The ceiling or wall surface is sagging or separating over a larger area.
You find repeated pops and cracks that suggest framing movement or structural shifting.
Step 2: Prep the area and expose the popped spot
Lay down a drop cloth and wear eye protection and a dust mask before scraping or sanding.
Use a putty knife to scrape away loose paint, loose compound, and paper fuzz around the raised spot.
If the old fastener head is standing proud, lightly tap or turn it just enough to test whether it will seat without tearing the drywall face.
Stop scraping when the edge feels firm under the knife and loose paint no longer lifts. For one pop, keep the cleaned area about the width of the putty knife.
If it works: The raised area is clean, the loose edges are gone, and the drywall face still feels firm enough to hold compound.
If it doesn’t: If the drywall paper tears badly or the gypsum face crumbles, widen the scrape only until the knife reaches solid material.
Stop if:
The drywall face breaks apart enough that the panel no longer feels firmly attached nearby.
Stop if you uncover mold-like growth or active moisture behind the damaged surface.
Step 3: Re-secure the drywall beside the pop
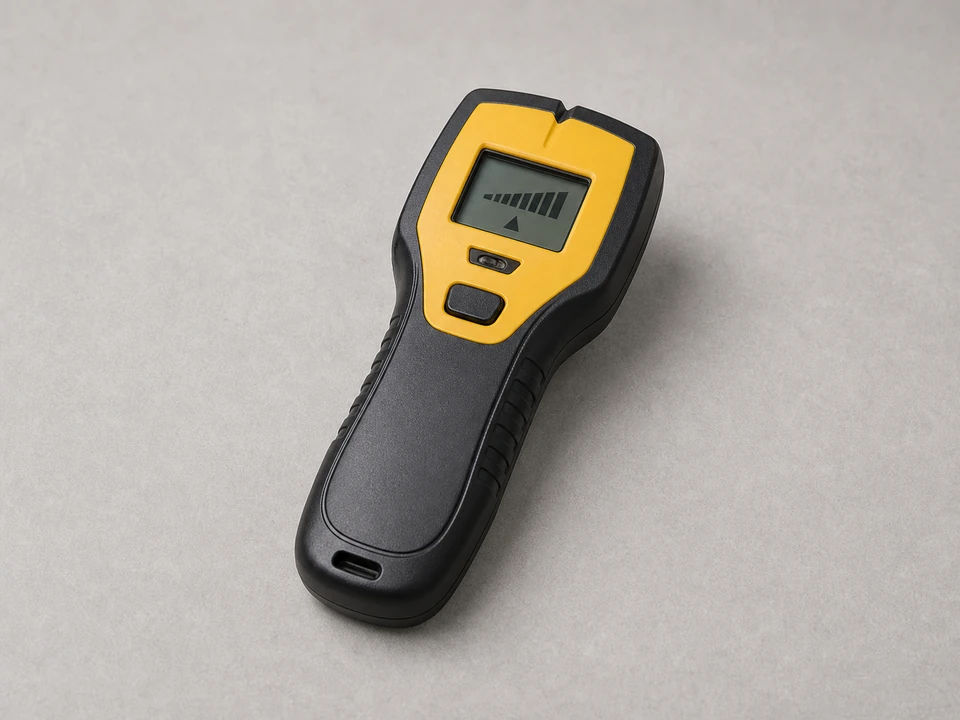
Locate the stud or joist with a stud finder, then compare that mark with the line of nearby drywall screws or nails.
Mark the framing centerline with pencil so the new screw lands on solid backing instead of the soft edge of the stud.
Drive a new drywall screw about 1 to 2 inches above or below the popped fastener on the same framing member.
Hold the driver square to the wall and stop when the screw head dimples the paper slightly. Do not tear through the face paper.
Press beside the new screw. The panel should feel tight with no click, flex, or hollow movement.
If the old fastener is a screw, tighten it only if it still bites firmly. If it spins or will not stay set, leave it and rely on the new screw nearby.
If the old fastener is a nail and it still stands proud, tap it below the surface after the new screw is holding the panel.
If it works: The drywall is pulled snug to the framing and no longer flexes around the pop.
If it doesn’t: If the new screw misses the framing, back it out, recheck the stud mark, and move slightly toward the confirmed centerline.
Stop if:
You cannot confirm solid framing where the drywall should be supported.
The screw hits sudden hard resistance before it reaches depth and you suspect hidden metal, wiring, or plumbing.
Multiple nearby screws will not hold, suggesting damaged framing or loose backing.
Step 4: Set or remove the old fastener and fill the area
If the old fastener now sits slightly below the surface and feels stable, leave it in place.
If an old screw backs out cleanly and leaves a small hole, remove it and fill that spot instead of forcing it back into stripped material.
Lay the putty knife across the fastener spots. The blade should pass over them without catching on a proud head.
Apply a thin first coat of joint compound over the old fastener spot, the new screw dimple, and the scraped edge.
Feather the compound wider than the scrape so the patch does not leave a hard ridge after sanding.
Let the compound dry fully, then check it in side light before deciding whether the dimples need another thin coat.
If it works: The fastener spots are covered, the edges are feathered, and the patch is flat enough to sand smooth.
If it doesn’t: If the patch shrinks or shows a shallow dip after drying, apply one more thin coat rather than one thick coat.
Stop if:
The wall keeps moving enough to crack fresh compound before it dries.
Step 5: Sand smooth and touch up the finish
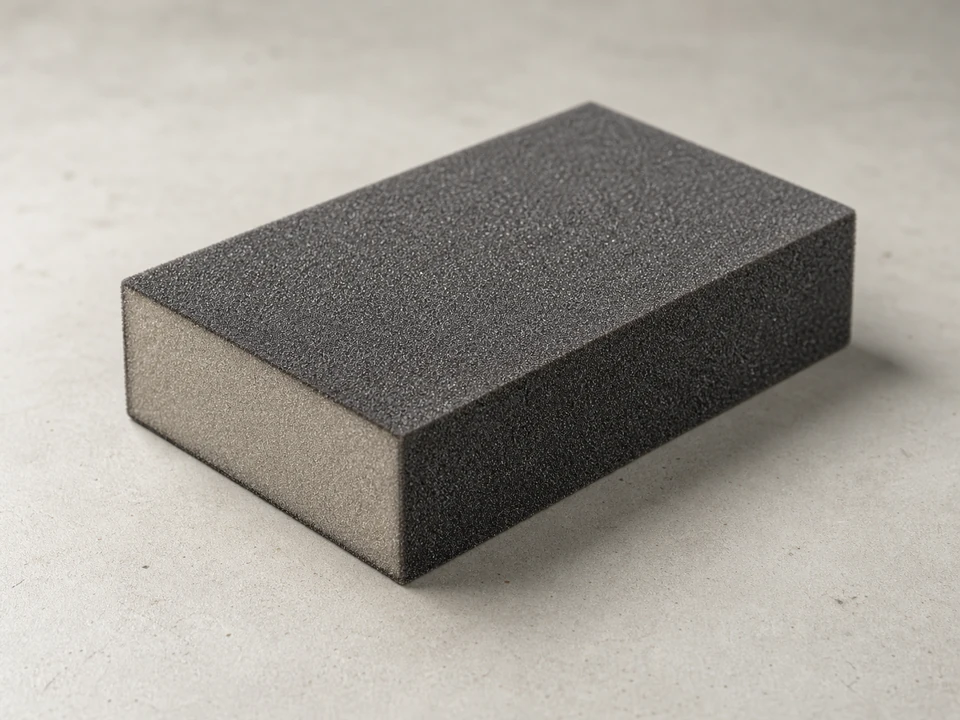
Lightly sand the dried compound with a fine sanding sponge until the repair feels flush with the surrounding wall.
Wipe away dust with a dry cloth or barely damp rag, then look across the patch in side light for ridges or pinholes.
If a dimple, ring, or knife mark still shows, add a final skim coat, let it dry, and sand again lightly.
Prime the patched area if the repair is bare compound, then repaint to match the wall or ceiling finish.
If it works: The repaired spot feels flush under your fingertips and no raised ring shows in side light.
If it doesn’t: If you can still see a ring or hump, skim a slightly wider thin coat, let it dry, and sand again.
Stop if:
Sanding exposes torn drywall paper over a large area that needs sealing before more compound.
Step 6: Make sure the repair holds in real use
Press gently around the repaired area after the paint has dried and check that the wall feels solid with no fresh movement.
Look across the surface in side light to make sure the patch stayed flat and no fastener head is telegraphing back through.
For a ceiling repair, recheck the spot after a few days of normal temperature and humidity changes.
Compare the repaired spot with any other pops in the room. A line of new pops along one stud or joist points to broader movement or weak fastening.
If it works: The wall or ceiling stays flat, the patch remains smooth, and the fastener pop does not return.
If it doesn’t: If the bump comes back quickly, add another screw only after you confirm solid framing nearby, then reassess for moisture or movement.
Stop if:
New cracks or pops appear repeatedly in the same area.
The repaired section loosens again because the framing itself is moving or damaged.
Buy screws only after you confirm the stud or joist line. Match the thread to wood or metal framing and set the head just below the drywall paper.
As an Amazon Associate I earn from qualifying purchases. Repair Riot may earn a commission at no extra cost to you.
Verify the repair
The drywall feels tight to the framing with no noticeable flex around the repair.
Both the old fastener spot and the new screw dimple are covered and sanded smooth.
The painted repair blends in without a visible raised bump.
The fastener pop does not reappear after a few days of normal use.
FAQ
Can I just hammer the popped nail back in and patch over it?
Usually no. Drive a new drywall screw into confirmed solid framing near the pop, then press the area and check that the panel feels tight. Tapping the old fastener alone does not pull loose drywall back to the framing, so the bump often returns.
Should I remove the old fastener?
Remove it only if it backs out cleanly or will not stay set. After the new screw holds the panel tight, seat the old fastener just below the surface and press around it. If it stays stable and does not stand proud, leave it and cover it with compound.
Why do drywall fastener pops happen?
They happen when the drywall shifts slightly against the framing and the old screw or nail head pushes the finish outward. Seasonal movement, minor settling, or lost fastener grip can leave a round bump with a cracked paint ring. If you see a line of new pops, check for broader movement.
Do I need mesh tape for a fastener pop?
Not usually. For a small round pop, check that the drywall feels tight to the framing, then skim the screw dimples with joint compound. Save mesh tape for cracks or seams where the drywall paper or joint needs reinforcement.
What if I keep getting fastener pops in the same room?
A few isolated pops are common in older drywall. If several appear in one area, check for movement, moisture, poor original fastening, or framing trouble. Do the same if the bump comes back after you add a screw into solid framing.
Sources and reference notes
Repair Riot used the linked drywall diagnostic page and drywall sanding dust guidance for this repair. Those references shaped the stop points, surface checks, and sanding safety notes.
Repair Riot - drywall cracked - Related checks for separating a fastener pop from a crack, stain, soft spot, or wider drywall movement.