
Tape measure
Use it for: To measure pipe runs and check pipe diameter so the insulation fits correctly.
Shop tape measuresTo install pipe insulation on water lines, confirm the pipes are dry and intact, measure the pipe diameter and length, cut foam insulation to fit, wrap or snap it over the pipe, and seal seams and gaps so cold air cannot reach bare sections.
This is a straightforward job on exposed water lines in basements, crawl spaces, garages, utility rooms, and other unheated areas. Good coverage matters more than speed. Small bare spots around valves, elbows, and short pipe sections can still let pipes lose heat or freeze.
Before you start: Buy insulation sized for your pipe's outside diameter and use pieces rated for the pipe location, especially in unheated spaces. Stop if the repair becomes unsafe or unclear.
Use it for: To measure pipe runs and check pipe diameter so the insulation fits correctly.
Shop tape measures
Use it for: To cut foam insulation cleanly to length and trim around fittings.
Shop utility knives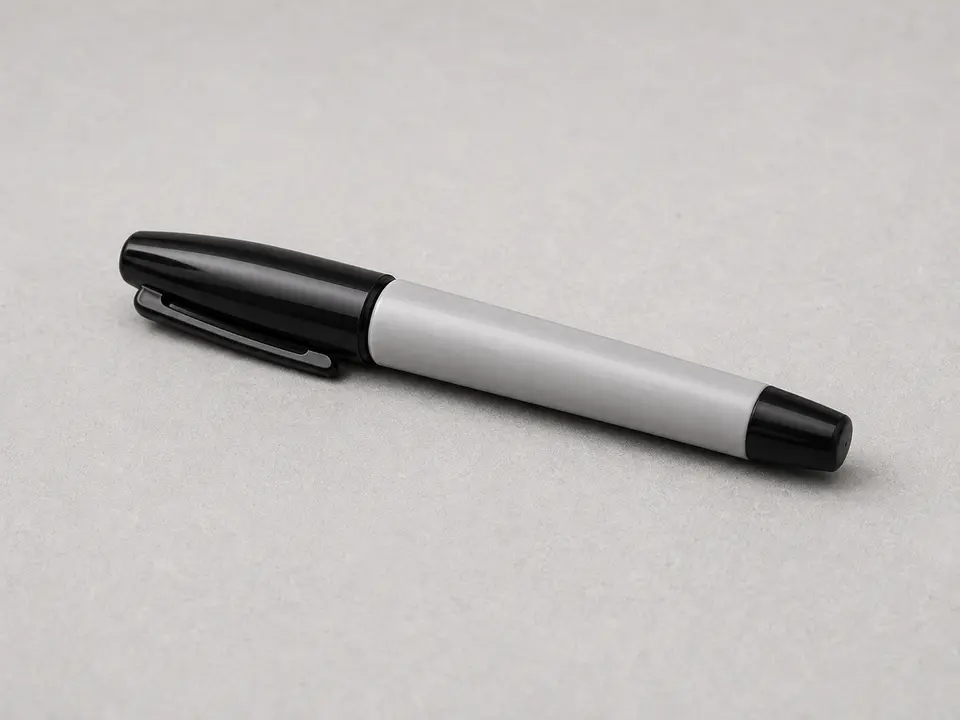
Use it for: To mark cut lines and label pieces before you install them.
Shop permanent markers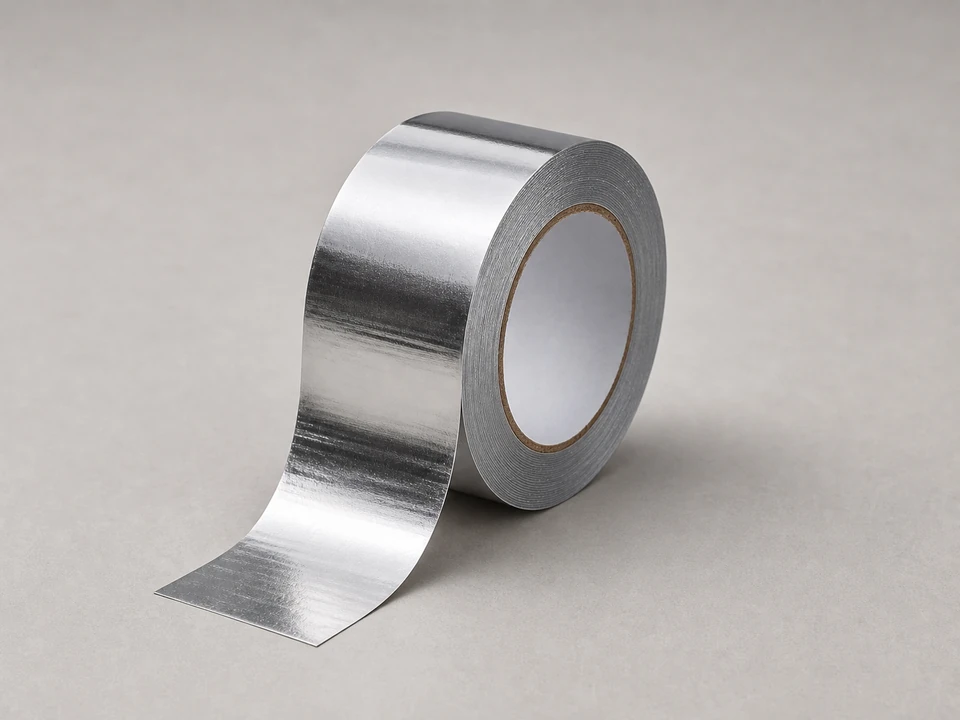
Use it for: To seal seams, joints, and small gaps so the insulation stays closed.
Shop foil tape for pipe insulation
Use it for: To protect your hands while cutting insulation and working around hangers or rough framing.
Shop work glovesAs an Amazon Associate I earn from qualifying purchases. Repair Riot may earn a commission at no extra cost to you.
If it works: The pipes are exposed, intact, dry enough to work on, and insulation makes sense as a preventive step.
If it doesn’t: If the pipe is already damaged, leaking, or frozen solid, address that problem first before adding insulation.
If it works: You have insulation that matches the pipe size and enough material to cover the exposed sections.
If it doesn’t: If the insulation feels obviously too loose or too tight on a test section, exchange it for the correct size before continuing.
If it works: The pipe surface is clean and dry, and you have a clear path to install full-length pieces.
If it doesn’t: If the pipe keeps sweating heavily, improve the room conditions first and then insulate once the surface is dry enough to work on.
If it works: The straight runs are covered with snug insulation and the seams are closed.
If it doesn’t: If pieces keep springing open or shifting, recut them for a better fit and tape the seams so they stay closed.
If it works: Fittings and short sections are covered as well as possible, and valves still work normally.
If it doesn’t: If a fitting shape will not accept foam neatly, cover as much of the adjacent pipe as you can and seal the remaining small gaps with tape or a better-shaped insulation piece.
If it works: The water lines stay covered, the seams remain closed, and the insulation still fits after the pipes are back in normal use.
If it doesn’t: If you still find cold bare spots, sweating, or sections opening up, add better-fitting pieces and reseal the gaps until the run is fully covered.
Usually yes. Cold lines benefit from protection against freezing and sweating. Hot lines benefit from reduced heat loss and can deliver hot water a little faster at the fixture.
Match the insulation to the pipe's outside diameter, not just the room the pipe is in. A snug fit works best. If it is too loose, gaps form. If it is too tight, the seam may not stay closed.
Not always. Some foam insulation has a self-sealing edge that closes well on its own. Tape is still helpful at cut ends, joints, elbows, and any seam that wants to open back up.
It helps, but it is not a cure-all. Insulation slows heat loss. If the area gets very cold or has strong air leaks, you may also need to seal drafts and improve the space temperature.
It is better to dry the pipe first. Trapping moisture against the pipe or nearby materials can hide a leak or contribute to damp conditions. Dry it, then install the insulation neatly.