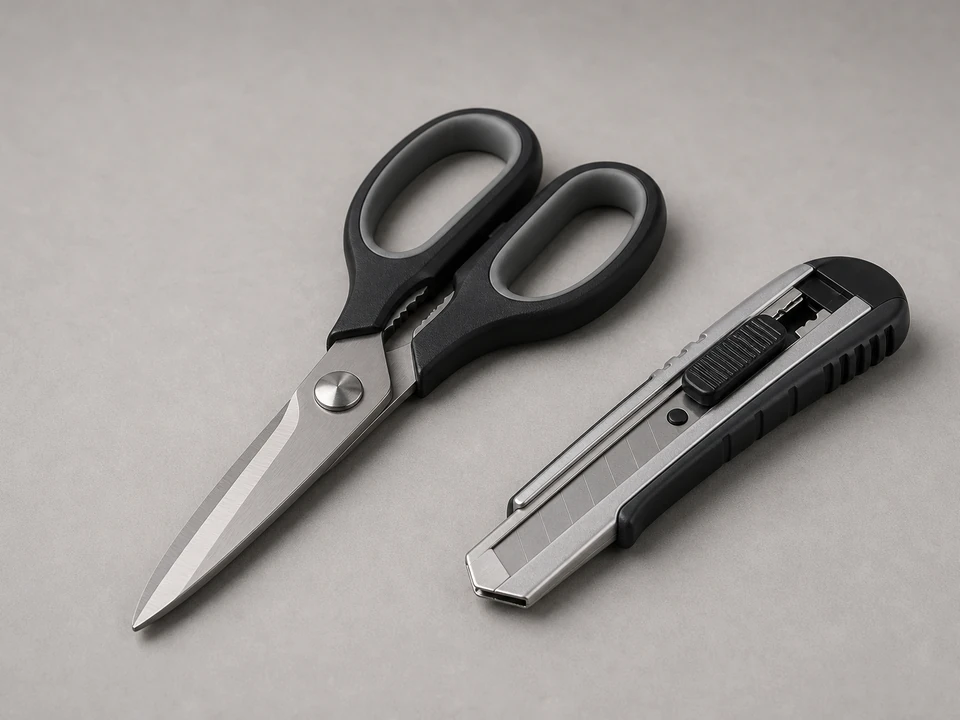
Utility knife or heavy scissors
Use it for: To cut flashing tape cleanly to length and trim corners or relief cuts.
Shop utility knivesTo install siding flashing tape, start with a clean, dry surface, then apply the tape so each upper layer overlaps the lower layer and sheds water outward. Press it down firmly with a roller or hand pressure, seal corners cleanly, and finish by checking that water cannot run behind the tape.
Flashing tape works only when it is stuck to sound material and layered in the right direction. This job is usually straightforward on a small repair or detail area, but it needs careful prep so the tape stays bonded and actually redirects water.
Before you start: Choose exterior flashing tape sized for the seam or opening you are covering, and make sure it is meant for window, door, or wall flashing rather than general duct or packaging tape. Stop if the repair becomes unsafe or unclear.
Use it for: To cut flashing tape cleanly to length and trim corners or relief cuts.
Shop utility knives
Use it for: To size each strip so overlaps are long enough and seams are fully covered.
Shop tape measures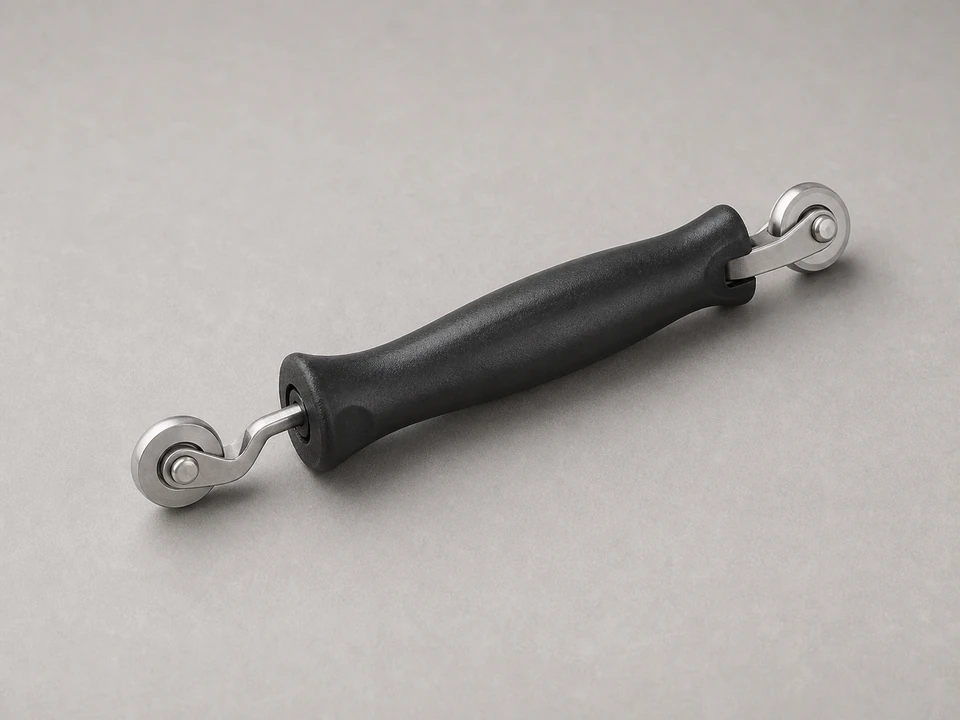
Use it for: To press the tape tightly onto the surface and improve adhesion.
Shop seam rollers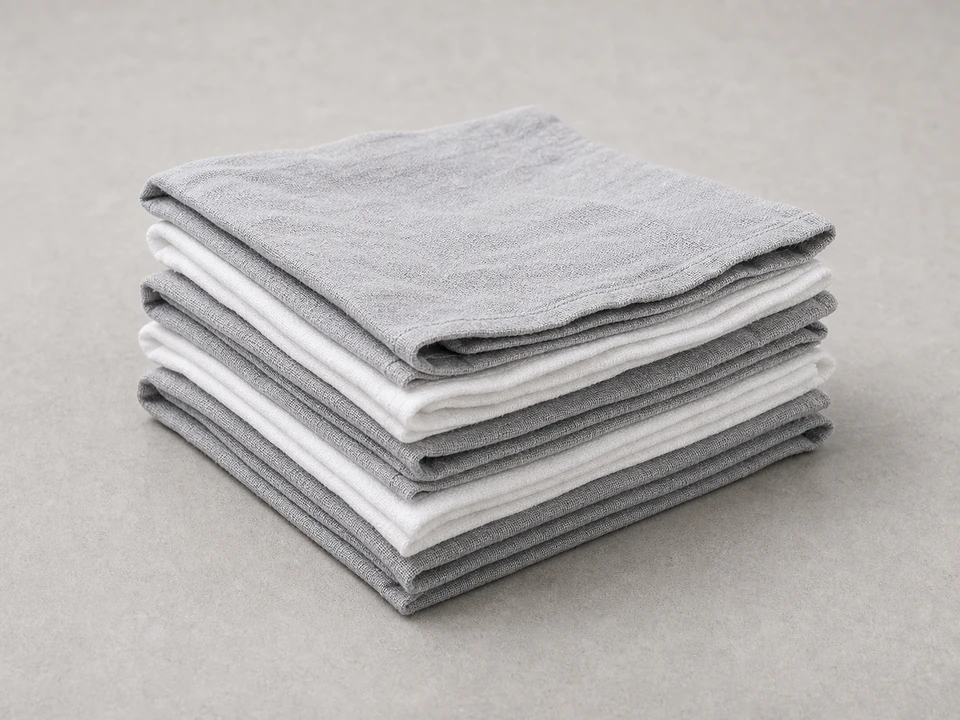
Use it for: To wipe off dust, loose debris, and moisture before applying tape.
Shop cleaning rags
Use it for: To remove dirt and chalky residue that can keep the tape from sticking.
Shop exterior surface cleaner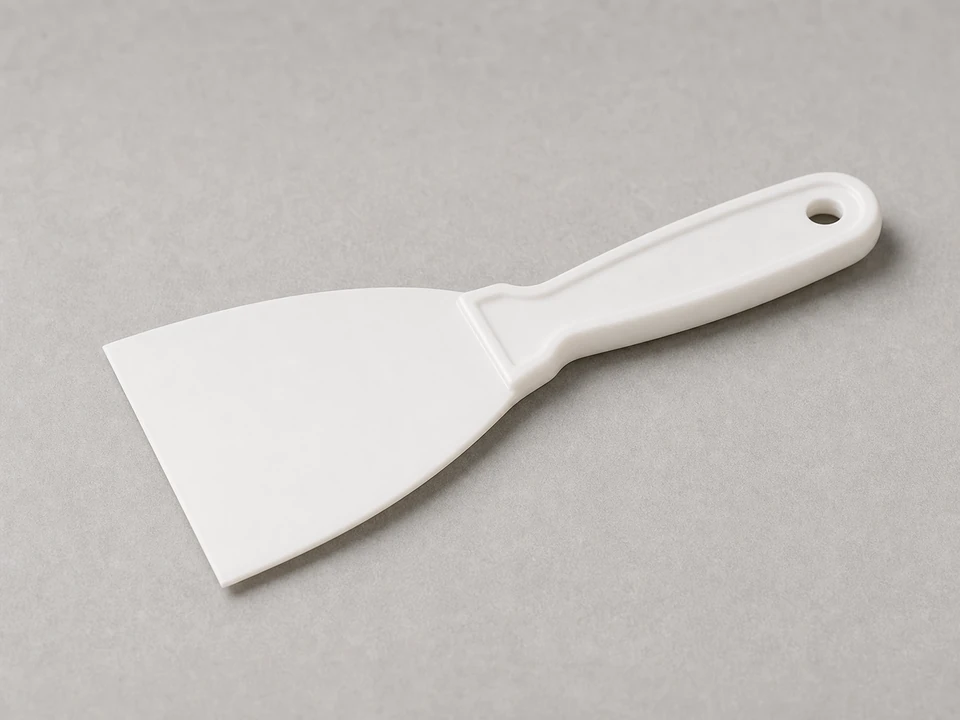
Use it for: To smooth tape into corners without tearing it or damaging the surface.
Shop plastic putty knivesAs an Amazon Associate I earn from qualifying purchases. Repair Riot may earn a commission at no extra cost to you.
If it works: You have a sound surface to tape and a clear top-over-bottom overlap plan.
If it doesn’t: If the area is only dirty or the old tape edge has barely lifted, cleaning and re-rolling may be enough instead of installing new tape over a larger section.
If it works: The surface is clean, dry, flat, and ready for tape.
If it doesn’t: If the surface is still dusty, chalky, or damp, keep cleaning and drying before you apply the tape. Adhesive failure usually starts with poor prep.
If it works: The first strip is flat, centered, and fully bonded with no major wrinkles or fishmouths.
If it doesn’t: If the tape lands crooked, lift and reset it right away while it is still workable. Do not leave folds that can channel water.
If it works: All tape layers follow a shingle-style pattern that directs water outward.
If it doesn’t: If one piece is lapped the wrong way, remove and replace that section now. A bad overlap can leak even if the tape seems stuck well.
If it works: The tape is fully seated, edges are tight, and the surrounding pieces are back in place without disturbing the flashing.
If it doesn’t: If edges keep lifting, the surface prep or tape choice may be wrong. Reclean the area and replace the problem section instead of hoping it will hold.
If it works: Water sheds over the tape and out, with no sign of leakage behind the wall detail.
If it doesn’t: If water still gets behind the repair, reopen the area and correct the overlap sequence or damaged substrate before trying more tape.
Only if the old tape is still firmly bonded, flat, and clean. If it is loose, brittle, wrinkled, or dirty, remove it first so the new tape can stick to a sound surface.
Yes. Flashing tape bonds best to clean, dry material. Dampness, dust, and chalky residue are common reasons tape edges lift later.
Think like shingles. Start low and work upward so each higher piece overlaps the piece below it. That way water stays on the face of the flashing instead of running behind it.
Sometimes on a small, localized flashing problem, yes. But it will not solve rot, missing backing, badly installed trim, or a leak coming from higher up the wall.
Use a width that fully covers the seam or detail and still gives solid bonding area on both sides. Wider is often easier on rough details, but the tape still needs to fit the space without bunching.