Direct answer: Remove enough trim or cladding to expose the failed tape path. Peel away loose sections, clean and dry the flange and housewrap, then apply new flashing tape so each overlap sheds water out of the opening.
This repair fits torn, loose, wrinkled, or unsealed tape around the door flange or rough opening. Check the lower corners first. Stop if the sheathing is soft, the frame moves, or the leak starts above the door.
Before you start: Work on a dry day and expose enough trim or siding to see the full failed tape path. Stop if the sheathing is soft, the door frame is loose, or water damage extends beyond a simple tape replacement.
Last reviewed: 2026-06-15
Make sure this is the right repair
Before replacing door flashing tape, confirm the leak follows failed tape around the flange or rough opening. Do not cover soft sheathing, backward overlaps, or a leak that starts above the door.
This page fits
This page fits when: The tape is peeling, torn, wrinkled, missing at a corner, or no longer bonded where water can track behind the trim.
Check something else when: If the door slab, threshold, glass seal, roofline, or siding above is leaking first, follow that water path before replacing tape.
Confirm the fit first
This page fits when: You can expose a clean, dry, solid surface and cut tape long enough to overlap the lower corners, side pieces, and top piece correctly.
Check something else when: If you cannot expose the tape path without breaking critical trim or siding, widen the access plan before patching blindly.
Stop for hidden damage
This page fits when: The sheathing is firm, the door frame is stable, and the area can stay dry long enough for the tape adhesive to bond.
Check something else when: Stop if you uncover rot, mold, structural movement, missing housewrap, or active water entering the wall.
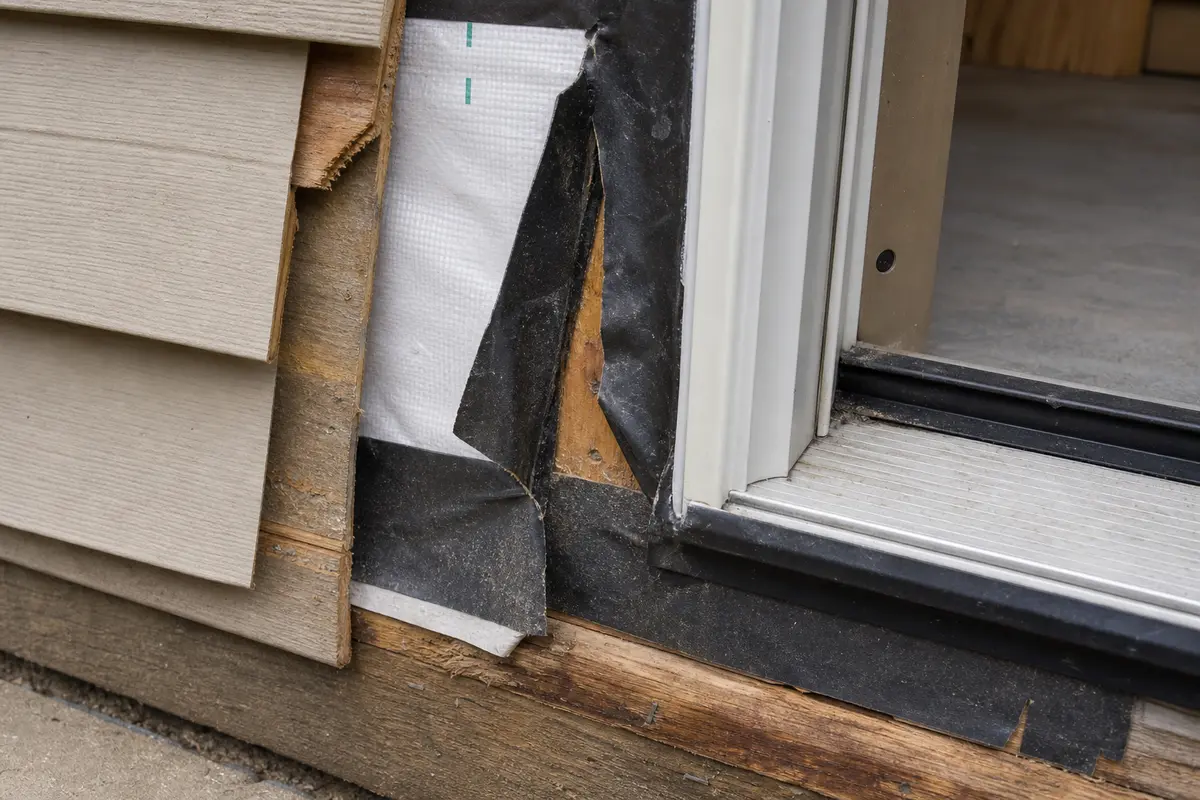
Check the failed tape and dry-fit the overlap
Use the exposed corner and dry-fit to confirm the repair can shed water outward. The bottom tape goes first, side pieces overlap it, and the top piece laps over the sides.
Start at the lower corners. Peeling, wrinkled, or loose tape around the flange is a real leak path, especially when the sheathing is still solid.Dry-fit the tape before rolling it down. The side piece should overlap the bottom piece so water sheds down and out.
Safety first
Wear gloves when cutting and peeling old tape to avoid knife slips and sharp trim edges.
Use eye protection when prying off trim or scraping old adhesive.
Do the repair only when the wall area is dry enough for the new tape to bond properly.
Use ladder safety if the door area is above comfortable reach.
Tools you may need
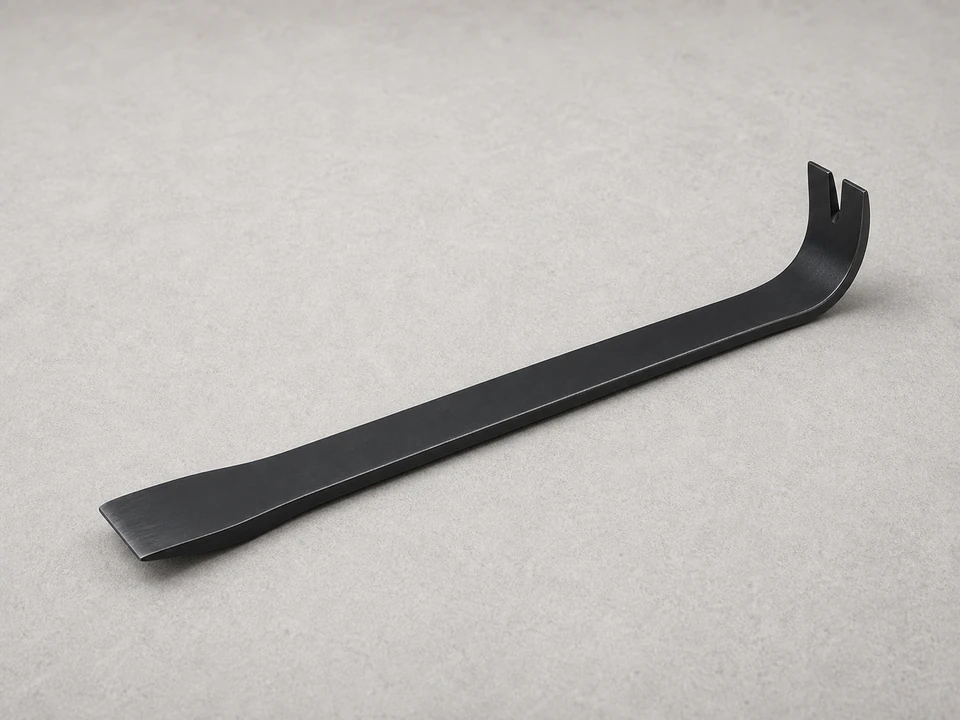
Flat pry bar
Use it for: To carefully lift trim or siding pieces enough to reach the old tape.
As an Amazon Associate I earn from qualifying purchases. Repair Riot may earn a commission at no extra cost to you.
Step-by-step fix
Step 1: Confirm the flashing tape is the problem
Look for peeling tape, gaps at corners, torn sections, or tape that has let go from the wall or door flange.
Check whether water staining or dampness is showing up around the door after rain, especially near the lower corners or along the sides.
Remove only enough trim or siding edge to inspect the tape path. You want to see whether the tape has failed, not just whether caulk is cracked.
Make sure the door itself is not the main leak source from failed weatherstripping, glass seals, or a threshold issue.
If it works: You can see damaged or poorly bonded door flashing tape that lines up with the leak path.
If it doesn’t: If the tape looks intact and the leak seems to start at the door slab, threshold, or wall above, diagnose that area before replacing the tape.
Stop if:
The wall sheathing is soft, crumbling, moldy, or visibly rotted.
You find major hidden water damage extending beyond the door opening.
Removing trim exposes structural movement or a loose door frame.
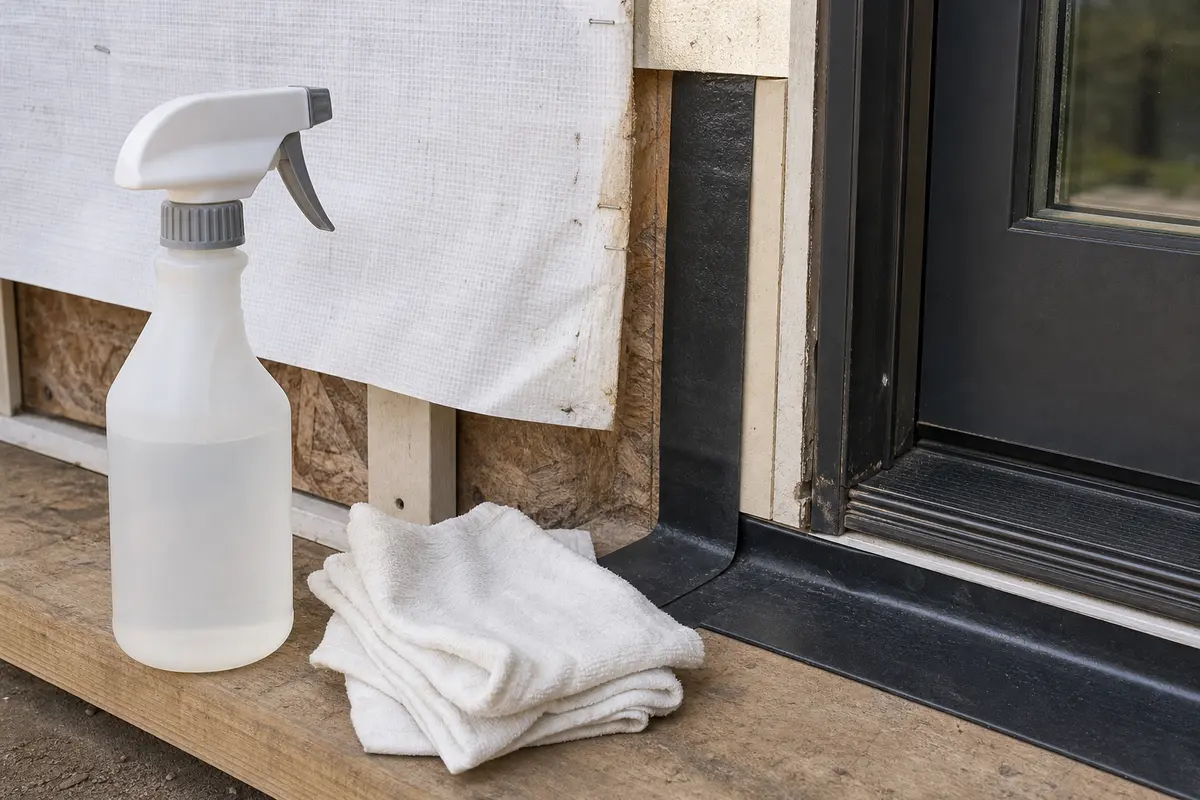
Step 2: Expose the old tape and prep the area
Work on a dry day so the opening, housewrap, sheathing edge, and door flange can stay dry during the repair.
Use a flat pry bar to loosen trim, siding, or casing just far enough to see the upper edge, lower corner, and side edge of the failed tape.
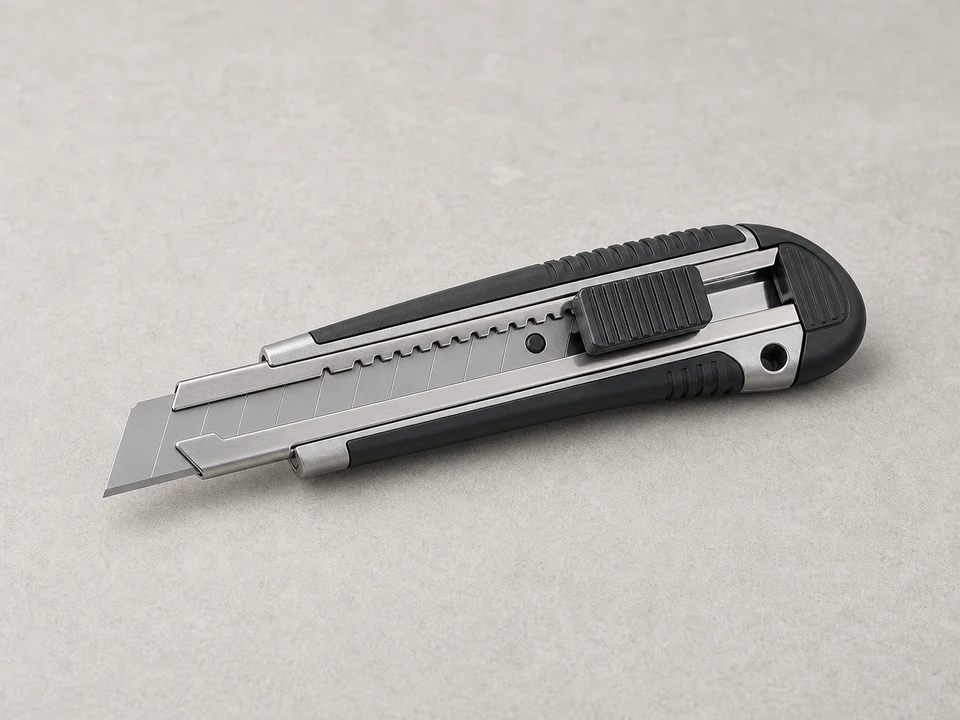
Cut away sealant or paint bridges with a utility knife before prying so trim comes off cleaner and the housewrap does not tear with it.
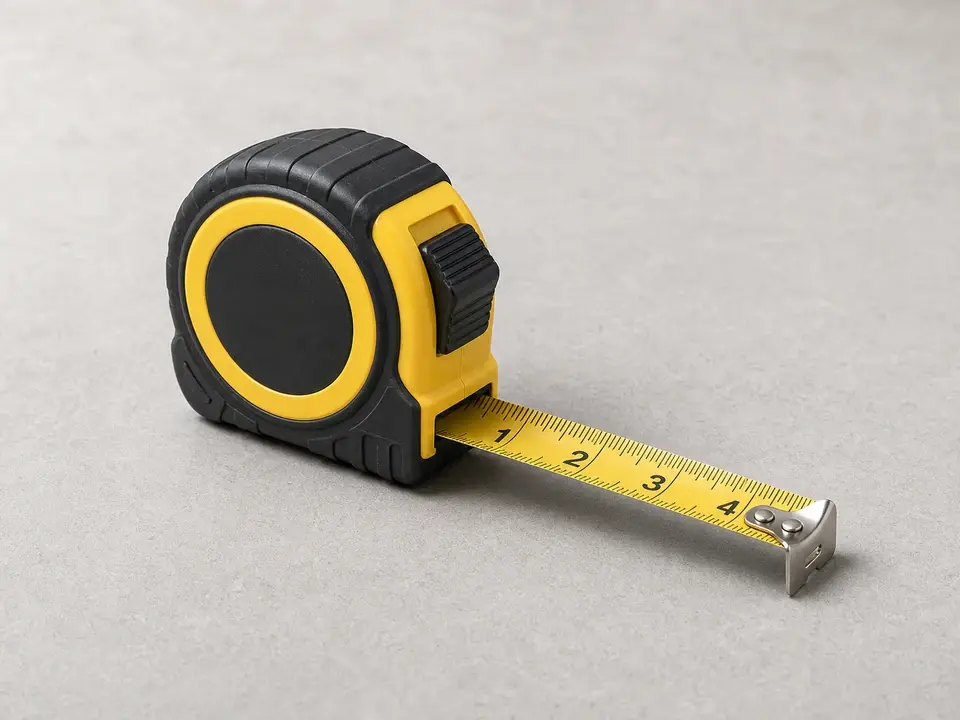
Measure the exposed tape run and compare it with the new roll width before cutting anything.
Mark or photograph the old overlap order before removal, especially where the side tape meets the bottom piece.
Check whether the tape failed from poor bonding, a backward overlap, punctures, or water coming from above, then brush and wipe away loose dirt.
If it works: The failed tape and the surfaces around the door opening are fully visible and accessible.
If it doesn’t: If you still cannot reach the full damaged section, remove one more course of trim or cladding so you can replace the tape continuously instead of patching blindly.
Stop if:
You cannot expose the tape without damaging critical siding, trim, or the door frame.
Water is actively entering the wall and the area cannot be dried enough for new tape to bond.
Step 3: Remove failed tape and clean the bonding surfaces
Peel off the old flashing tape slowly. Use the utility knife to slice stubborn sections instead of yanking hard on the wall surface.
Scrape or rub off leftover adhesive, dirt, and loose housewrap fibers from the wall and door flange area.
Wipe the surfaces clean with rags and an exterior-safe cleaner if needed.
Let the area dry fully. New tape sticks best to clean, dry, solid material.
If it works: The old tape is removed and the wall and flange surfaces are clean, dry, and smooth enough for new tape to bond.
If it doesn’t: If adhesive residue or damaged wrap keeps the surface rough, keep cleaning and trim away loose material until the new tape will sit flat.
Stop if:
The sheathing, framing, or housewrap behind the tape is too damaged to hold a new seal.
You uncover a missing or badly installed flashing detail that goes beyond a simple tape replacement.
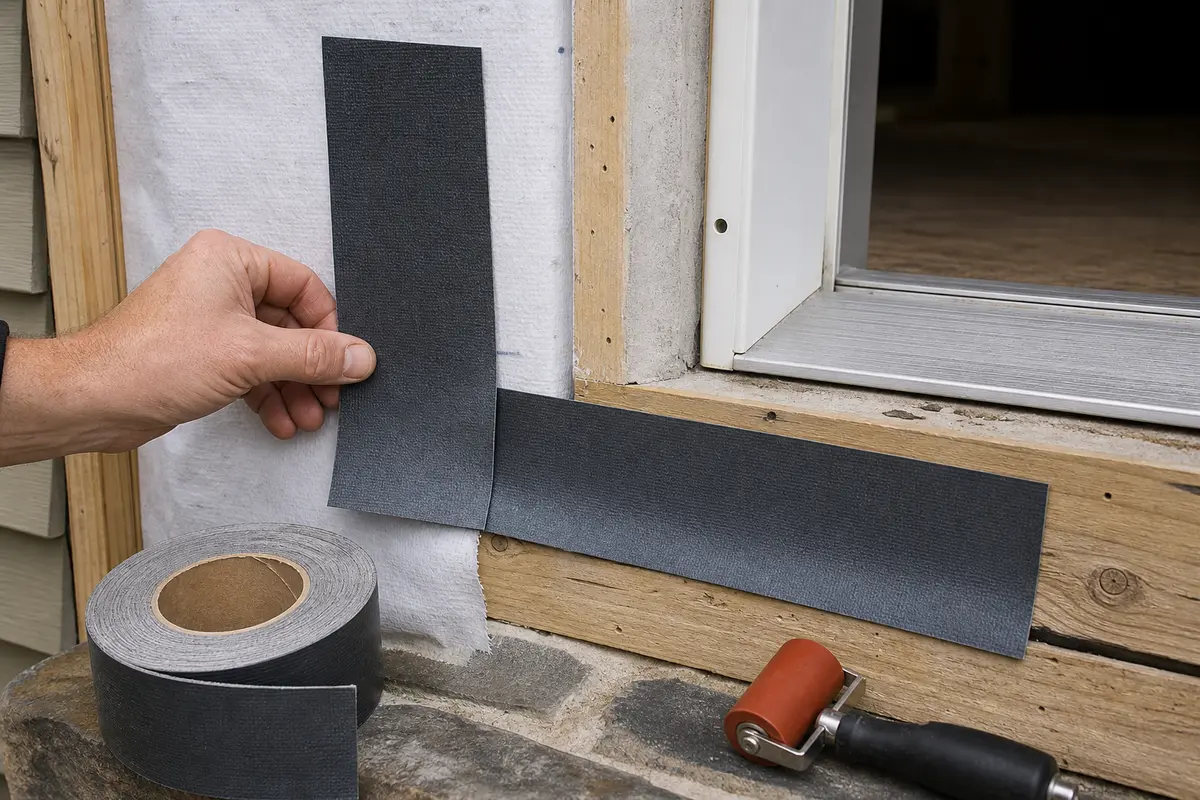
Step 4: Cut new door flashing tape and apply the bottom section first
Measure the width of the opening area you need to cover and cut the first piece of door flashing tape long enough to extend past both lower corners.
Dry-fit the bottom piece before peeling the backing so you know it will bridge the vulnerable seam and extend past both lower corners.
Set the tape so it directs water outward, not inward behind the wall layers or under the threshold.
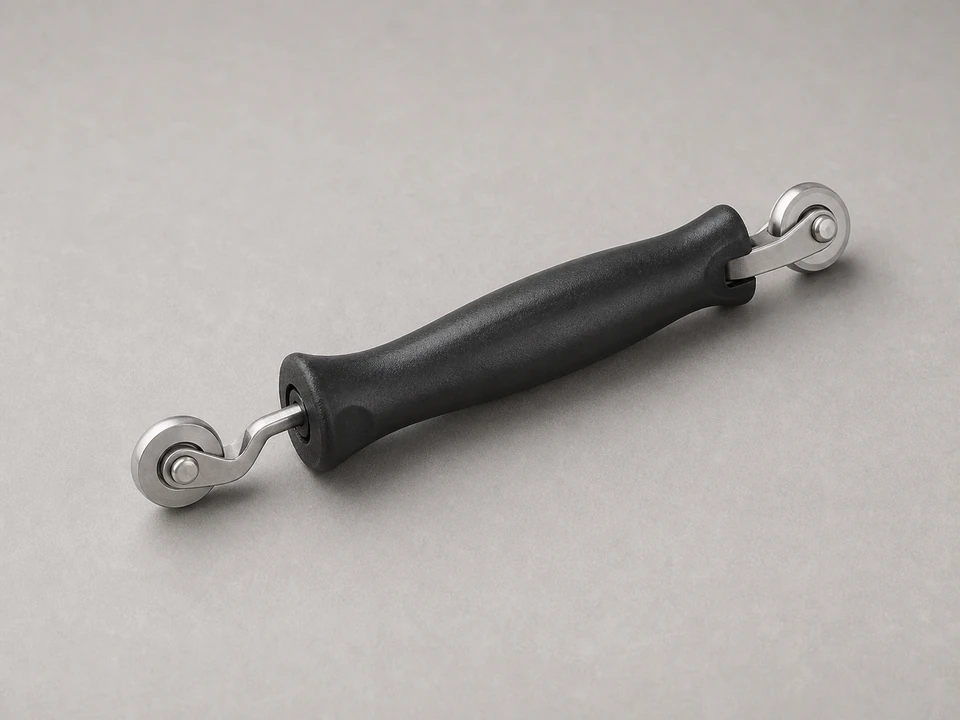
Press the tape in place by hand first, then roll from the center toward the edges with a seam roller to push out air pockets.
Make sure the tape lies flat into corners and along edges without fishmouths, wrinkles, or lifted ends.
If it works: The bottom flashing tape section is fully bonded, flat, and extended past the lower corners.
If it doesn’t: If the tape wrinkles or lifts, pull it back right away and replace that piece with a fresh one rather than trying to force a bad bond.
Stop if:
The surface temperature, moisture, or contamination prevents the tape from sticking at all.
Step 5: Apply the side and top sections in shingle fashion
Measure from the bottom corner to several inches above the old failure point, then cut side pieces long enough to overlap the bottom piece.
Apply each side piece so it overlaps the lower tape, stays tight to the wall and door flange, and does not bridge loosely across inside corners.
Press the tape into the inside corner by hand first, then check the lower corners before you roll them down; any wrinkle there can become a water path.
Cut and install the top piece last so it overlaps the side pieces and sheds water over them.
Roll every overlap and edge firmly, then recheck upper corners, nail holes, housewrap edges, and any place where water can track behind the tape.
If it works: The new tape is layered bottom, sides, then top, with solid overlaps that guide water down and out.
If it doesn’t: If an overlap is backward or a corner will not seal flat, remove and replace that section before reinstalling trim.
Stop if:
You cannot recreate a water-shedding overlap because surrounding housewrap, trim layout, or flashing details are missing or damaged.
Step 6: Reinstall trim and verify the repair in real use
Reinstall the removed trim or siding carefully so you do not puncture or peel the new tape more than necessary.
Seal only the joints that were originally meant to be sealed, and avoid blocking drainage paths at the bottom edge.
After everything is back together, check that trim sits flat and the door still opens and closes normally.
Test the repair with a controlled hose spray from low to high, or wait for the next rain and inspect the interior and lower corners for moisture.
If it works: The area stays dry during testing or after rain, and the trim remains secure with no new signs of water entry.
If it doesn’t: If water still shows up, reopen the area and look for a missed overlap, a leak path above the door, or damage deeper in the wall assembly.
Stop if:
Water still enters after the tape replacement and proper testing, which points to a different leak source or hidden wall damage.
Match the replacement part to your exact siding flashing before ordering.
As an Amazon Associate I earn from qualifying purchases. Repair Riot may earn a commission at no extra cost to you.
Verify the repair
The new flashing tape is installed in the correct order: bottom first, then sides, then top.
All tape edges are rolled down tight with no wrinkles, bubbles, or lifted corners.
Trim or siding was reinstalled without trapping water behind the repair.
A hose test or rainfall check shows no new moisture around the door opening.
FAQ
Can I patch one small section instead of replacing all the exposed tape?
Yes, if the rest of the exposed tape is still well bonded and correctly layered. But if multiple edges are loose or the tape is brittle, replacing the full accessible run is usually the better repair.
Do I need to remove the whole door to replace door flashing tape?
Usually no. Many tape repairs can be done by removing enough trim or siding to expose the flashing area. Full door removal is more likely only when there is major hidden damage or missing flashing details.
What if the old tape leaves sticky residue behind?
Remove as much residue as you can and clean the surface until it is dry and solid. New tape needs a clean bonding surface, so do not apply over loose adhesive, dirt, or wet material.
Which direction should the overlaps face?
They should be layered so water sheds over the piece below it. In simple terms, install the bottom piece first, then the sides overlapping the bottom, then the top overlapping the sides.
Is caulk enough if the tape is peeling?
No. Caulk can hide the symptom for a while, but failed flashing tape usually needs to be replaced so the wall can shed water correctly behind the trim.
Sources and reference notes
Repair Riot uses related exterior-door and siding repair pages to keep this flashing tape guide focused on visible leak paths, overlap order, and stop conditions.