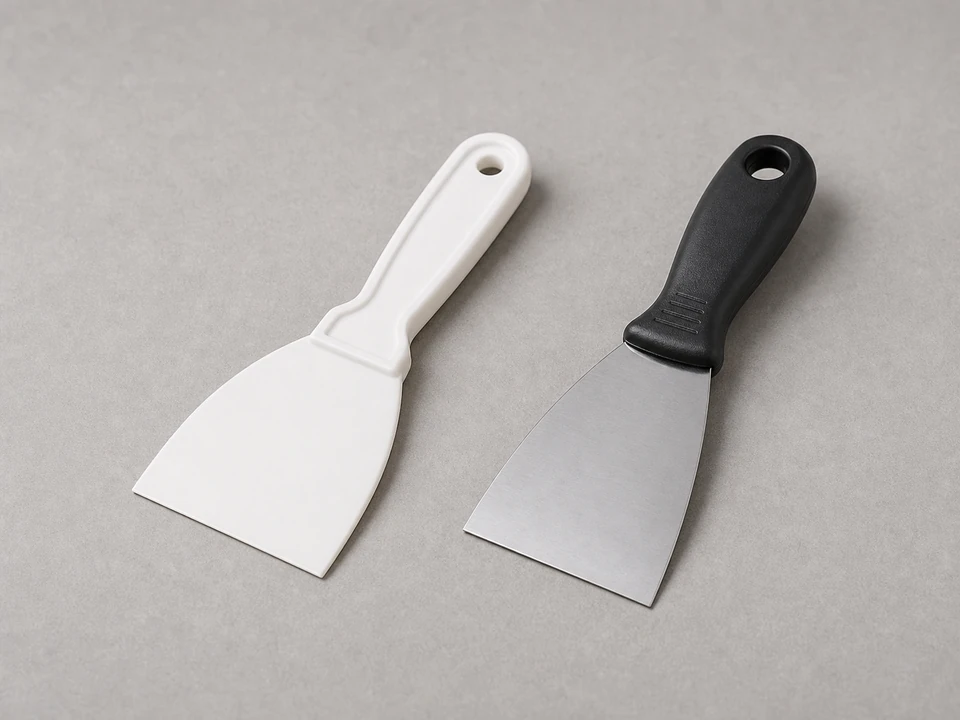
Putty knife or plastic scraper
Use it for: To lift old tape and scrape away loose adhesive without gouging the wall surface.
Shop scrapersTo replace siding flashing tape, remove the loose or failed tape, clean and dry the surface underneath, apply new flashing tape over the joint with firm pressure, and make sure the new seal sheds water instead of trapping it.
This repair is usually worth doing when the old tape has lifted, torn, wrinkled, or lost its bond around siding trim, penetrations, or seams. The goal is not just to stick new tape on top, but to rebuild a clean, watertight overlap that stays attached through weather changes.
Before you start: Match the flashing tape width, backing, temperature rating, and exterior compatibility before ordering.
Use it for: To lift old tape and scrape away loose adhesive without gouging the wall surface.
Shop scrapers
Use it for: To cut old tape free and trim new tape cleanly to length.
Shop utility knives
Use it for: To wipe away dust, residue, and moisture before the new tape goes on.
Shop cleaning rags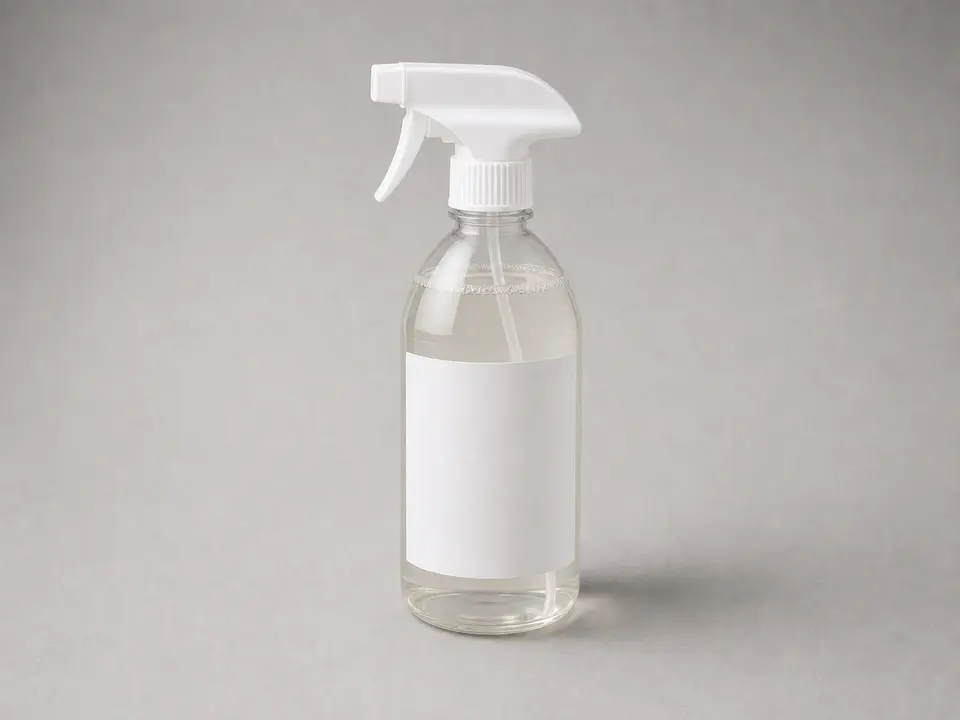
Use it for: To remove dirt and chalky residue that can keep the new tape from bonding.
Shop exterior cleaners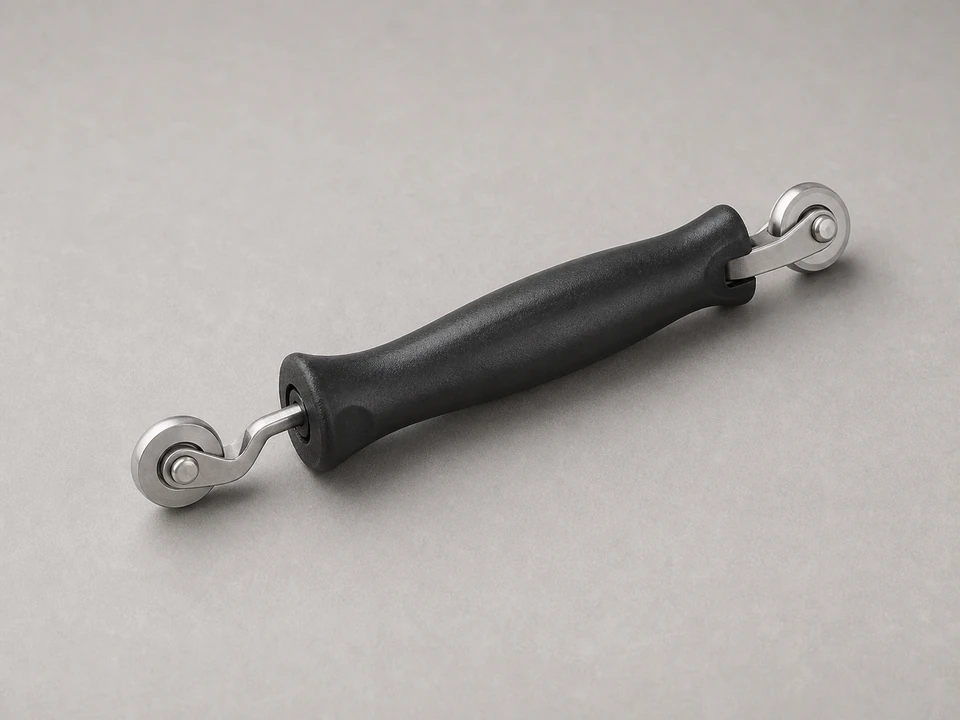
Use it for: To press the new tape down evenly and improve adhesion across the full width.
Shop seam rollers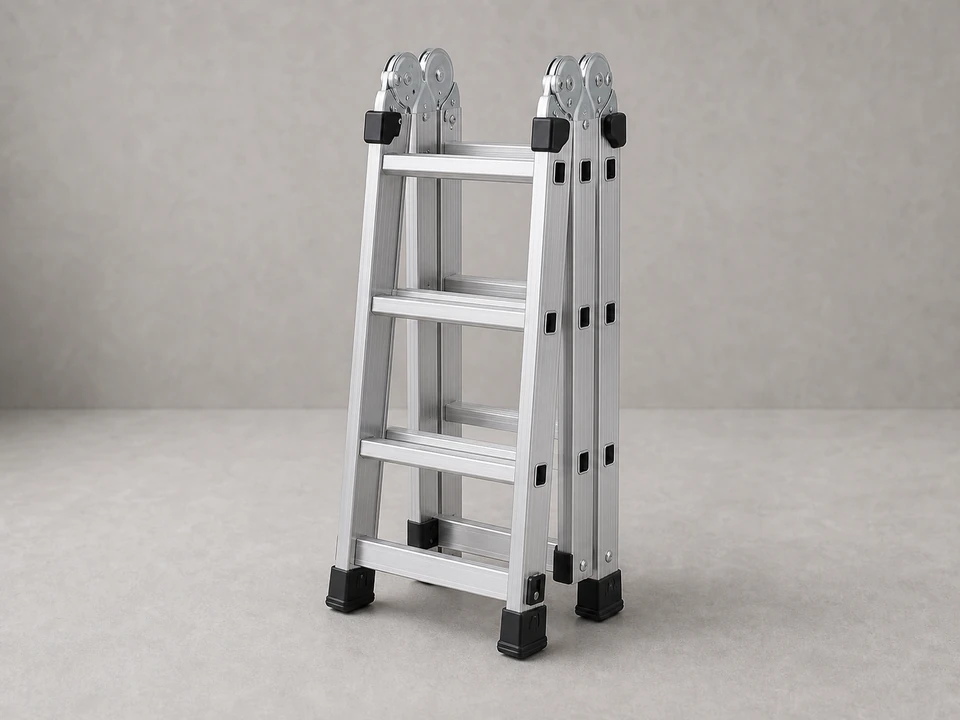
Use it for: To safely reach flashing areas above ground level.
Shop laddersAs an Amazon Associate I earn from qualifying purchases. Repair Riot may earn a commission at no extra cost to you.
If it works: You have a clearly failed section of siding flashing tape and the surrounding wall appears sound enough for a straightforward replacement.
If it doesn’t: If the tape looks intact, keep tracing the water path higher up and around nearby trim, siding laps, and penetrations before replacing anything.
If it doesn’t: If an edge keeps lifting, clean that area again and replace the piece with a new section instead of relying on partial adhesion.
If it works: The new siding flashing tape stays attached, sheds water properly, and the area remains dry in normal conditions.
If it doesn’t: If water still gets in, keep tracing the assembly upward for missing flashing, failed trim joints, or siding damage that is feeding the same area.
Match the flashing tape width, backing, temperature rating, and exterior compatibility before ordering.
As an Amazon Associate I earn from qualifying purchases. Repair Riot may earn a commission at no extra cost to you.
Usually no. New tape bonds best to a clean, solid surface. If you stick it over loose, dirty, or weathered tape, the repair often fails at the same spot.
Use a width that fully bridges the joint and gives solid contact on both sides. Match the original function and make sure the tape is wide enough to extend past the damaged area.
Common causes are age, dirt, moisture during installation, surface chalking, movement at the joint, or using tape that was not a good match for the exterior surface and weather exposure.
Not usually for the tape itself. Flashing tape is meant to create a bonded water-shedding layer. If the assembly also depends on caulk at a separate trim joint, treat that as a separate repair.
That usually points to a dirty or incompatible surface, trapped moisture, too much movement at the joint, or a larger flashing problem. Repeated tape failure means the root cause still needs to be fixed.