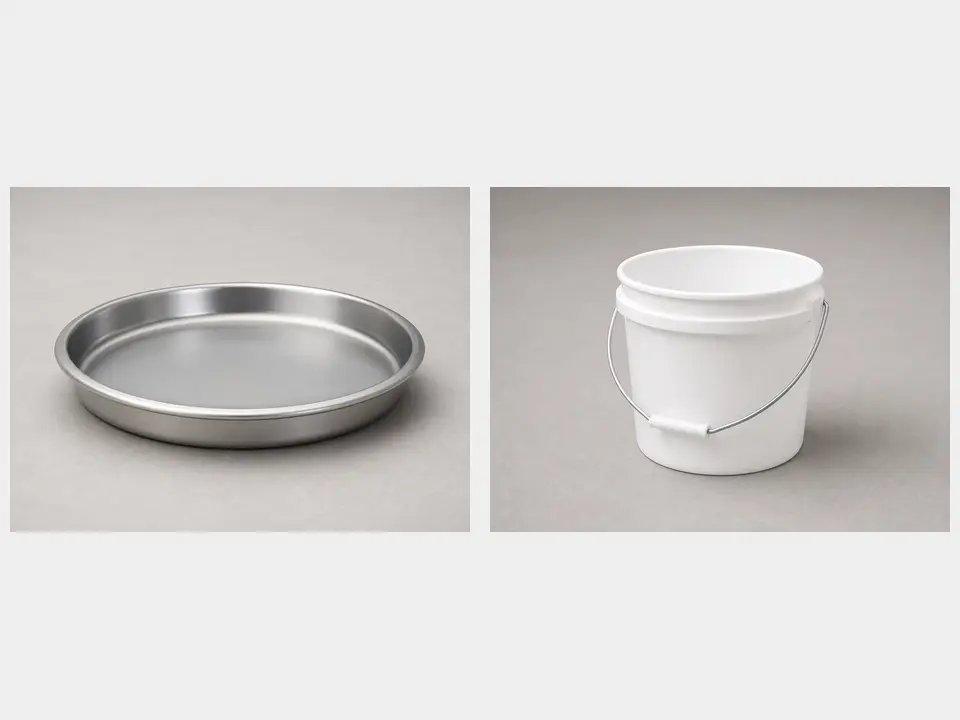
Small bucket or deep pan
Use it for: Catches the water and debris that spill out when the trap comes apart.
Shop small drain buckets and pansTo remove and clean a bathroom sink P-trap, place a bucket under the trap, loosen the slip nuts, lower the curved section, wash out the buildup, then reinstall and test for leaks.
This is a good first step when a bathroom sink drains slowly, smells bad, or has a clog close to the drain. Most P-traps come apart with basic hand tools, but be ready for dirty water and old washers that may need replacement.
Before you start: Match the pipe diameter, inlet and outlet configuration, and trap style before ordering. Stop if the repair becomes unsafe or unclear.
Use it for: Catches the water and debris that spill out when the trap comes apart.
Shop small drain buckets and pans
Use it for: Helps loosen stuck slip nuts without needing a lot of force.
Shop channel-lock pliers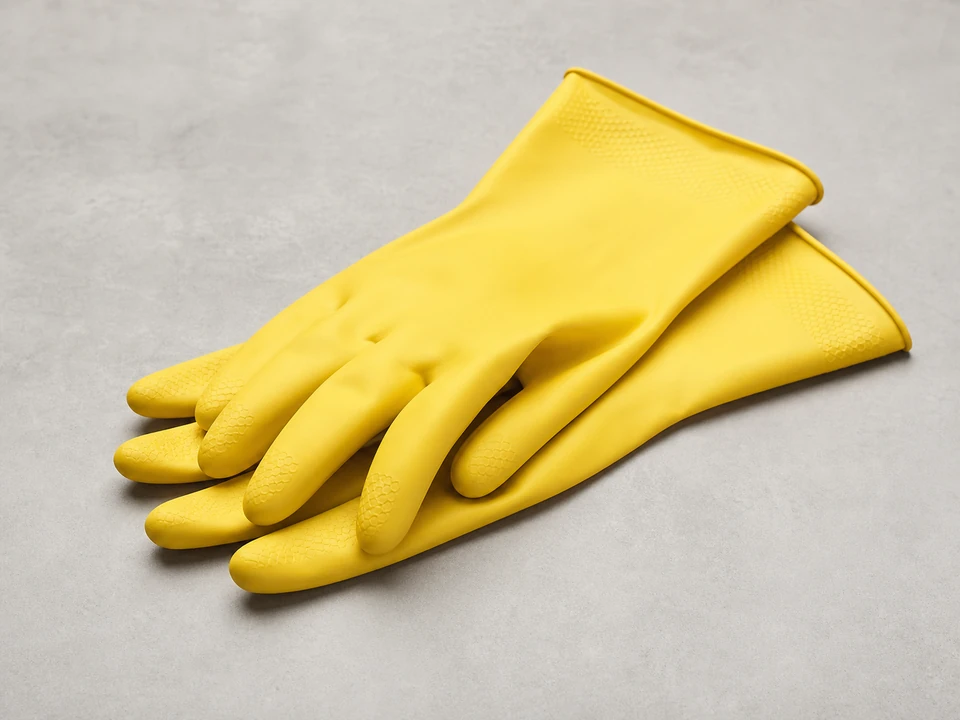
Use it for: Keeps sludge and dirty water off your hands while cleaning the trap.
Shop rubber cleaning gloves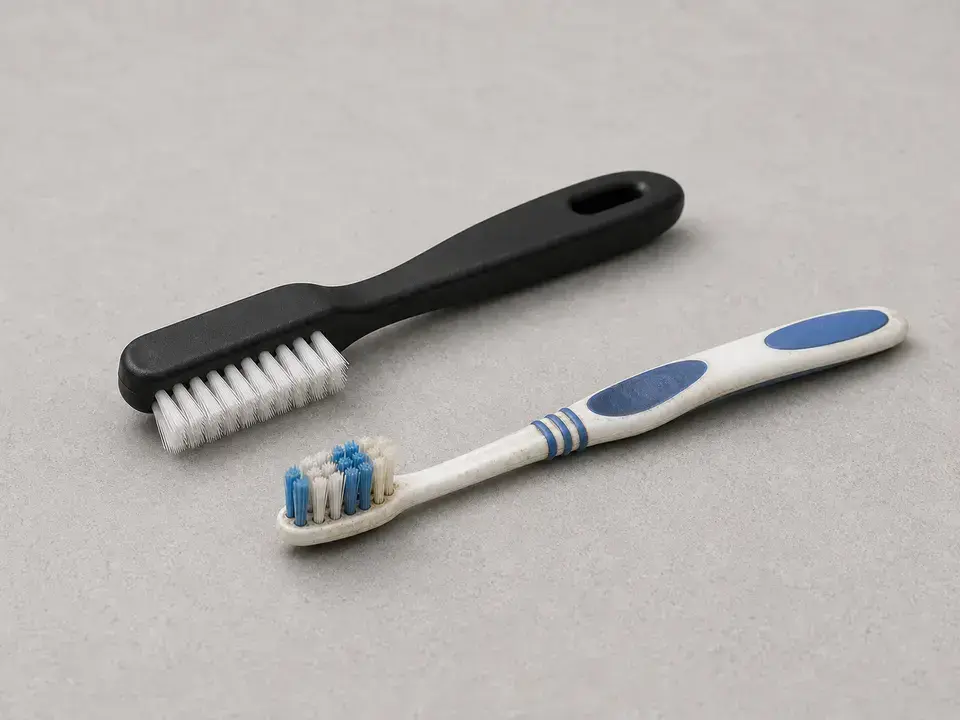
Use it for: Scrubs soap scum, hair, and paste-like buildup from inside the trap.
Shop small cleaning brushes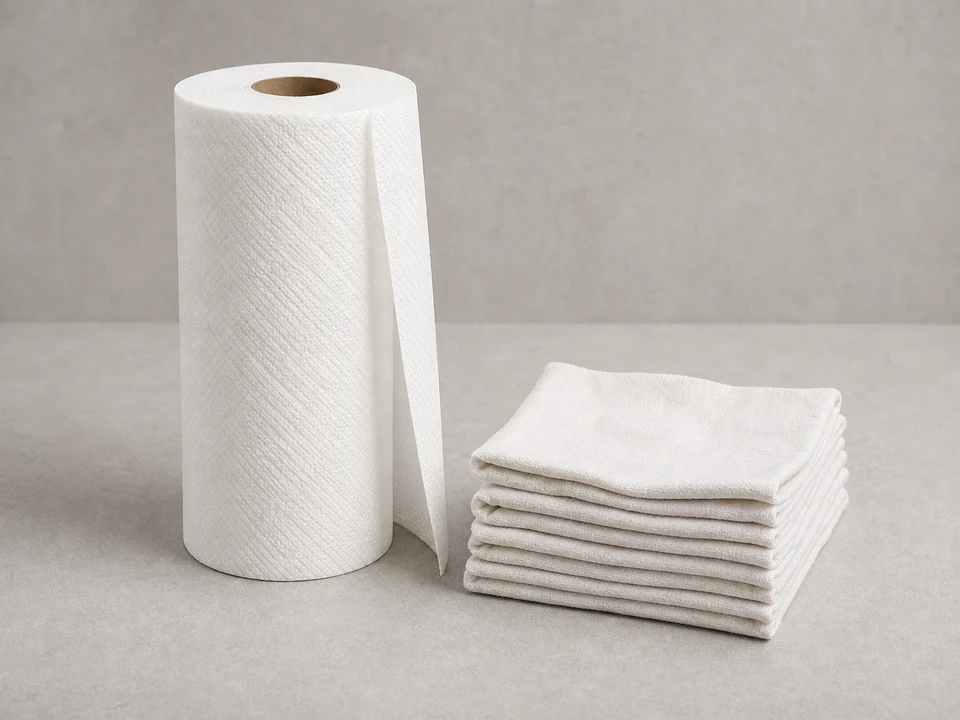
Use it for: Wipes the pipe ends, catches drips, and helps spot fresh leaks during testing.
Shop shop towels
Use it for: Lets you see the slip washers, pipe alignment, and any cracks under the sink.
Shop LED flashlightsAs an Amazon Associate I earn from qualifying purchases. Repair Riot may earn a commission at no extra cost to you.
If it works: You have identified the trap, confirmed the symptoms fit this repair, and have clear access underneath the sink.
If it doesn’t: If the sink drains normally and your main issue is a leak from a cracked or rusted trap, plan on replacing the trap instead of only cleaning it.
If it works: The area is protected, the spill path is controlled, and you are ready to loosen the trap without making a mess.
If it doesn’t: If you cannot fit a bucket under the trap, use a shallow pan and keep extra rags ready for the first release of water.
If it works: The P-trap is off the sink and the dirty water has drained into the bucket.
If it doesn’t: If the nuts will not loosen, apply steady pressure instead of jerking them. If they still will not move, the trap may need replacement rather than forced removal.
If it works: The trap is clean inside and the sealing parts have been checked for wear or damage.
If it doesn’t: If the trap is clean but the sink was badly backed up, the clog may be in the sink drain body or farther down the branch drain.
If it works: The trap is back together, aligned cleanly, and dry on the outside for leak checking.
If it doesn’t: If the trap will not line up without forcing it, loosen the nuts, reset the washer positions, and realign the sections before tightening again.
If it works: The sink drains better, the odor is gone or reduced, and the trap stays dry during and after use.
If it doesn’t: If the sink still drains slowly after the trap is clean and leak-free, clear the pop-up drain area or move on to the drain line beyond the trap.
Usually no. You are working on the drain, not the supply lines. Just avoid running the faucet while the trap is apart.
That water seal is normal. It blocks sewer gas from coming back up through the drain. Expect some water to spill when you remove the trap.
You can if they are still flexible, smooth, and undamaged, but old washers often cause leaks after reassembly. If they look flattened, cracked, or brittle, replace them.
Hair, soap scum, toothpaste residue, and small items dropped into the drain are the most common causes.
The clog may be in the pop-up drain assembly, the horizontal drain arm, or farther down the branch drain in the wall. Cleaning the trap is still a good first check because it rules out the closest blockage.