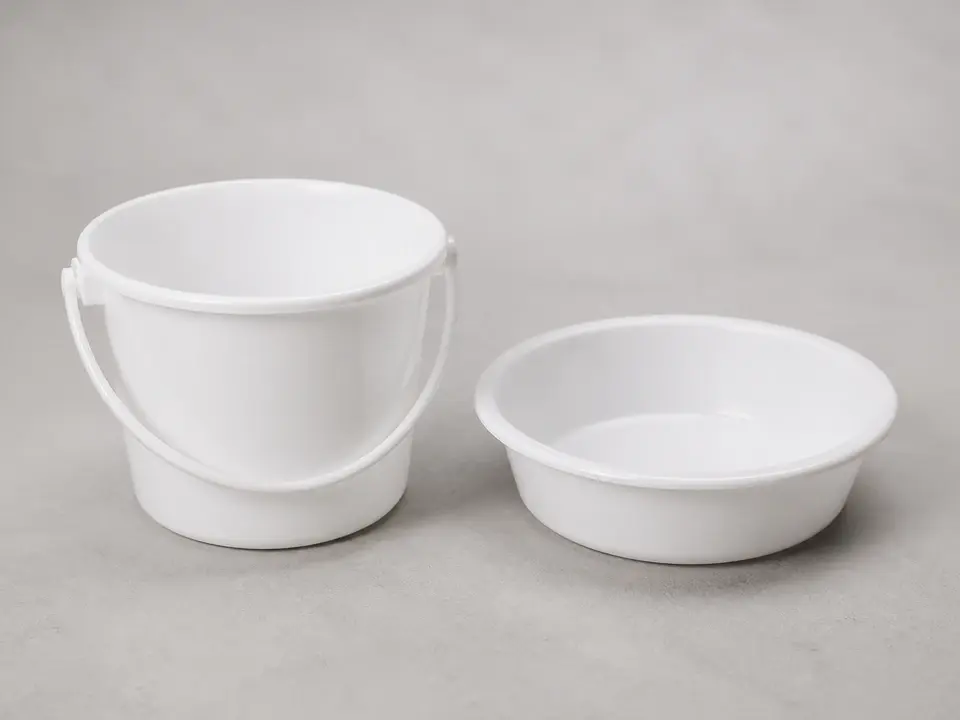
Shallow bucket or bowl
Use it for: Catches the water that drains out when you open the trap.
Shop small drain bucketTo replace bathroom sink P-trap washers, put a bowl under the trap, loosen the slip nuts, remove the old washers, install matching new washers in the same orientation, then reassemble and test for leaks.
This is a good repair when the leak is coming from a slip-joint connection on the curved trap or trap arm, not from the sink drain flange above. Most bathroom sink trap washers can be changed with basic hand tools and a careful reassembly.
Before you start: Match the pipe diameter, inlet and outlet configuration, and trap style before ordering.
Use it for: Catches the water that drains out when you open the trap.
Shop small drain bucket
Use it for: Helps loosen or snug plastic or metal slip nuts if they are too tight by hand.
Shop channel-lock pliers
Use it for: Useful if the trap has metal nuts or stubborn fittings.
Shop adjustable wrench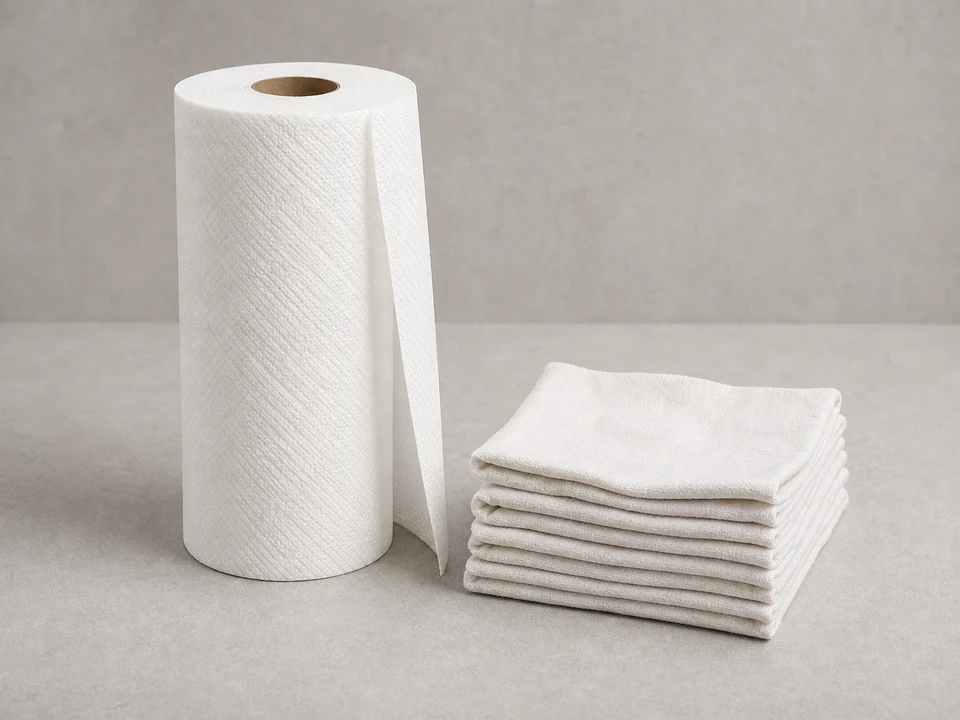
Use it for: Wipes the pipes clean so you can see exactly where any leak starts.
Shop shop towels
Use it for: Lets you inspect the back side of the trap and each joint clearly.
Shop LED flashlightAs an Amazon Associate I earn from qualifying purchases. Repair Riot may earn a commission at no extra cost to you.
If it works: You have confirmed the leak is coming from a P-trap slip-joint connection and washer replacement is the right next step.
If it doesn’t: If the leak starts above the trap, fix the higher leak first because water can run down and make the trap look like the problem.
If it works: The trap is off or loose enough to access both old washers and the water is contained.
If it doesn’t: If a nut will not move, wipe it dry and try again with pliers using light pressure so you do not crack a plastic nut.
If it works: You have clean pipe ends and new washers that match the old ones closely enough to seat properly.
If it doesn’t: If the new washers do not match the old size or the nut will not slide over them correctly, pause and get the correct trap washer size or a matching trap kit.
If it works: The trap is reassembled, aligned naturally, and the washers are compressed evenly at both joints.
If it doesn’t: If the trap will not line up without forcing it, loosen the nuts, reposition the trap, and try again before tightening.
If it works: The repaired joints stay dry during a slow-flow test.
If it doesn’t: If the same joint still seeps after a careful minor tightening, take it back apart and check washer orientation, fit, and pipe alignment.
If it works: The trap stays dry during a full drain and normal use, confirming the washer replacement held.
If it doesn’t: If leaking returns after real use, replace the full trap assembly or inspect the sink drain connection above for a second leak source.
Match the pipe diameter, inlet and outlet configuration, and trap style before ordering.
As an Amazon Associate I earn from qualifying purchases. Repair Riot may earn a commission at no extra cost to you.
If you already have the trap apart, replacing both washers is usually worth it. The second washer is often the same age and may start leaking soon after the first one.
Most slip-joint trap connections seal with the washer itself, not with thread sealant. In most cases, a clean, correctly sized washer and proper alignment are what stop the leak.
The most common causes are the wrong washer size, a washer installed crooked, cross-threaded nuts, overtightening that distorts the joint, or a cracked trap or drain pipe.
Start with hand-tight, then add only a small extra turn if needed. Too much force can crack plastic nuts or deform the washer enough to create a leak.
If the trap is otherwise in good shape and the washers match, washers alone are fine. If the trap is old, stained, cracked, corroded, or the parts do not line up well, a full trap kit is often the easier fix.