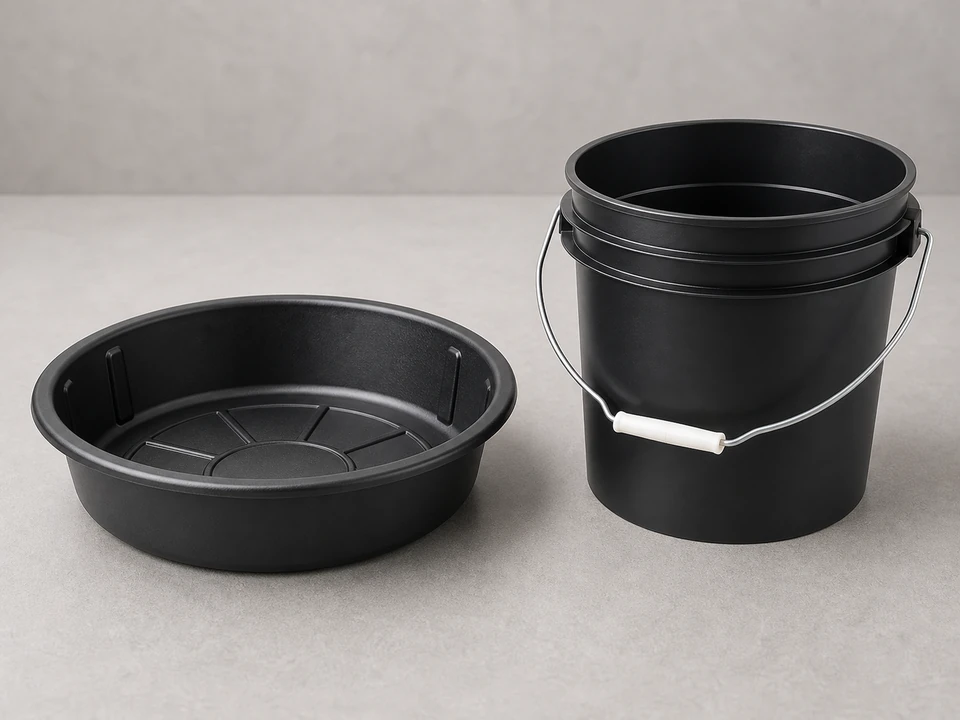
Small bucket or shallow pan
Use it for: Catches the water and debris that spill out when the trap is removed.
Shop small drain catch pansIf your bathroom sink is dripping from the slip-joint connections under the basin, replacing the bathroom sink p trap washer set is often the right fix.
This repair is usually straightforward: catch the water, remove the trap, replace the old washers, and reassemble the joints so the trap seals evenly. The key is using the right size washers and seating them in the correct direction.
Before you start: Match the pipe diameter, inlet and outlet configuration, and trap style before ordering.
Use it for: Catches the water and debris that spill out when the trap is removed.
Shop small drain catch pans
Use it for: Helps loosen and snug slip-joint nuts if they are too tight by hand.
Shop channel-lock pliers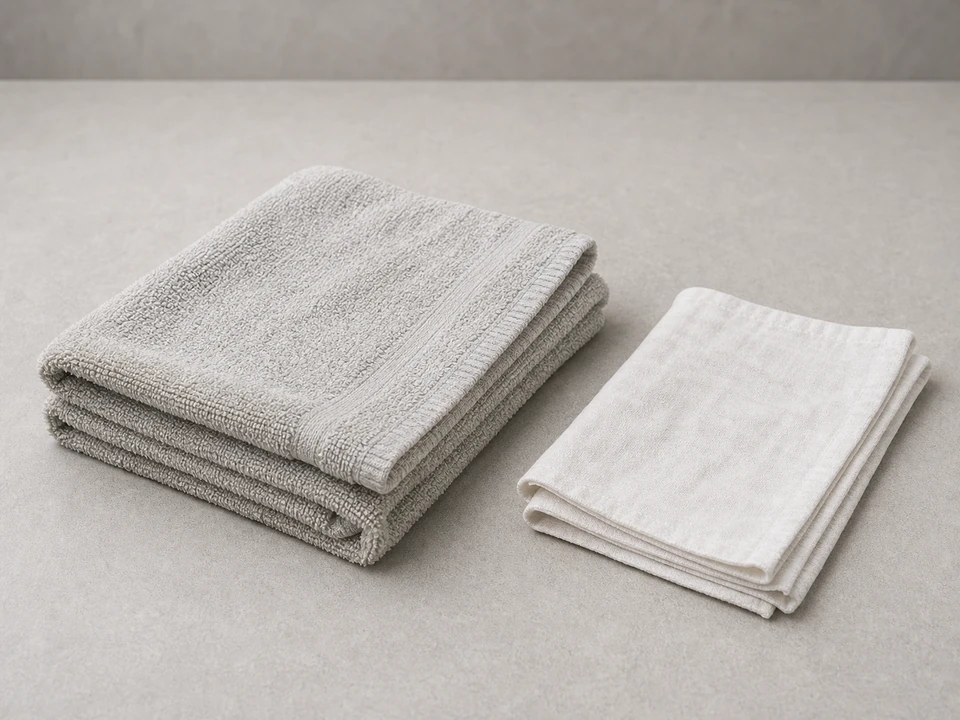
Use it for: Protects the cabinet floor and wipes the pipes clean before reassembly.
Shop cleaning rags
Use it for: Lets you see the washer seats and check for hairline cracks or misalignment.
Shop flashlights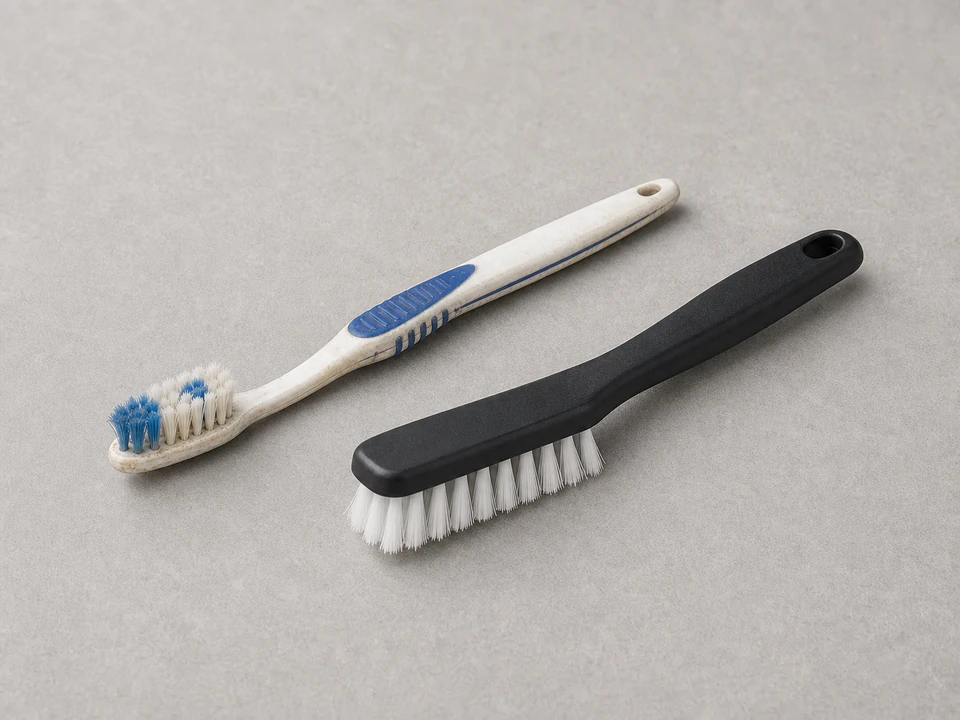
Use it for: Cleans buildup from the trap and slip-joint sealing surfaces.
Shop cleaning brushesAs an Amazon Associate I earn from qualifying purchases. Repair Riot may earn a commission at no extra cost to you.
If it works: You have confirmed the leak is coming from a slip-joint connection where the trap washers seal.
If it doesn’t: If the leak is coming from the faucet supply lines, shutoff valves, sink drain flange, or a cracked trap body, this washer replacement is not the main fix.
If it works: The trap is removed and the old washers are off the pipe ends.
If it doesn’t: If a nut will not loosen, apply steady pressure with pliers and support the pipe so you do not twist the wall stub-out or crack the tailpiece.
If it works: The pipe ends are clean and you have confirmed the new washer set matches the trap.
If it doesn’t: If the new washers do not match the old size or the pipe diameter, pause and get the correct set before reassembling.
If it works: The new washers are installed and the trap is assembled squarely by hand.
If it doesn’t: If the trap will not line up without strain, loosen the joints and reposition the pieces so the washers can seat evenly.
If it works: The joints stay dry during a slow-flow test.
If it doesn’t: If a joint drips, stop the water, loosen that connection, reseat the washer, confirm the taper direction, and retighten evenly.
If it works: The trap stays dry during a full drain and normal sink use, confirming the repair held.
If it doesn’t: If you still see moisture, recheck washer orientation, pipe alignment, and nut tightness. If the joints are assembled correctly and still leak, replace the damaged trap parts instead of the washers alone.
Match the pipe diameter, inlet and outlet configuration, and trap style before ordering.
As an Amazon Associate I earn from qualifying purchases. Repair Riot may earn a commission at no extra cost to you.
If the leak is only at the slip-joint connections and the trap body is not cracked or corroded, the washer set is often enough. If the trap itself is damaged, replace the trap assembly too.
On a typical slip-joint connection, the tapered side faces into the fitting and the flat side faces the nut. The washer needs to wedge evenly into the joint as the nut tightens.
Usually no. Slip-joint washers are meant to seal by compression. Adding tape or putty at those washer joints can interfere with proper seating.
The most common causes are the wrong washer size, backward washer orientation, dirty sealing surfaces, cross-threaded nuts, or a trap that is being forced out of alignment.
Yes, if the threads are clean and not cracked or stripped. If a nut is damaged or will not tighten smoothly, replace it.