
Bucket or shallow pan
Use it for: Catches the water that spills when you open the trap.
Shop buckets and drain pansIf your bathroom sink is dripping from a slip nut or trap joint, replacing the bathroom sink slip joint washer set is often the right fix. The job is usually straightforward: take the joint apart, swap in the new washers, reassemble the drain pieces squarely, and test under real water flow.
Slip joint washers seal the hand-tightened connections on the sink drain and P-trap. When they dry out, split, flatten, or get knocked out of place, the joint can leak even if the nut feels tight. This repair works best when the leak is clearly coming from a slip-joint connection, not from a cracked pipe, loose sink drain flange, or water supply line.
Before you start: Match the replacement part to your exact bathroom sink before ordering.
Use it for: Catches the water that spills when you open the trap.
Shop buckets and drain pans
Use it for: Helps loosen stuck slip nuts without crushing the pipe.
Shop channel-lock pliers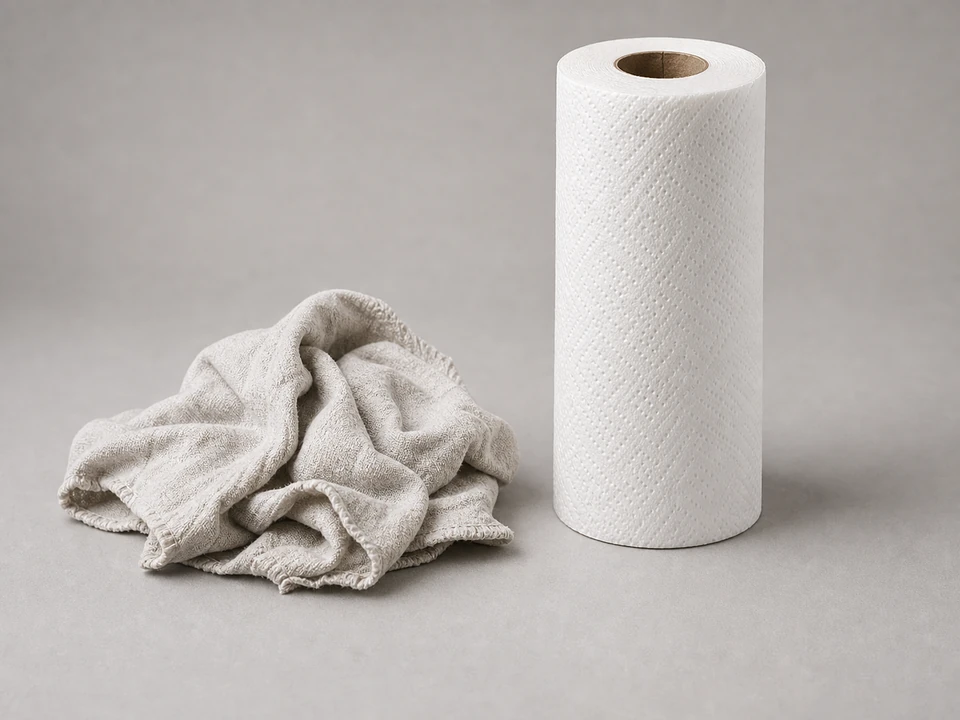
Use it for: Wipes the pipes clean so the new washers seat properly and helps spot fresh leaks during testing.
Shop shop towels
Use it for: Lets you see the back side of the trap and the underside of the sink while checking for drips.
Shop flashlightsAs an Amazon Associate I earn from qualifying purchases. Repair Riot may earn a commission at no extra cost to you.
If it works: You have confirmed the leak is coming from a slip-joint connection that uses a washer.
If it doesn’t: If the water starts above the slip joint or the pipe itself is cracked, this washer replacement is not the right repair path.
If it works: The leaking joint is open and the old washer is accessible.
If it doesn’t: If the nut will not loosen without forcing it, try supporting the pipe with one hand and working the nut back and forth gently with pliers.
If it works: The joint surfaces are clean and ready for the new washer.
If it doesn’t: If the surfaces are still slimy or dirty, clean them again before reassembly so the new washer can seal evenly.
If it works: The new washer is installed and the drain joint is reassembled squarely.
If it doesn’t: If the nut will not thread smoothly by hand, back it off and realign the pipes to avoid cross-threading.
If it works: The repaired joint stays dry during both a light flow test and a full drain test.
If it doesn’t: If you see a slight drip, snug the slip nut a little more and test again. If it still leaks, reopen the joint and check washer orientation, fit, and pipe alignment.
If it works: The bathroom sink drains normally and the repaired slip-joint connection remains dry in real use.
If it doesn’t: If a slow leak returns, the joint may be misaligned, the nut may be damaged, or another drain part may need replacement.
Match the replacement part to your exact bathroom sink before ordering.
As an Amazon Associate I earn from qualifying purchases. Repair Riot may earn a commission at no extra cost to you.
If only one joint is leaking, you can replace just that washer. If the other washers are the same age and easy to reach, replacing them at the same time can save another repair later.
Match the orientation of the old washer. On many drain joints, the tapered side faces into the joint so it compresses as the nut tightens. If the washer is installed backward, the joint may drip even when the nut feels tight.
Usually no. Slip-joint connections seal with the washer, not the threads. The important part is a clean joint, the correct washer, proper orientation, and a snug nut.
The washer may be the wrong size, backward, pinched, or sitting on dirty or damaged pipe surfaces. The pipes may also be out of alignment, which keeps the washer from compressing evenly.
It is better to install a new one. Old slip-joint washers often flatten or harden with age, and they may not reseal well once the joint has been opened.