
Bucket or shallow pan
Use it for: Catches water left in the trap when you loosen the drain connections.
Shop bucket for drain workIf your bathroom sink is dripping from a slip-joint connection on the drain trap, replacing the slip joint washers is usually the right fix.
These washers seal the hand-tightened drain connections under the sink. When they dry out, crack, flatten, or get installed backward, water can leak from the trap or tailpiece. This is a simple repair if the pipes are still in good shape.
Before you start: Match the replacement part to your exact bathroom sink before ordering.
Use it for: Catches water left in the trap when you loosen the drain connections.
Shop bucket for drain work
Use it for: Helps loosen stuck slip nuts without forcing them too hard.
Shop channel-lock pliers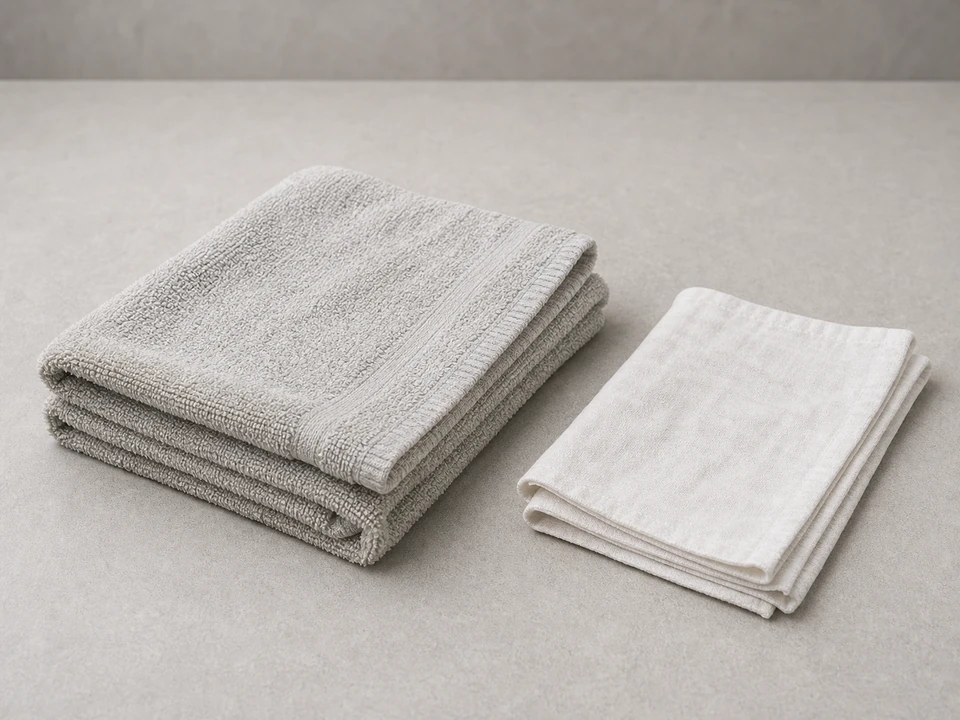
Use it for: Wipes up water and lets you dry the joints so you can spot fresh leaks.
Shop absorbent shop towels
Use it for: Makes it easier to inspect the washers, nuts, and pipe ends under the sink.
Shop LED flashlight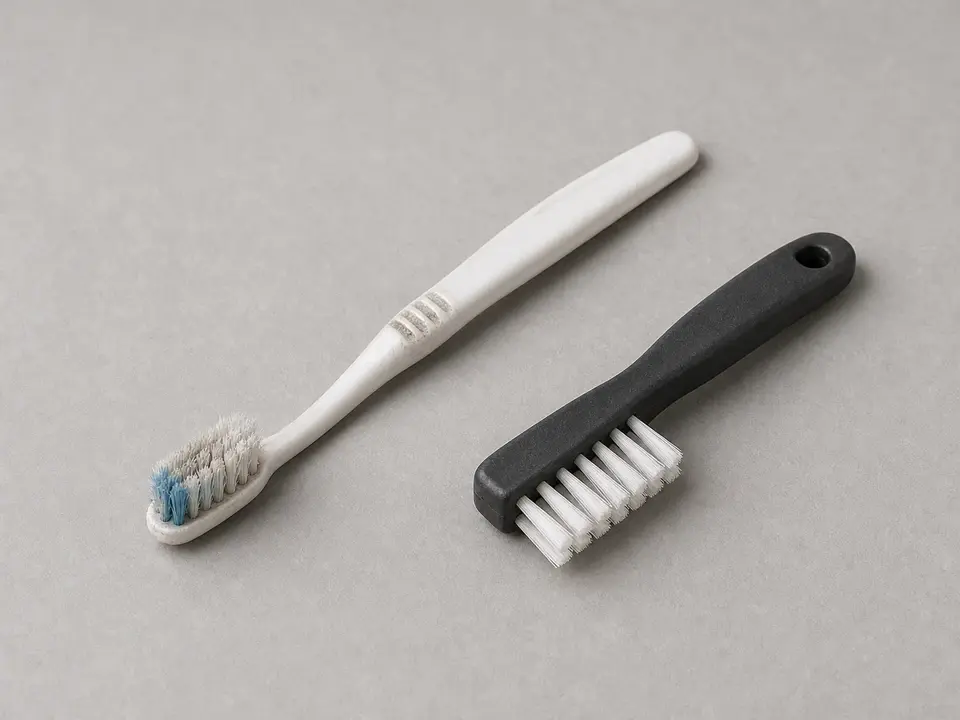
Use it for: Cleans grime from the pipe ends and slip nut threads before reassembly.
Shop small cleaning brushAs an Amazon Associate I earn from qualifying purchases. Repair Riot may earn a commission at no extra cost to you.
If it works: You have confirmed the leak is coming from a slip-joint connection on the sink drain.
If it doesn’t: If the water is coming from a different spot, diagnose that leak first before replacing the washers.
If it works: The leaking slip-joint connection is apart and the old washer is exposed.
If it doesn’t: If the nut will not loosen, apply steady pressure with pliers and support the pipe with your other hand so you do not twist the whole drain assembly.
If it works: The old washer is removed and the joint surfaces are clean and ready for the new washer.
If it doesn’t: If the washer area is still dirty, clean it again so the new washer can seat evenly.
If it works: The new washer is seated and the slip nut is tightened evenly without forcing it.
If it doesn’t: If the nut will not thread smoothly by hand, back it off and realign the pipe and washer before trying again.
If it works: The drain assembly is back together, aligned, and dry for leak testing.
If it doesn’t: If the trap looks twisted or under tension, loosen the nuts slightly, realign the pieces, and retighten by hand.
If it works: The repaired slip-joint connection stays dry during both light flow and a full drain test.
If it doesn’t: If the joint still leaks after careful retightening, reopen it and check for a backward washer, debris on the seat, poor alignment, or the wrong washer size.
Match the replacement part to your exact bathroom sink before ordering.
As an Amazon Associate I earn from qualifying purchases. Repair Riot may earn a commission at no extra cost to you.
Usually no. You are working on the sink drain, not the supply lines. Just avoid running the faucet while the trap is apart, and keep a bucket underneath for the water left in the trap.
On most bathroom sink drain connections, the tapered side faces into the fitting and the flat side faces the nut. If you copied the old washer position before removal, install the new one the same way unless the old one was clearly backward.
It is better to replace it. Old washers often flatten or harden enough that they will leak again once disturbed.
The most common causes are a backward washer, dirt on the sealing surface, a misaligned trap, overtightening that distorts the washer, or the wrong size replacement. A cracked nut or damaged pipe end can also keep the joint from sealing.
Usually no. Slip-joint connections are meant to seal with the washer and proper alignment. Adding sealant can make diagnosis messier and usually does not fix a damaged or misfit joint.