
Step ladder
Use it for: To safely reach the attic hatch and work with both hands free.
Shop step laddersIf the attic hatch no longer seals tightly, replacing the weatherstripping is usually a straightforward fix. Remove the old material, clean the mounting surface, apply new weatherstripping in one continuous seal, and make sure the hatch compresses it evenly when closed.
This repair helps stop warm indoor air from leaking into the attic around the access opening. A good seal can reduce drafts, moisture movement, and energy loss, but it only works if the hatch still closes flat and the frame is in decent shape.
Before you start: Match the profile, length, mounting style, and opening compatibility before ordering.
Use it for: To safely reach the attic hatch and work with both hands free.
Shop step ladders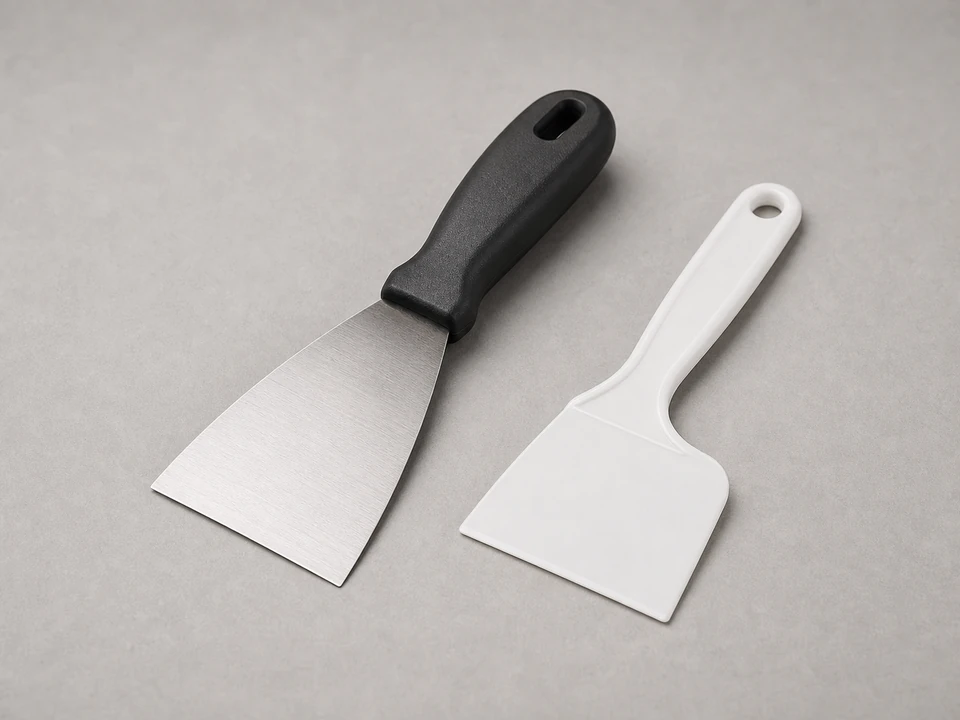
Use it for: To lift old weatherstripping and scrape off leftover adhesive.
Shop putty knives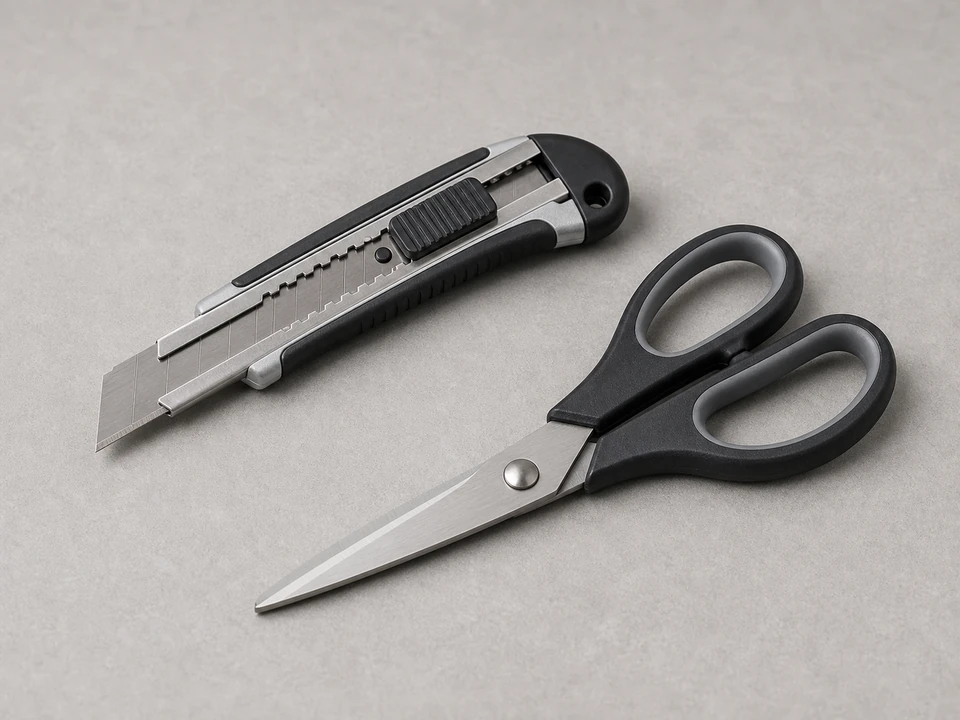
Use it for: To cut the new weatherstripping cleanly to length.
Shop utility knives
Use it for: To wipe dust, old residue, and cleaner from the hatch frame.
Shop cleaning rags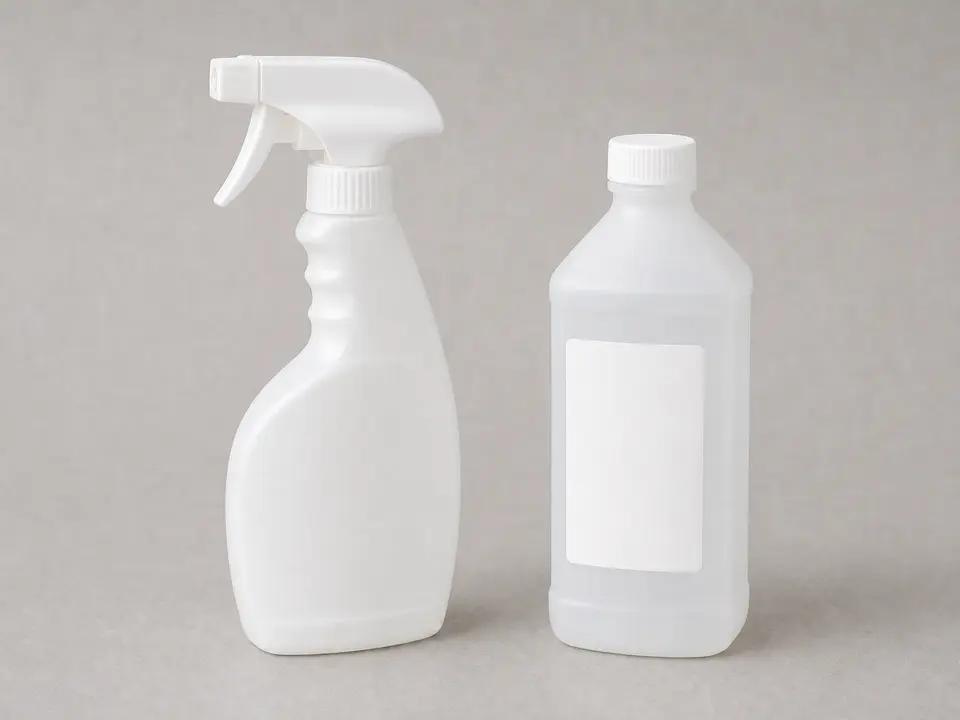
Use it for: To clean the surface so the new weatherstripping sticks well.
Shop rubbing alcohol
Use it for: To measure the hatch opening and cut the right length.
Shop tape measuresAs an Amazon Associate I earn from qualifying purchases. Repair Riot may earn a commission at no extra cost to you.
If it works: You found worn or missing weatherstripping and the hatch and frame still look solid enough to seal with a new strip.
If it doesn’t: If the hatch is warped, the frame is loose, or the opening has water damage, fix those issues first or the new seal may fail quickly.
If it works: The old weatherstripping is fully removed and the mounting area is exposed.
If it doesn’t: If adhesive is still hanging on in spots, keep scraping gently until the surface is smooth enough for the new strip to sit flat.
If it works: The surface is clean and dry, and you know the weatherstripping will fit the opening without bunching or leaving gaps.
If it doesn’t: If the new strip looks too thick for the hatch to close or too thin to make contact, exchange it for a better match before installing.
If it works: The new weatherstripping is attached evenly all the way around the hatch opening with no obvious gaps or loose sections.
If it doesn’t: If part of the strip lifts or twists, pull that section back now and reset it before the adhesive fully grabs.
If it works: The hatch closes fully and the weatherstripping compresses evenly enough to create a continuous seal.
If it doesn’t: If the hatch will not close normally, the weatherstripping profile is likely too thick or mounted in the wrong spot. Replace it with a better fit rather than crushing the hatch shut.
If it works: The hatch stays closed, the seal remains attached, and air leakage around the opening is reduced in normal use.
If it doesn’t: If drafts, moisture, or condensation continue, inspect the hatch insulation, attic air sealing, and nearby ceiling penetrations because the weatherstripping may not be the only leak path.
Match the profile, length, mounting style, and opening compatibility before ordering.
As an Amazon Associate I earn from qualifying purchases. Repair Riot may earn a commission at no extra cost to you.
It should go on the same contact surface the old seal used, usually the hatch frame or the hatch edge where the panel compresses against it when closed. The goal is one continuous seal around the perimeter.
A compressible foam or similar sealing strip usually works well as long as it matches the gap and allows the hatch to close fully. The best choice is the one that seals without being so thick that it bows the hatch or prevents closure.
It is better to remove the old material first. Stacking new weatherstripping over worn or dirty material usually creates an uneven seal and weak adhesive bond.
The hatch may be warped, the frame may be uneven, the new strip may be the wrong thickness, or air may be leaking through nearby ceiling penetrations instead of the hatch alone.
Maybe. Weatherstripping helps seal air leaks, but it does not add much insulation value by itself. If the hatch is uninsulated, adding insulation to the hatch panel can help reduce heat transfer.