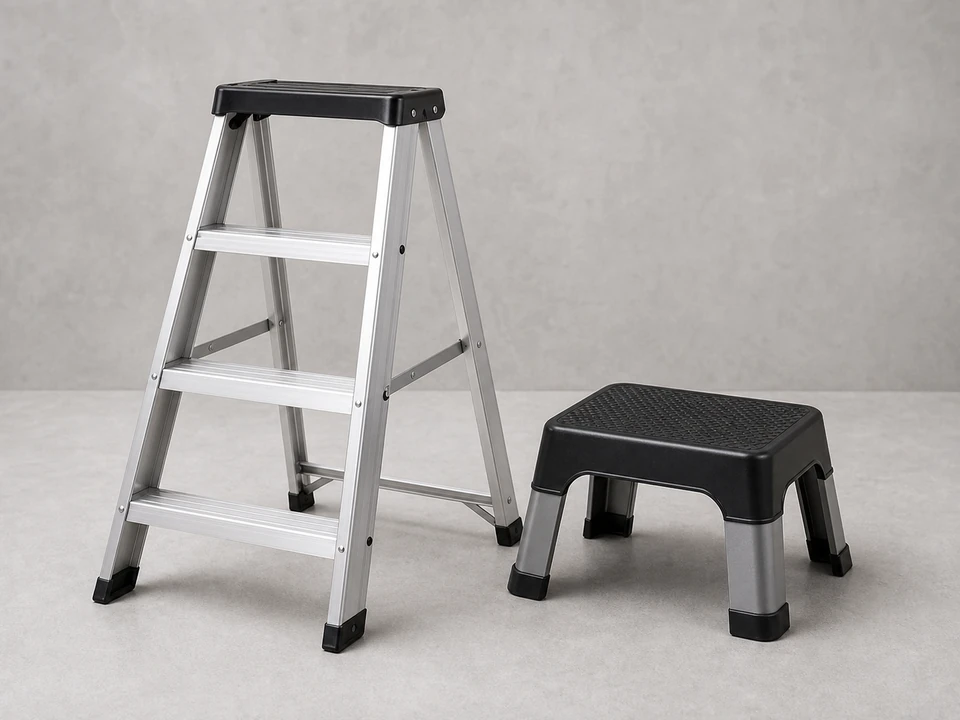
Step ladder
Use it for: To safely reach the attic hatch and work at eye level.
Shop step laddersTo replace attic hatch weatherstripping, remove the old seal, clean off adhesive and dust, apply new weatherstripping around the hatch opening or hatch edge, and close the hatch to confirm an even seal without forcing it.
This is a straightforward home repair, but you may be working on a ladder and near loose insulation. Take your time, use a stable work setup, and stop if the hatch frame is damaged or the new seal prevents the hatch from closing properly.
Before you start: Match the replacement part to your exact attic ventilation before ordering.
Use it for: To safely reach the attic hatch and work at eye level.
Shop step ladders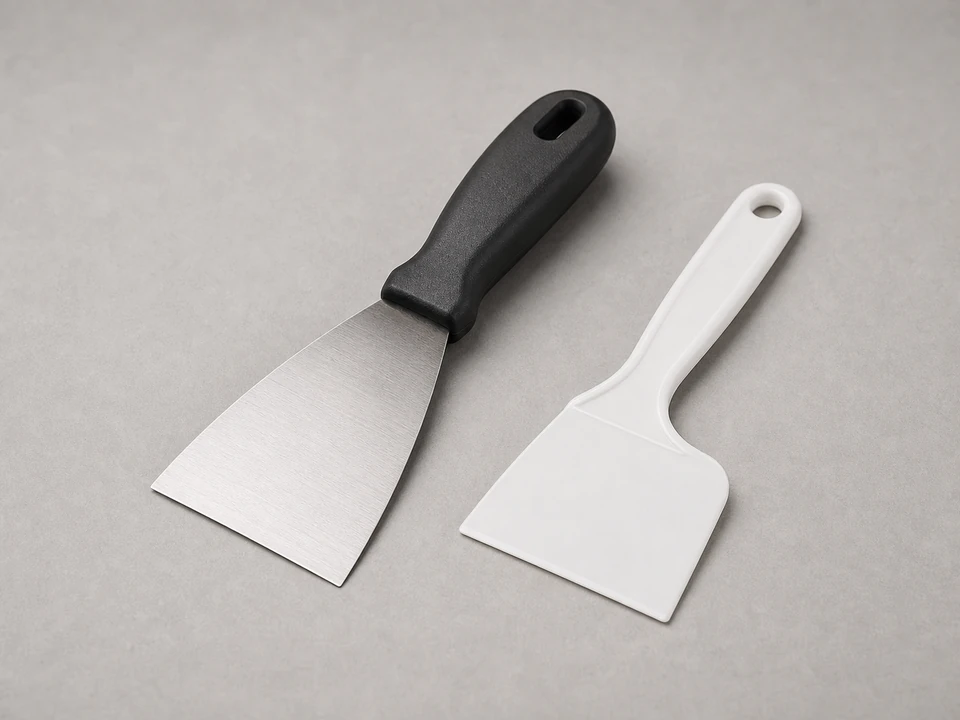
Use it for: To lift old weatherstripping and scrape away leftover adhesive.
Shop putty knives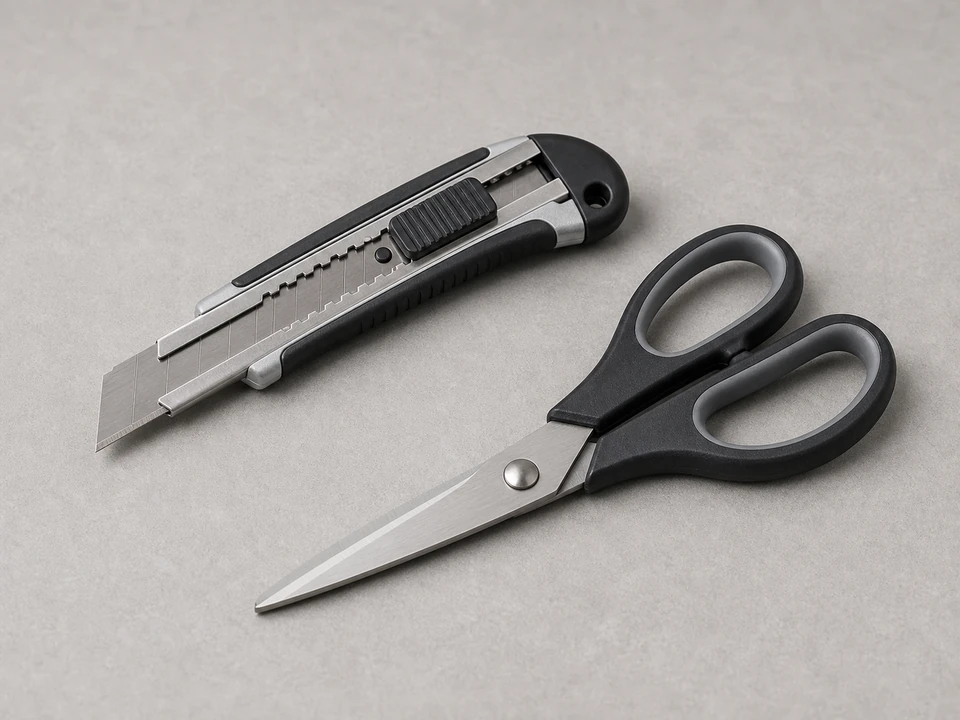
Use it for: To cut the new weatherstripping cleanly to length.
Shop utility knives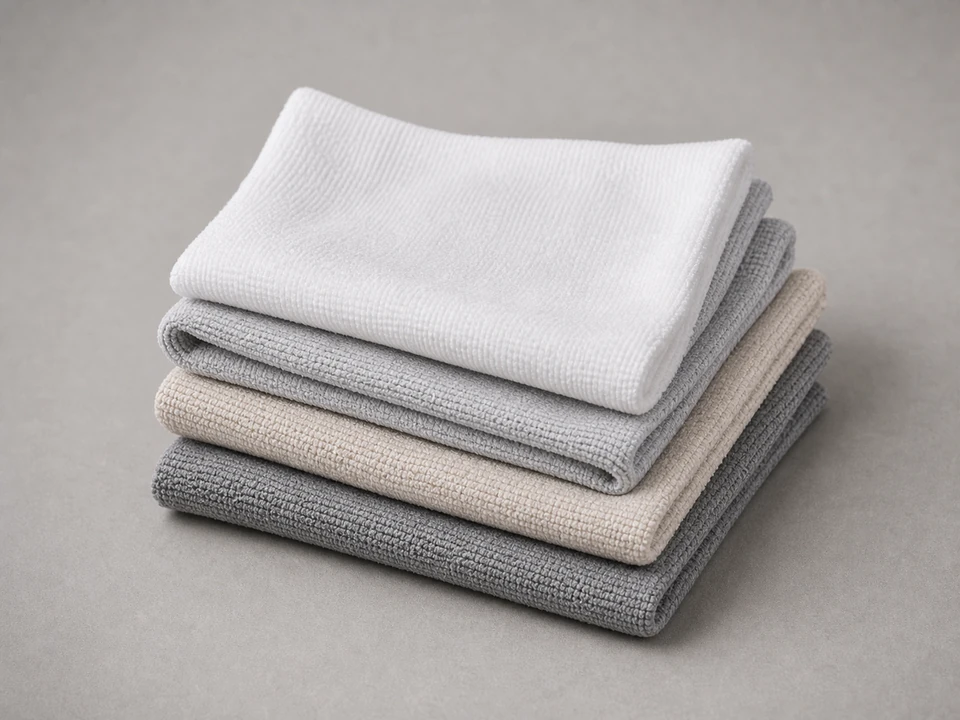
Use it for: To wipe dust, old residue, and cleaner from the mounting surface.
Shop cleaning rags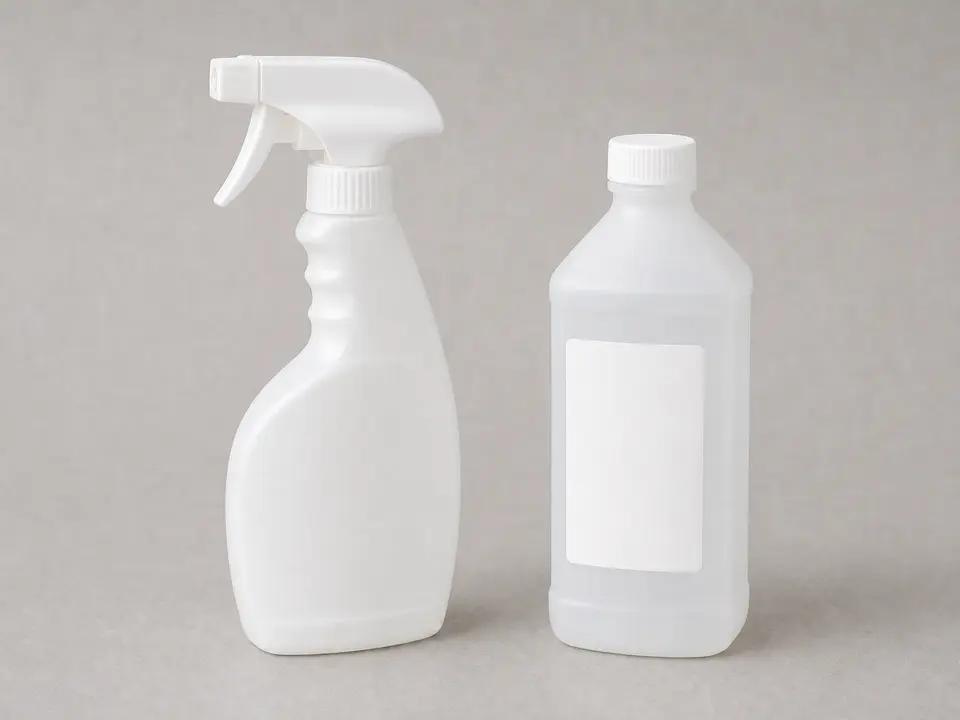
Use it for: To help remove adhesive residue so the new seal sticks better.
Shop rubbing alcohol
Use it for: To measure each side of the hatch opening before cutting the new seal.
Shop tape measuresAs an Amazon Associate I earn from qualifying purchases. Repair Riot may earn a commission at no extra cost to you.
If it works: You can clearly see the old weatherstripping and the surface where the replacement will go.
If it doesn’t: Improve lighting, reposition the ladder, and inspect again before removing anything.
If it works: The old weatherstripping is fully removed from the mounting surface.
If it doesn’t: Work in shorter sections and use the scraper carefully until all loose material is gone.
If it works: The surface feels clean, dry, and smooth enough for the new weatherstripping to sit flat.
If it doesn’t: Repeat light scraping and wiping until residue is removed and the area is dry.
If it works: The new pieces fit the hatch perimeter with clean ends and no major gaps.
If it doesn’t: Trim or recut the pieces so they sit flat and meet at the corners.
If it works: The new weatherstripping is attached evenly and follows the full hatch perimeter.
If it doesn’t: Lift and reset any short section right away if it is crooked or not fully pressed down.
If it works: The hatch closes normally and the new weatherstripping makes an even seal around the opening.
If it doesn’t: Adjust any misaligned section, trim bulky spots, or replace the material with a better-fitting profile if needed.
Match the replacement part to your exact attic ventilation before ordering.
As an Amazon Associate I earn from qualifying purchases. Repair Riot may earn a commission at no extra cost to you.
Install it where the original seal was mounted, usually on the hatch edge, trim, or frame around the opening. The goal is a continuous seal when the hatch closes.
If the hatch will not close normally, the replacement is likely too thick or too dense for that opening. Remove it before the adhesive sets fully and use a lower-profile seal.
It is better to remove the old material first. Stacking new weatherstripping over worn or dirty material usually creates an uneven seal and poor adhesion.
The surface may still have dust, old adhesive, or moisture on it. Clean and dry the area again, then reinstall. If the mounting surface is rough or damaged, the hatch trim may need repair first.
Replacing the full perimeter usually gives the most even seal. Mixing old and new sections can leave gaps or uneven compression around the hatch.