
Work gloves
Use it for: Protects your hands from fiberglass, dust, and rough framing.
Shop work glovesTo replace attic batt insulation, first confirm the batt is wet, moldy, compressed, torn up, or missing enough material to justify replacement. Then remove the damaged section, air out and clean the cavity, install a matching new batt without compressing it, and check that it stays full and even after the attic goes through normal temperature changes.
This is a manageable homeowner repair when the damage is limited to accessible attic insulation and the framing is sound. The goal is to restore full coverage without trapping moisture or squeezing the insulation into place.
Before you start: Match the replacement insulation type, width, thickness, and facing to the section you are replacing so it fits the framing bay and performs like the surrounding insulation.
Use it for: Protects your hands from fiberglass, dust, and rough framing.
Shop work gloves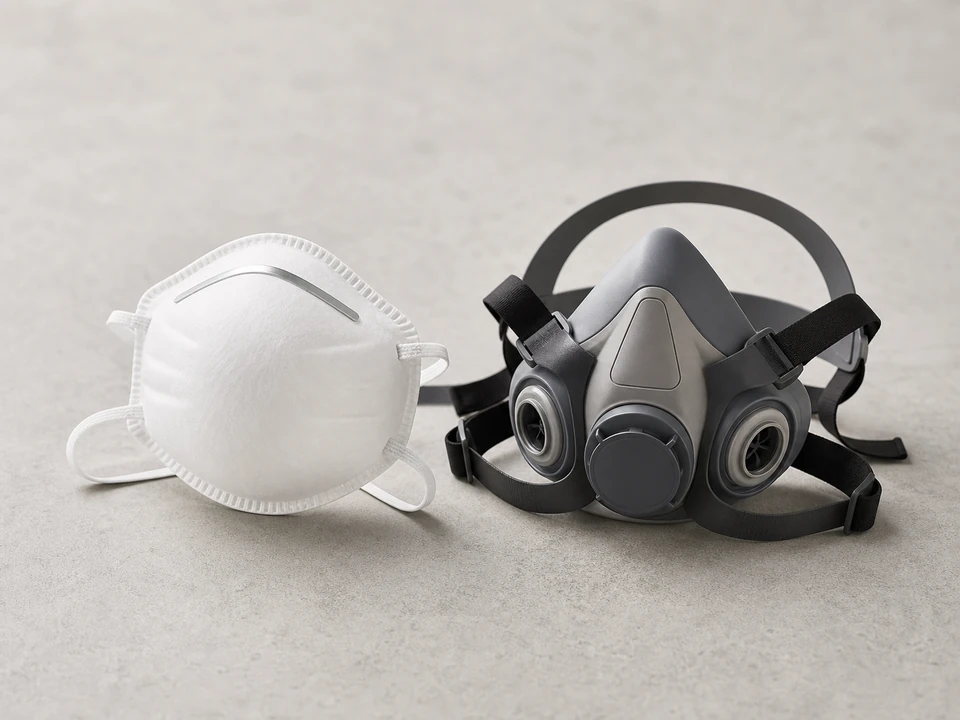
Use it for: Helps reduce irritation from insulation fibers and attic dust.
Shop dust masks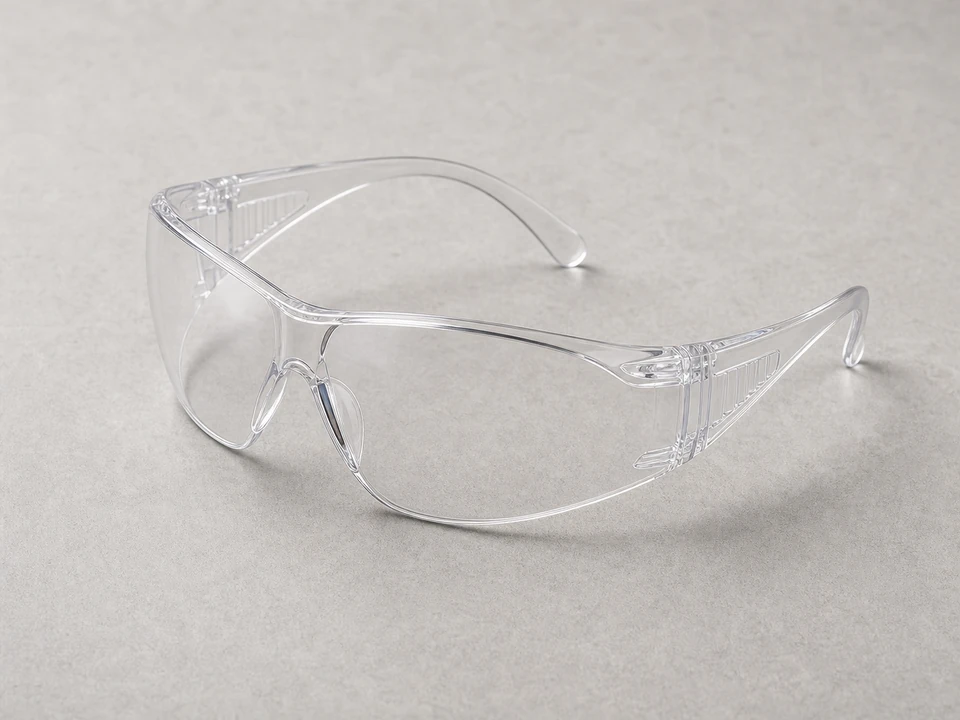
Use it for: Keeps loose fibers and debris out of your eyes while removing and fitting batts.
Shop safety glasses
Use it for: Cuts the new batt cleanly to length around framing and obstacles.
Shop utility knives
Use it for: Lets you match the new batt to the bay width and depth.
Shop tape measures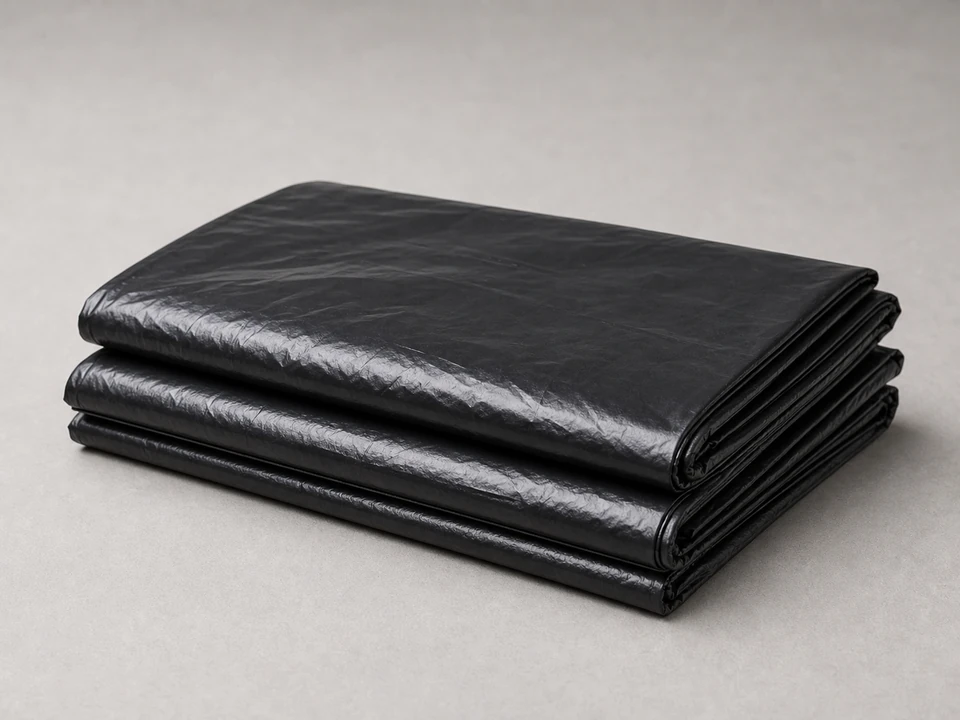
Use it for: Gives you a clean way to bag damaged insulation for disposal.
Shop heavy-duty trash bagsAs an Amazon Associate I earn from qualifying purchases. Repair Riot may earn a commission at no extra cost to you.
If it works: You have identified a specific damaged section of attic batt insulation and the surrounding framing appears dry and sound.
If it doesn’t: If the insulation is only slightly disturbed and still dry and full, you may only need to reposition it instead of replacing it.
If it works: The damaged insulation is out and the framing bay is open and ready to inspect.
If it doesn’t: If the batt is stuck to damp wood or breaks apart as you remove it, slow down and clear the cavity in smaller pieces so you do not leave wet material behind.
If it works: The cavity is clean, dry, and measured so the new batt can fit properly.
If it doesn’t: If the cavity still feels damp, find and fix the moisture source first, then return once the area is dry.
If it works: The new batt fills the bay evenly with no major gaps, bunching, or compression.
If it doesn’t: If the batt bows out or leaves open spaces, pull it back out, trim it again, and reset it so it sits flat and full.
If it works: The repaired area blends into the surrounding attic insulation and coverage looks continuous.
If it doesn’t: If the repaired section still sits lower than the surrounding area, recheck the batt thickness and replace it with a better match.
If it works: The new attic batt insulation stays dry, full, and properly positioned after normal attic use and weather changes.
If it doesn’t: If the new batt gets damp again or shifts out of place, track down the moisture, airflow, or pest issue before replacing insulation again.
Match the replacement insulation type, width, thickness, and facing to the section you are replacing so it fits the framing bay and performs like the surrounding insulation.
As an Amazon Associate I earn from qualifying purchases. Repair Riot may earn a commission at no extra cost to you.
Yes, if the damage is limited and the surrounding insulation is still dry and in decent shape. Match the new batt as closely as you can so the repaired area performs like the rest of the attic.
Yes. Wet batt insulation loses performance and can hold moisture against wood. Remove it, dry the area fully, and fix the moisture source before installing new material.
No. Batt insulation works best when it stays full and uncompressed. If you squeeze it into a space that is too small, it loses effectiveness.
Cut or split the batt so it fits around the obstacle while keeping the insulation thickness as even as possible. Avoid crushing the batt behind the obstruction.
That usually points to a root cause such as a roof leak, condensation, air leakage, or pests. Fix that problem first or the new insulation will likely fail again.