
Tape measure
Use it for: To measure joist spacing and cavity depth so the new batts fit correctly.
Shop tape measuresIf the batts above your garage are wet, falling down, compressed, or missing, replacing them is usually a straightforward repair. The key is using batts sized for the joist bay depth and width, then fitting them snugly without crushing them.
This job is mostly about safe access, clean removal, and getting full contact in each joist bay. Take your time around wiring, light fixtures, and any signs of moisture or hidden damage.
Before you start: Match the replacement part to your exact insulation before ordering.
Use it for: To measure joist spacing and cavity depth so the new batts fit correctly.
Shop tape measures
Use it for: To trim batts cleanly around edges, wiring, or short bays.
Shop utility knives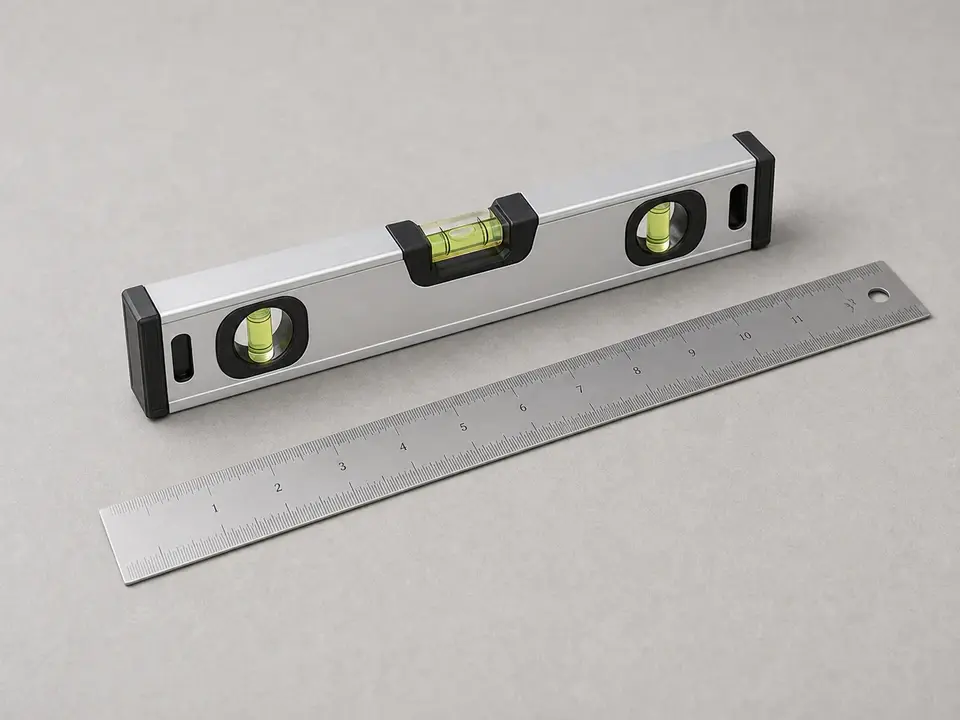
Use it for: To guide straight cuts through insulation.
Shop straightedges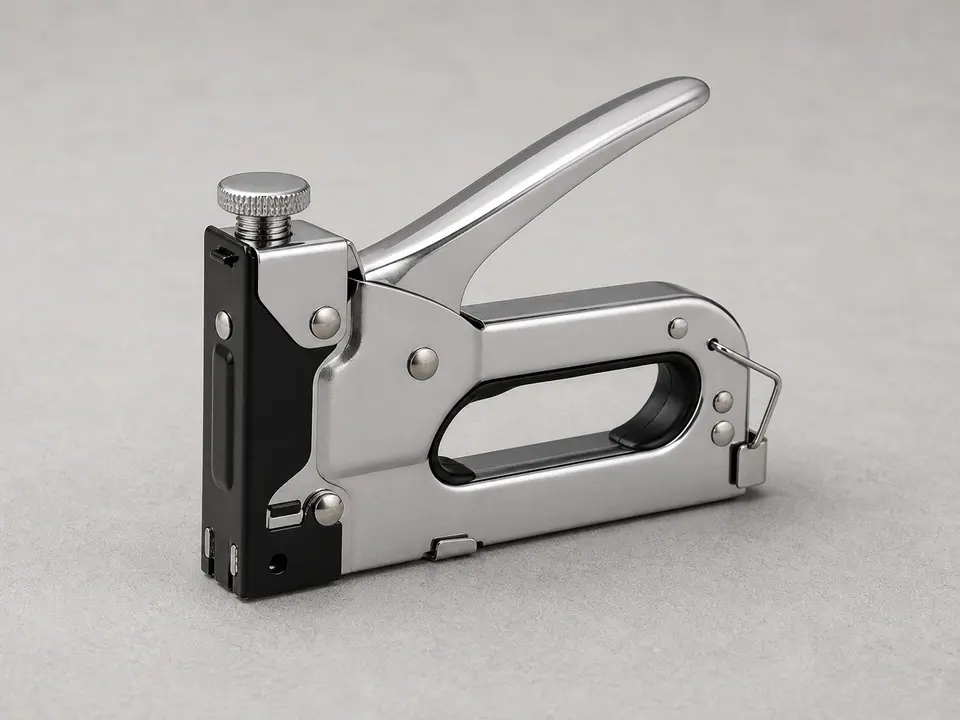
Use it for: To support faced batts if your installation uses stapled flanges.
Shop staple guns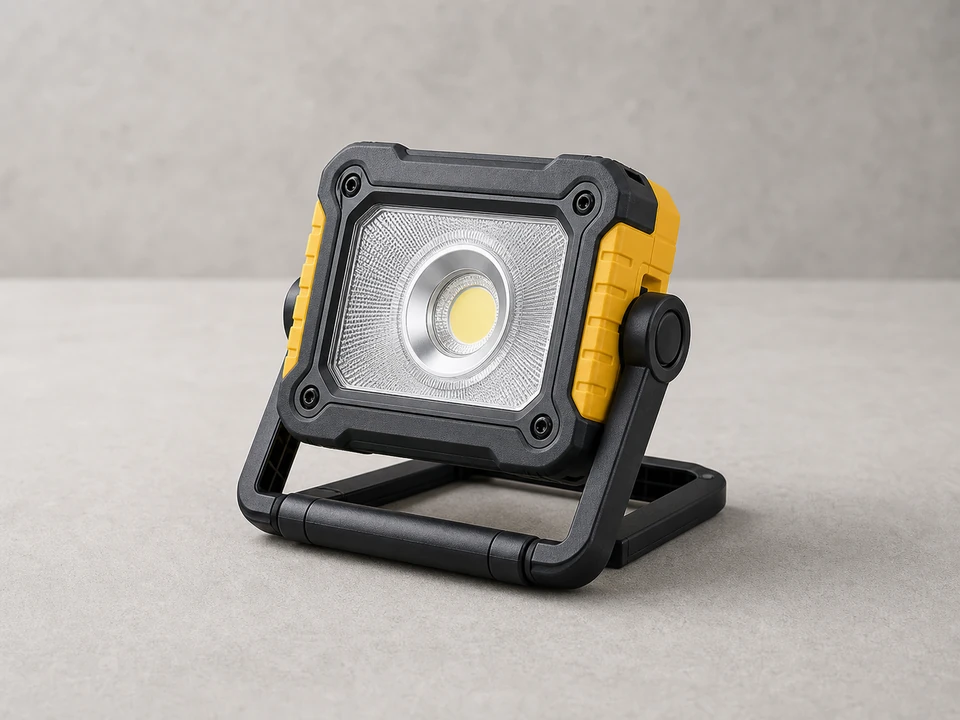
Use it for: To see into joist bays and spot gaps, moisture stains, or obstructions.
Shop work lights
Use it for: To reduce irritation from fibers and falling dust while you work overhead.
Shop dust masks and safety glassesAs an Amazon Associate I earn from qualifying purchases. Repair Riot may earn a commission at no extra cost to you.
If it works: You know the problem is failed or missing batts, and you have the basic size and type needed for replacement.
If it doesn’t: If the ceiling feels cold but the batts look dry, full, and properly supported, look for air leaks, gaps around penetrations, or missing coverage in other areas before replacing everything.
If it works: The damaged insulation is out, the work area is clear, and each joist bay is exposed for inspection.
If it doesn’t: If some sections are stuck behind wires or hangers, slow down and cut the batt into smaller pieces instead of yanking on it.
If it works: The joist bays are clean, dry, and ready for new insulation with no obvious obstruction to a proper fit.
If it doesn’t: If you find only minor debris or a small obstruction, clean it up and continue once the batt can sit flat and full-depth.
If it works: Each replacement batt is cut to the right width and length and is ready to install without being forced into place.
If it doesn’t: If a batt bows, bunches up, or leaves a large gap, recut that piece instead of trying to stuff it in.
If it works: The new batts are fully installed, supported, and evenly filling the joist bays without sagging or large gaps.
If it doesn’t: If a section keeps falling out or leaves side gaps, remove it and replace it with a properly sized piece rather than adding scraps loosely.
If it works: The batts stayed put, the joist bays remain fully covered, and the space above the garage feels more stable in temperature.
If it doesn’t: If comfort does not improve much, check for air leaks, missing insulation in adjacent areas, or other building-envelope problems beyond the garage ceiling batts.
Match the replacement part to your exact insulation before ordering.
As an Amazon Associate I earn from qualifying purchases. Repair Riot may earn a commission at no extra cost to you.
Only if they are dry, clean, full-thickness, and still fit the bays properly. Wet, moldy, torn, or badly compressed batts should be replaced.
They should fit snugly enough to stay in place, but not so tight that they are crushed. Compression reduces how well insulation works.
Match the existing assembly unless you know the ceiling was built incorrectly and are correcting the full assembly. For a simple replacement, like-for-like is the safest approach.
That is common in older framing. Measure several bays and cut pieces to fit each opening instead of assuming one size works everywhere.
Common causes are moisture, poor support, the wrong batt size, physical damage, or earlier installation that left gaps and compression.