
Work gloves
Use it for: Protects your hands while handling old insulation and wood edges.
Shop work glovesTo replace a basement rim joist insulation batt, first confirm the old batt is missing, wet, moldy, falling out, or no longer fits the rim joist bay. Remove the damaged piece, clean and dry the area, cut the new batt to a snug fit, and press it back into place without compressing it too tightly.
This is a manageable homeowner repair when the issue is limited to the insulation itself. The goal is a clean, dry rim joist bay and a batt that fills the space evenly so cold air is less likely to leak through.
Before you start: Match the replacement part to your exact insulation before ordering.
Use it for: Protects your hands while handling old insulation and wood edges.
Shop work gloves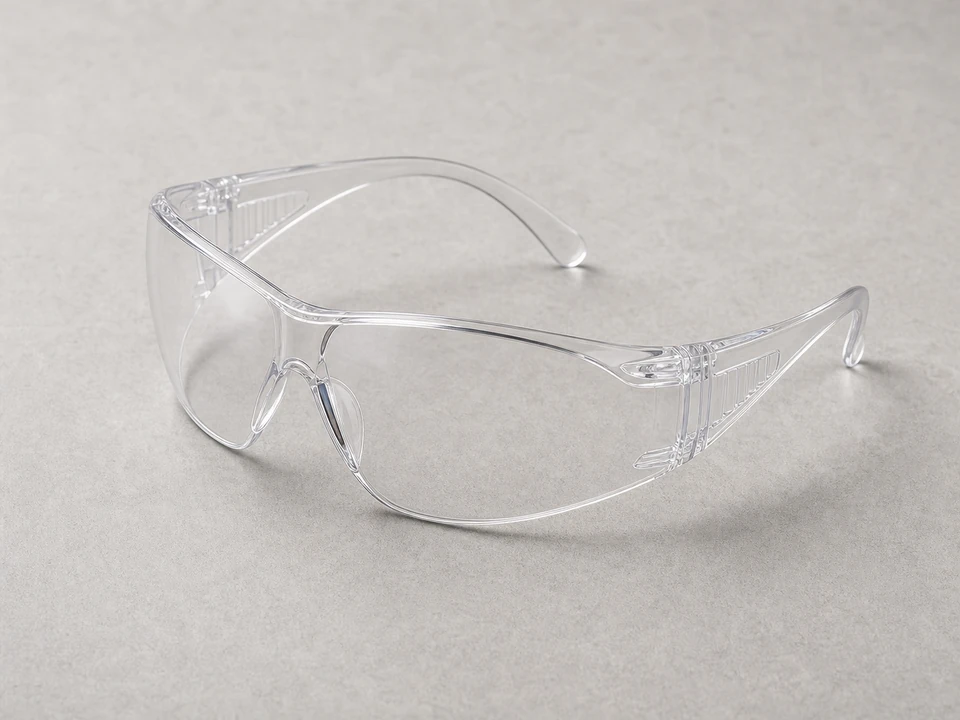
Use it for: Keeps dust and insulation fibers out of your eyes.
Shop safety glasses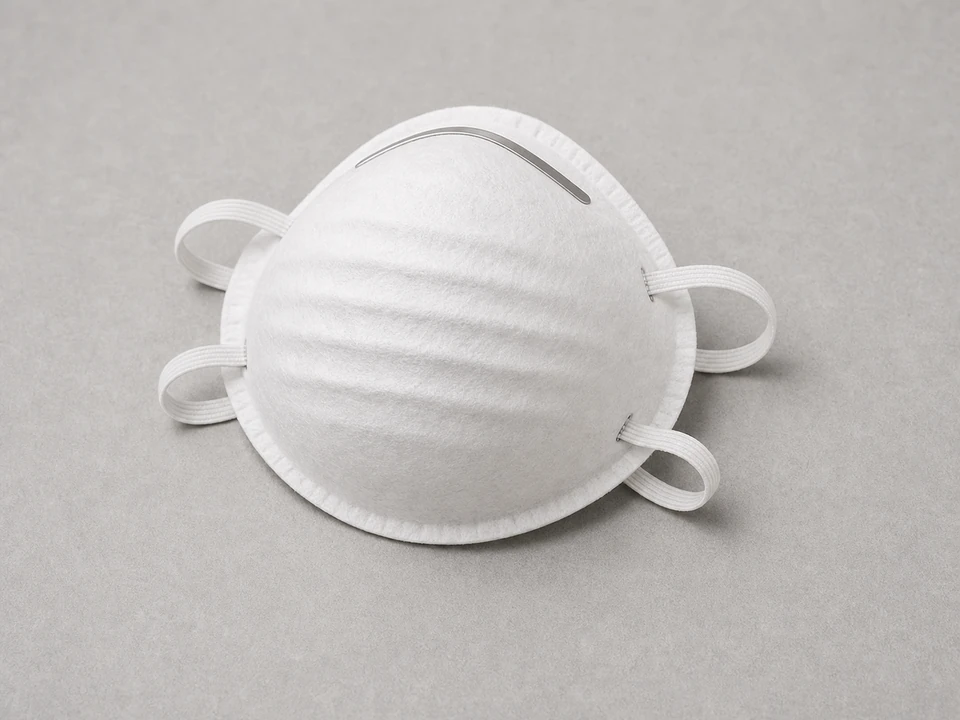
Use it for: Helps reduce breathing in dust and loose insulation fibers.
Shop dust masks
Use it for: Measures the rim joist bay so the new batt fits snugly.
Shop tape measures
Use it for: Cuts the new batt cleanly to size.
Shop utility knives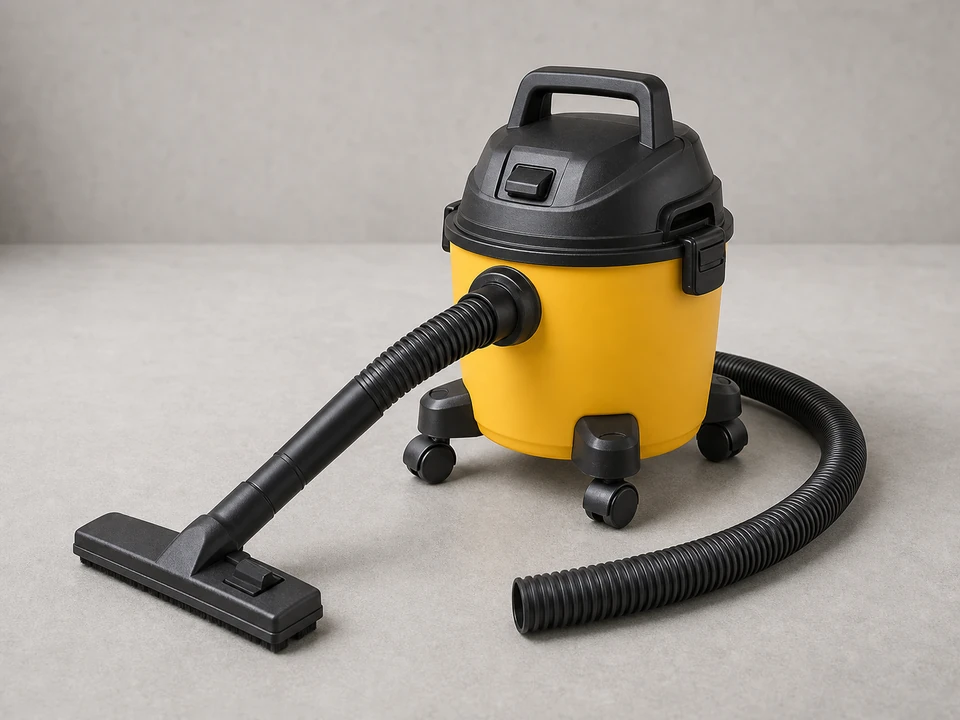
Use it for: Cleans out loose debris and old insulation fibers before reinstalling.
Shop shop vacsAs an Amazon Associate I earn from qualifying purchases. Repair Riot may earn a commission at no extra cost to you.
If it works: You have confirmed the insulation batt is damaged or missing and you have basic measurements for the replacement.
If it doesn’t: If the batt looks dry, intact, and well fitted, the cold area may be coming from air leaks or moisture problems nearby rather than the batt itself.
If it works: The damaged batt is out and the work area is open and easier to inspect.
If it doesn’t: If the batt will not come out because it is trapped behind finishes or mechanical lines, clear only what you can safely move and reassess access before forcing it.
If it works: The bay is clean, dry, and ready for a new batt.
If it doesn’t: If the area stays damp or keeps showing fresh moisture, solve that moisture source first or the new batt may fail early.
If it works: The new batt is cut to a clean, snug size that matches the rim joist bay.
If it doesn’t: If the batt seems too loose, recut a fresh piece slightly larger. If it seems too thick to sit naturally, use the correct thickness instead of crushing it into place.
If it works: The new batt sits snugly, covers the bay evenly, and stays in place without sagging.
If it doesn’t: If the batt keeps slipping out, remove it and trim or recut it for a better friction fit instead of packing it tighter.
If it works: The batt stays in place, remains dry, and the rim joist area feels better insulated than before.
If it doesn’t: If the area still feels cold or the batt gets damp again, the next step is to look for air leakage, water entry, or another insulation gap nearby.
Match the replacement part to your exact insulation before ordering.
As an Amazon Associate I earn from qualifying purchases. Repair Riot may earn a commission at no extra cost to you.
Replace it if it is wet, moldy, torn, badly compressed, falling out, or missing pieces. A dry batt that still fits well can sometimes be reused, but damaged insulation usually performs poorly.
Usually no. If the old batt is dirty, damp, or misshapen, remove it first. Stacking new insulation over a failed piece can trap moisture and leave gaps behind it.
It should fit snugly enough to stay in place on its own, but not so tight that it gets heavily compressed. Over-compressed insulation loses effectiveness.
That points to a moisture problem, not just an insulation problem. Check for condensation, air leaks, plumbing leaks, or water entry at the rim joist before replacing insulation again.
Not always. If the rest are dry, intact, and fitted well, you can replace only the damaged batt. Still, it is smart to inspect the neighboring bays while you are there.