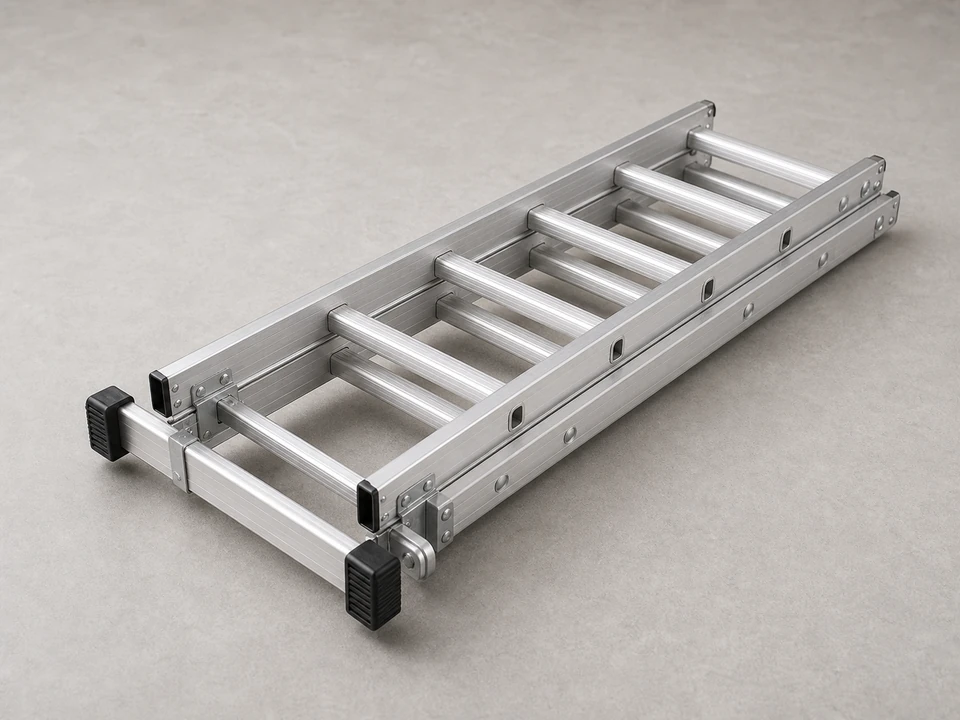
Extension ladder
Use it for: To reach the gable vent safely from the ground.
Shop extension laddersTo replace an attic gable vent cover, first confirm the cover itself is cracked, loose, rusted through, or missing. Then measure the opening, remove the old fasteners and sealant, inspect the surrounding trim or siding for rot, and install a matching new cover so it sits flat and sheds water properly.
This is a manageable exterior repair for many homeowners, but it usually involves ladder work and weather exposure. Take your time, work in dry conditions, and stop if the surrounding wall or trim is soft, broken, or pulling apart.
Before you start: Match the replacement part to your exact attic ventilation before ordering.
Use it for: To reach the gable vent safely from the ground.
Shop extension ladders
Use it for: To protect your hands from sharp metal edges, old fasteners, and rough siding.
Shop work gloves
Use it for: To measure the old vent cover and opening so the replacement fits.
Shop tape measures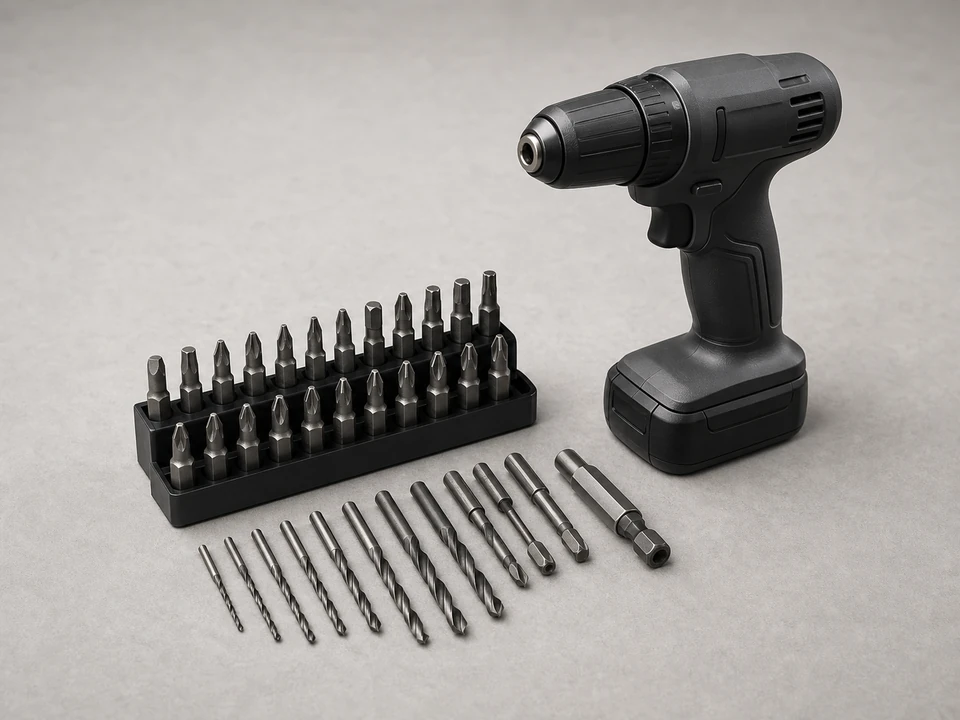
Use it for: To remove screws and fasten the new vent cover.
Shop drill driver kits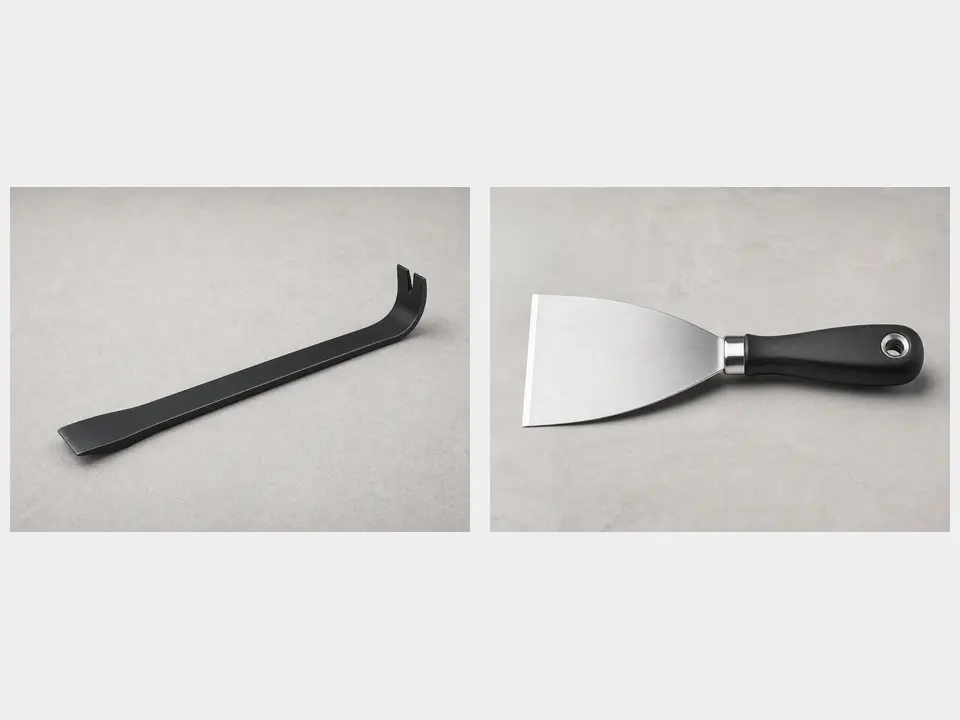
Use it for: To loosen old caulk and gently free the old cover without damaging the wall.
Shop pry bars and putty knives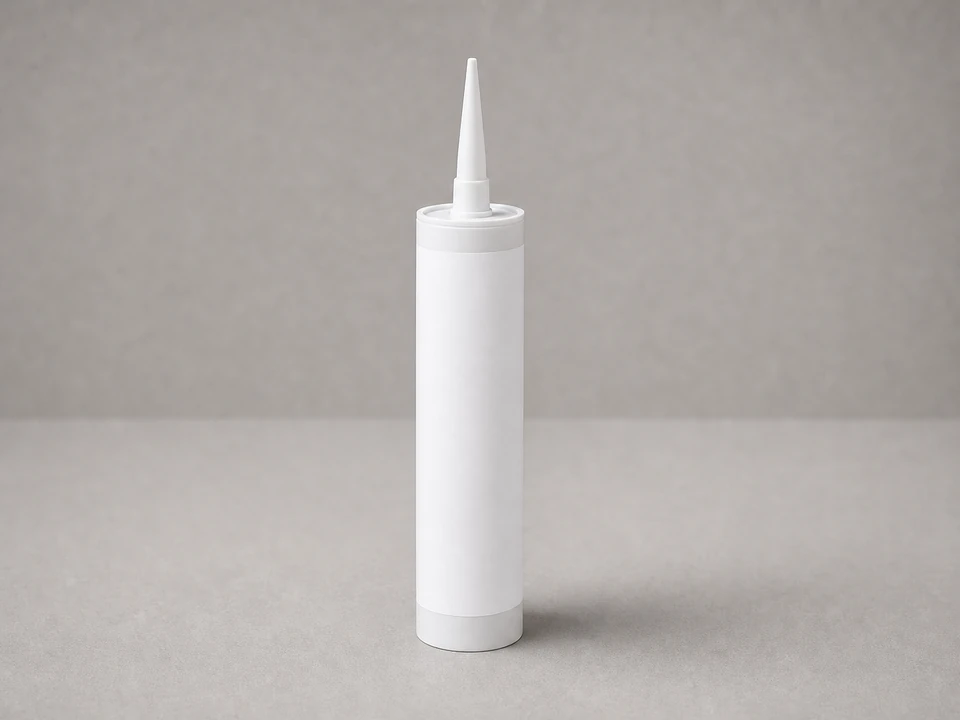
Use it for: To seal the flange or trim edge so wind-driven rain stays out.
Shop exterior sealantAs an Amazon Associate I earn from qualifying purchases. Repair Riot may earn a commission at no extra cost to you.
If it works: You know the vent cover is the failed part and you have enough measurements to buy the right replacement.
If it doesn’t: If the cover looks sound but the wall around it is loose or leaking, inspect the surrounding trim and siding before ordering a part.
If it works: The old vent cover is off without tearing up the surrounding wall surface.
If it doesn’t: If fasteners are stripped or rusted solid, back them out with locking pliers or cut them carefully, then clean the surface before moving on.
If it works: The mounting surface is clean, solid, and ready for the new vent cover.
If it doesn’t: If the new cover does not fully cover the old opening or fastener area, recheck your measurements and exchange it for the correct size.
If it works: The new vent cover sits flat, feels secure, and has a continuous weather seal around the edges.
If it doesn’t: If the cover rocks or leaves gaps, remove it, clean the surface again, and reset it before the sealant skins over.
If it works: The installation looks clean and the vent opening is unobstructed.
If it doesn’t: If the vent face is partly blocked, clear it now so the attic can still breathe properly.
If it works: The vent cover stays secure, the opening remains ventilated, and the area stays dry after normal weather.
If it doesn’t: If the cover still rattles, leaks, or pulls loose, the surrounding wall material or vent size match likely needs more attention than a simple cover swap.
Match the replacement part to your exact attic ventilation before ordering.
As an Amazon Associate I earn from qualifying purchases. Repair Riot may earn a commission at no extra cost to you.
If the cover is cracked, bent, rusted through, missing pieces, or no longer holds fasteners, replace it. If the cover is solid and only has a small failed seal at the edge, resealing may be enough.
Often yes, if the cover is a separate piece and the surrounding opening is still solid. If the frame, trim, or wall around it is damaged, a larger repair may be needed.
Measure the visible cover and the opening or frame it mounts over. Also note the shape, flange style, and whether there is a screen behind it so the new part fits and covers the old fastener area.
Use the fastening method that suits the replacement cover and the wall material. Many homeowners prefer screws because they are easier to control and remove later, but the key is a secure fit without damaging the cover.
Stop and repair the damaged trim, siding, or sheathing first. A new vent cover will not stay secure or keep water out if the surface behind it is soft or crumbling.