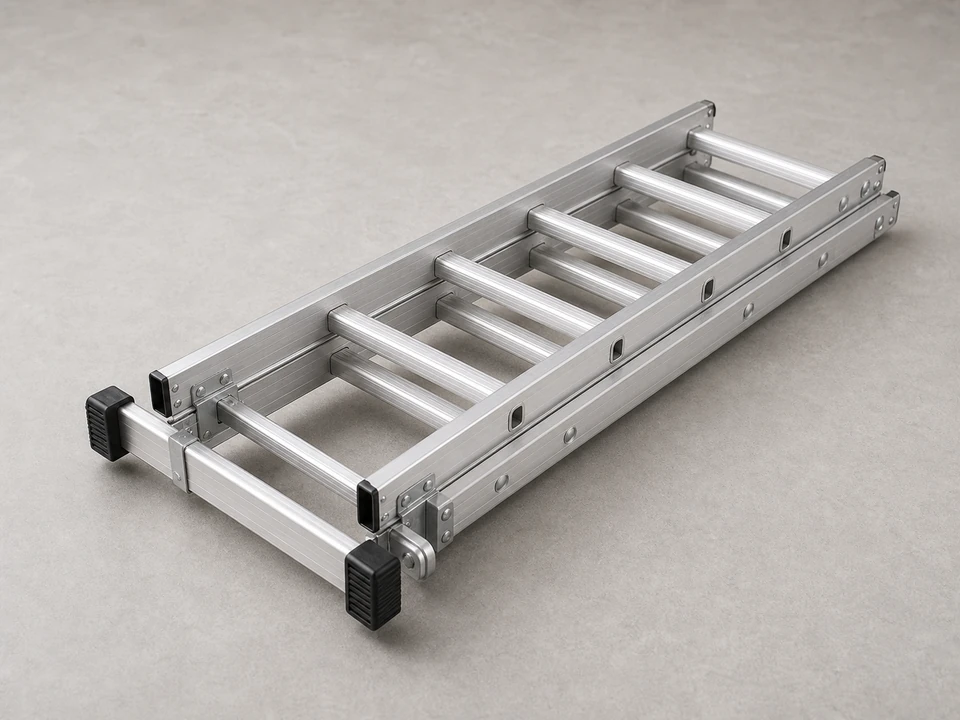
Extension ladder
Use it for: To reach the gable vent safely from the ground.
Shop extension laddersTo replace a gable attic vent cover, confirm the cover is cracked, loose, missing, or letting weather in, then remove the old cover, clean and inspect the opening, and fasten a matching new cover with exterior-rated sealant where needed.
This is a manageable exterior repair for many homeowners if the vent is easy to reach from a stable ladder. The main job is getting the right size and mounting style, then installing it so the cover sits flat and sheds water instead of trapping it.
Before you start: Match the replacement part to your exact attic ventilation before ordering.
Use it for: To reach the gable vent safely from the ground.
Shop extension ladders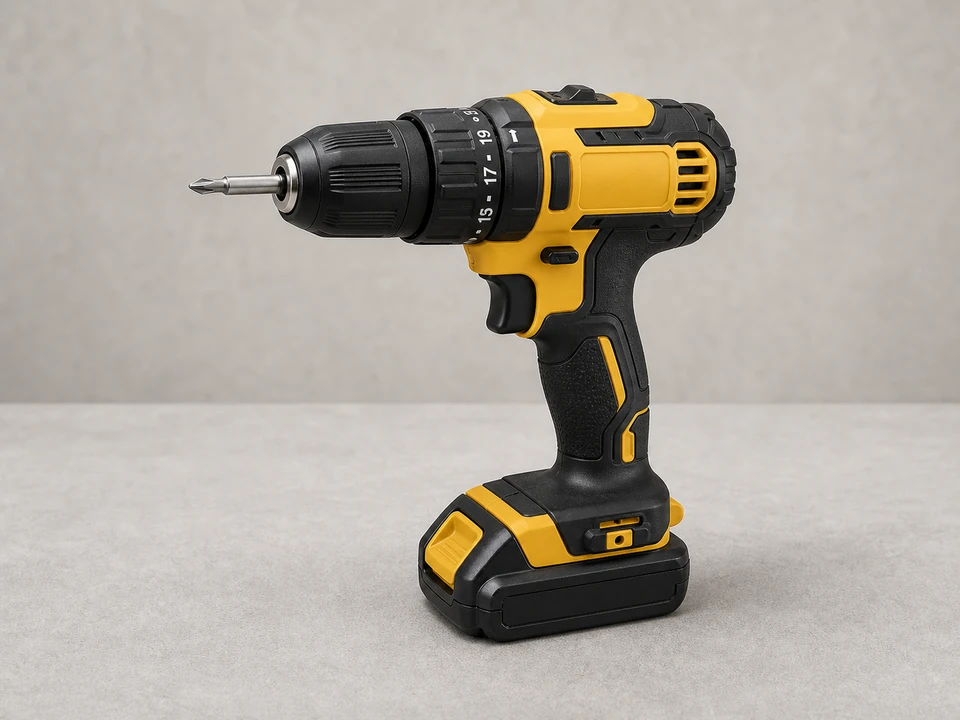
Use it for: To remove old fasteners and install the new cover.
Shop drill drivers
Use it for: To back out screws if the old vent uses slotted or Phillips fasteners.
Shop screwdriver sets
Use it for: To loosen old caulk and gently free the old cover without tearing siding or trim.
Shop pry bars and putty knives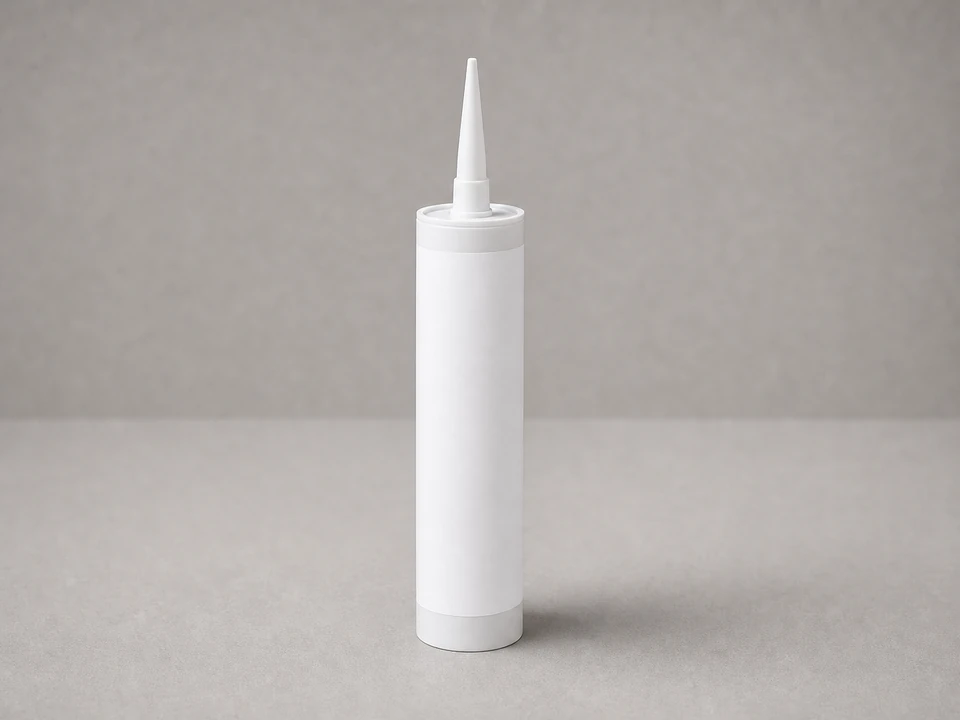
Use it for: To seal the flange or trim edge where the new cover meets the wall if the design calls for it.
Shop exterior sealant
Use it for: To match the replacement cover to the existing opening and flange size.
Shop tape measuresAs an Amazon Associate I earn from qualifying purchases. Repair Riot may earn a commission at no extra cost to you.
If it works: You have clear damage or failure at the vent cover and a replacement that matches the opening and mounting style.
If it doesn’t: If the cover looks sound, look for a different cause such as roof leaks, missing flashing, or wind-driven weather entering somewhere else.
If it works: The old vent cover is off and the wall opening is exposed without major damage around it.
If it doesn’t: If the cover will not release, remove more old sealant and check again for hidden fasteners before prying harder.
If it works: The opening is clean, solid, and ready for the new cover.
If it doesn’t: If the surface is uneven from old sealant or debris, keep cleaning until the new cover can sit flat.
If it works: The new cover fits the opening, sits flat, and can be fastened into solid material.
If it doesn’t: If the fit is off, recheck your measurements and replace it with the correct size or mounting style before continuing.
If it works: The new vent cover is secure, flat to the wall, and sealed around the edges where needed.
If it doesn’t: If the flange bows or gaps open up, back the fasteners off slightly, reset the cover, and tighten it evenly again.
If it works: The cover stays tight, the attic stays dry, and outside air moves through the vent without letting weather or pests in.
If it doesn’t: If moisture, drafts, or movement continue, the opening may need wall repair, better sealing, or a different vent style.
Match the replacement part to your exact attic ventilation before ordering.
As an Amazon Associate I earn from qualifying purchases. Repair Riot may earn a commission at no extra cost to you.
Measure the wall opening and the outside flange or trim size on the old cover. Also match the mounting style so the new cover lands on solid material the same way the old one did.
Small temporary sealing may slow a leak, but a cracked, warped, or loose cover usually needs replacement. Caulk alone will not restore strength or proper weather protection if the cover itself has failed.
You can if they are still solid and line up well. If the old holes are stripped or poorly placed, shift to fresh fastening points in sound material.
Many surface-mounted covers benefit from exterior sealant at the flange or contact points, but you should not block the vent openings themselves. The goal is to seal the perimeter while keeping airflow open.
Stop and repair the damaged wall material before installing the new cover. A new vent cover will not hold well or stay watertight if the sheathing or trim behind it is soft or broken.