
Work gloves
Use it for: Protects your hands while moving the old unit and handling damp parts.
Shop work glovesTo replace a basement dehumidifier, unplug the old unit, empty and remove it, clean the area, place the new unit with proper clearance, connect the bucket or drain hose, and test that it starts, drains, and lowers humidity.
This is a straightforward replacement for most portable basement units. The main things that matter are safe lifting, a dry outlet area, enough airflow around the cabinet, and making sure water drains where it should.
Before you start: Choose a replacement sized for your basement area and moisture level, and match the drain option, power plug style, and clearance needs before ordering.
Use it for: Protects your hands while moving the old unit and handling damp parts.
Shop work gloves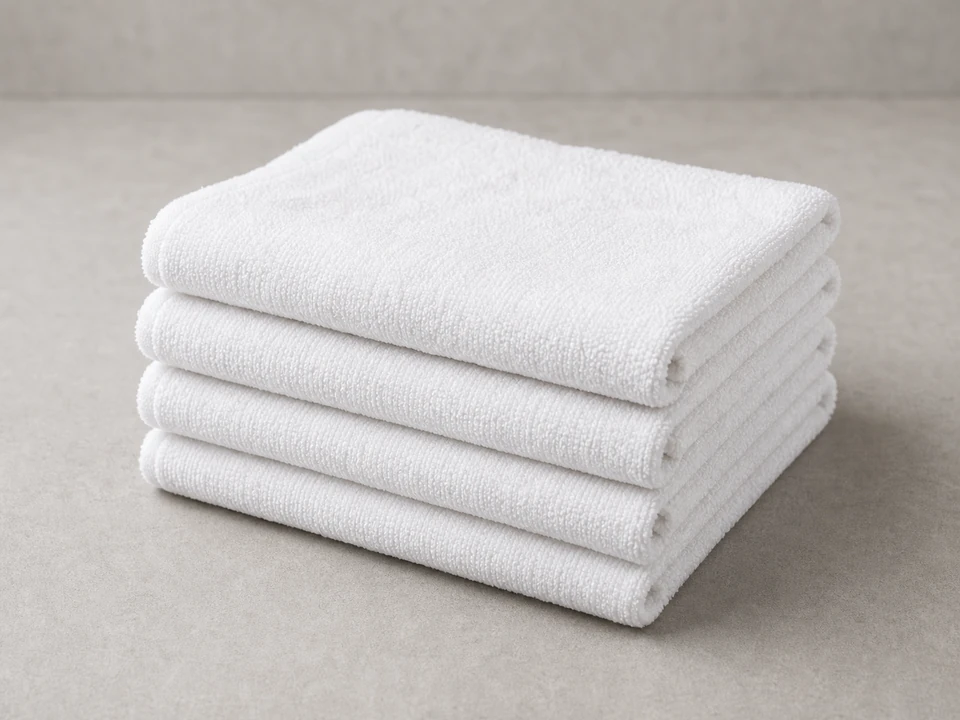
Use it for: Helps dry the floor, wipe the old unit, and catch any leftover water during removal.
Shop absorbent towels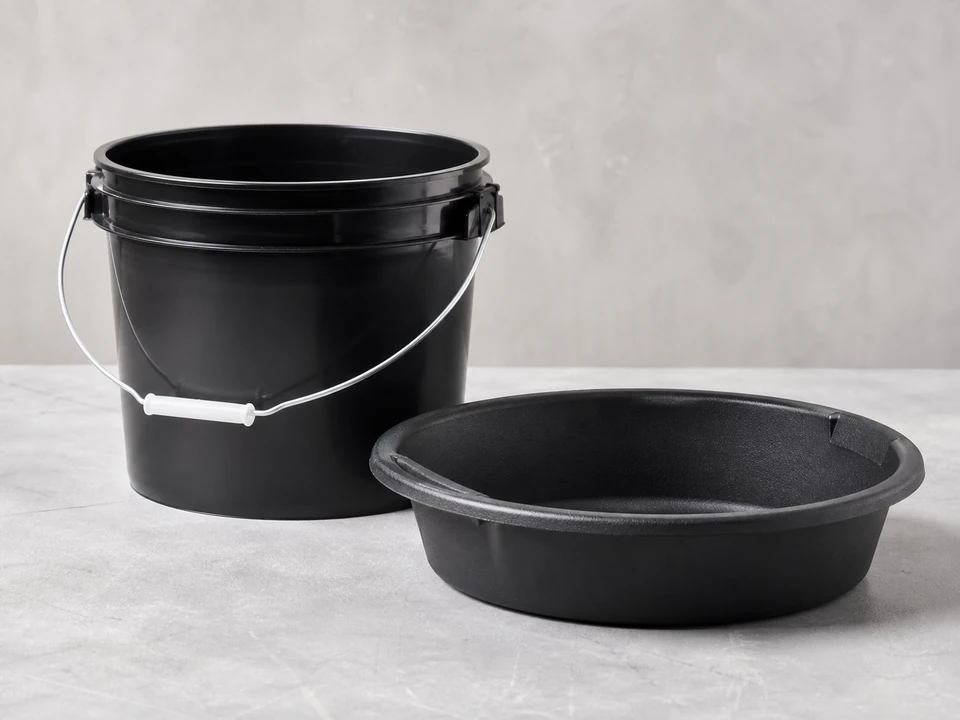
Use it for: Catches water from the old reservoir or drain hose during removal.
Shop utility buckets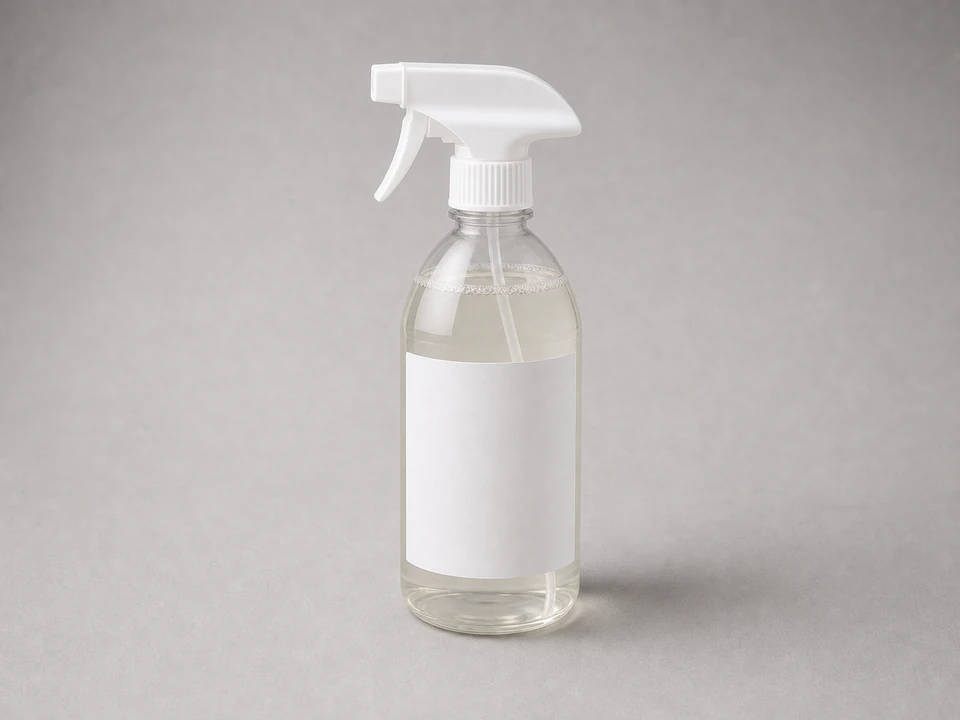
Use it for: Lets you clean the floor and surrounding area before setting the new unit in place.
Shop household cleaner
Use it for: Checks that the new unit fits the space and has enough airflow clearance.
Shop tape measures
Use it for: Useful if the new unit supports continuous drainage and the old hose is dirty, brittle, or the wrong size.
Shop dehumidifier drain hosesAs an Amazon Associate I earn from qualifying purchases. Repair Riot may earn a commission at no extra cost to you.
If it works: You have a clear, dry spot for the new unit and know how it will collect or drain water.
If it doesn’t: Pause and adjust the location before opening the new unit fully. A cramped or wet setup can cause poor performance or water problems.
If it works: The old unit is unplugged, drained, and ready to move without spilling much water.
If it doesn’t: If water keeps dripping, wait a few minutes and keep towels in place until the reservoir and hose finish draining.
If it works: The old unit is out of the way and the installation area is clean and dry.
If it doesn’t: If the floor stays damp, dry it fully with towels before bringing in the new unit.
If it works: The new unit is positioned correctly and the bucket or drain hose is installed.
If it doesn’t: Reposition the unit or reroute the hose until it sits level and the drain path is smooth.
If it works: The unit powers up and begins a normal drying cycle.
If it doesn’t: Check that the bucket is seated correctly, the controls are set to run, and the outlet has power.
If it works: The new basement dehumidifier runs, removes moisture, and handles water without leaking.
If it doesn’t: Recheck bucket seating, hose slope, and placement clearances. If it still will not collect or drain properly, stop using it and review the manual or exchange the unit.
Choose a replacement sized for your basement area and moisture level, and match the drain option, power plug style, and clearance needs before ordering.
As an Amazon Associate I earn from qualifying purchases. Repair Riot may earn a commission at no extra cost to you.
Not always. Match the replacement to the basement size and how damp the space gets. If the old unit struggled to keep up, a larger-capacity unit may make more sense if the space and power setup allow it.
Yes, if it is clean, undamaged, and fits the new unit correctly. Replace it if it is brittle, stained inside, kinked, or does not make a secure connection.
Some units have a short built-in delay before the compressor starts. Also check that the bucket is seated properly, the controls are set to run, and the outlet has power.
Put it on a level floor in an open area where air can move around it. Avoid tight corners, blocked vents, and spots where water can splash onto the outlet or cord.
Make sure doors and windows are closed, the filter and airflow are not blocked, and the unit is sized for the space. If dampness continues, you may also have a drainage, seepage, or insulation issue that the dehumidifier alone will not solve.