
Work gloves
Use it for: Protects your hands from sharp edges, grime, and dirty standing water around the cleanout.
Shop work glovesTo replace a basement drain cleanout cap, confirm the old cap is missing, cracked, stripped, or no longer sealing, then match the size and thread style, clean the opening, and install the new cap snugly without over-tightening.
A cleanout cap closes the access point to your drain line. When it is damaged or missing, sewer gas, moisture, and debris can get into the basement. This is usually a straightforward replacement as long as the drain body itself is still in good shape and the new cap actually matches the opening.
Before you start: Match the replacement part to your exact drain sewer before ordering.
Use it for: Protects your hands from sharp edges, grime, and dirty standing water around the cleanout.
Shop work gloves
Use it for: Helps you inspect the cleanout opening, threads, and surrounding floor for cracks or leaks.
Shop flashlights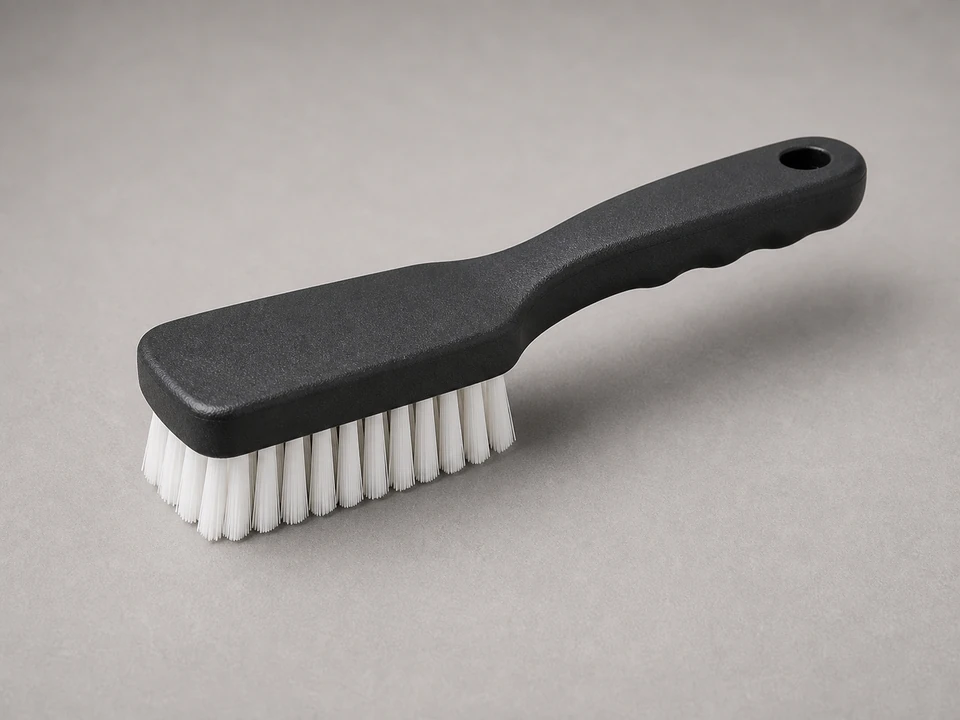
Use it for: Cleans dirt, rust flakes, and old residue from the cleanout threads before installation.
Shop nylon cleaning brushes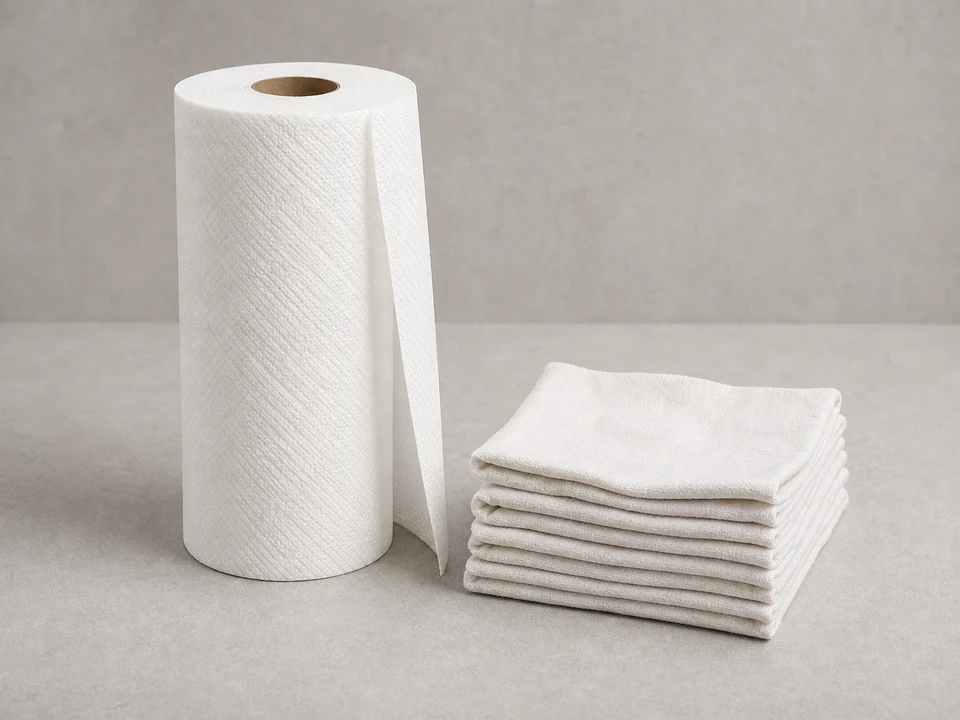
Use it for: Wipes the opening clean so the new cap can seat properly.
Shop shop towels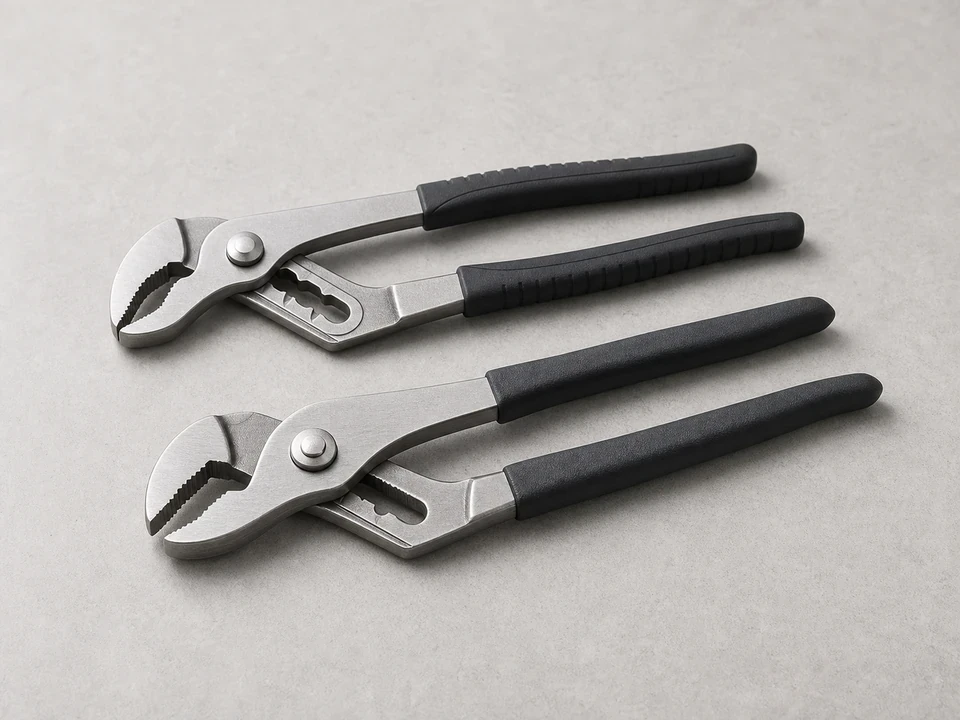
Use it for: Helps loosen a stuck old cap or snug the new one carefully if hand-tight is not enough.
Shop adjustable pliersAs an Amazon Associate I earn from qualifying purchases. Repair Riot may earn a commission at no extra cost to you.
If it works: You have confirmed the cleanout cap itself is the failed part and the opening is accessible.
If it doesn’t: If the cap looks intact and tight, the smell or moisture may be coming from another drain, a dry trap, or a clog issue instead of the cleanout cap.
If it works: The old cap is removed, or the opening is ready for the replacement cap.
If it doesn’t: If the cap will not budge, apply steady pressure instead of jerking it. A little cleaning around the edge may help expose the threads.
If it works: The new cap appears to match the cleanout opening and starts correctly by hand.
If it doesn’t: If the cap will not start cleanly or seems obviously too large or too small, recheck the size and style before going further.
If it works: The cleanout opening is clean enough for the new cap to seat and tighten properly.
If it doesn’t: If the threads still look packed with residue, brush and wipe them again until the cap can start by hand.
If it works: The new cap is installed straight, snug, and seated without obvious gaps.
If it doesn’t: If the cap binds, backs out, or will not sit flat, remove it and restart by hand after checking for dirt or a mismatch.
If it works: The cleanout cap stays in place, no sewer odor is coming through the opening, and no moisture appears around the cap.
If it doesn’t: If odor, seepage, or loosening continues, the issue may be damaged cleanout threads, a cracked fitting, or pressure from a drain blockage farther down the line.
Match the replacement part to your exact drain sewer before ordering.
As an Amazon Associate I earn from qualifying purchases. Repair Riot may earn a commission at no extra cost to you.
It closes the access point to the drain or sewer line. A good cap helps block sewer gas, keeps debris out of the line, and gives you a removable access point if the drain ever needs service.
Usually yes, if the drain body is intact and you can match the cap correctly. The key is getting the right size and thread style and starting it by hand so you do not damage the fitting.
The most common reasons are the wrong size, the wrong thread style, dirt packed into the threads, or cross-threading. Clean the opening and compare the cap carefully before trying again.
A proper matching cleanout cap is the better fix. Temporary plugs can help in a pinch, but they are not the first choice when the fitting is designed for a cap.
That usually means the cap was not the only issue. The smell could be coming from a dry trap, a cracked fitting, or a drain problem farther down the line.