
Work gloves
Use it for: Protects your hands from sharp edges, grime, and contaminated residue around the cleanout.
Shop work glovesTo replace a drain / sewer cleanout cap, confirm the old cap is the problem, match the opening size and thread style, clean the fitting, then thread in the new cap snugly without forcing it.
A cleanout cap keeps sewer gas, debris, and water where they belong. If the cap is cracked, missing, cross-threaded, or leaking around the opening, replacing it is usually a straightforward repair as long as the cleanout body itself is still in good shape.
Before you start: Match the replacement part to your exact drain sewer before ordering.
Use it for: Protects your hands from sharp edges, grime, and contaminated residue around the cleanout.
Shop work gloves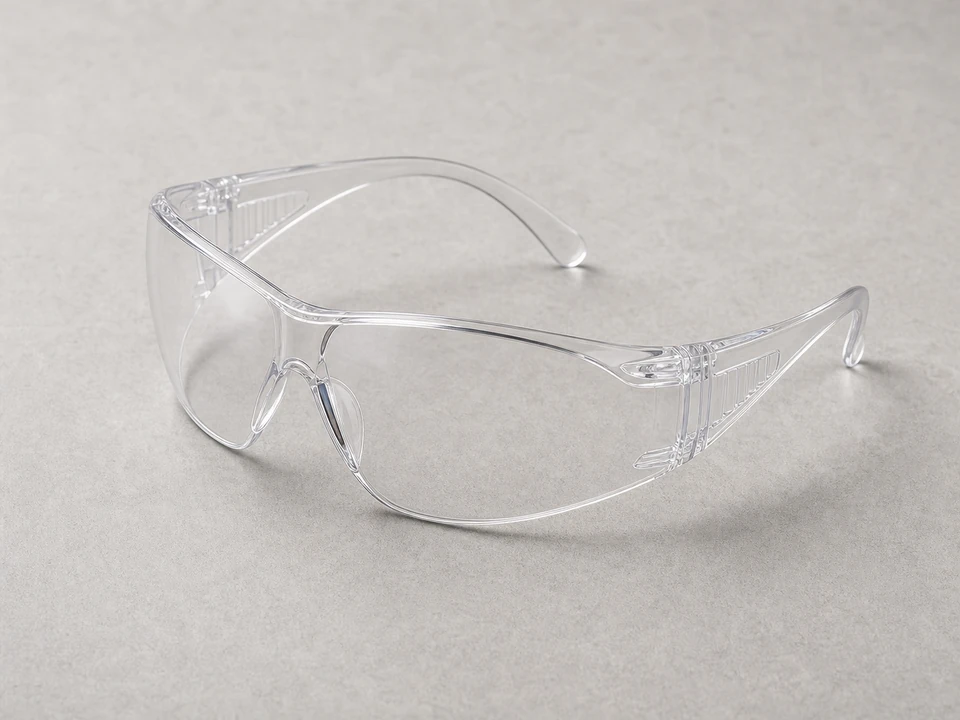
Use it for: Helps protect your eyes if debris breaks loose while removing the old cap.
Shop safety glasses
Use it for: Lets you check the cleanout opening so you can match the replacement cap size more closely.
Shop tape measures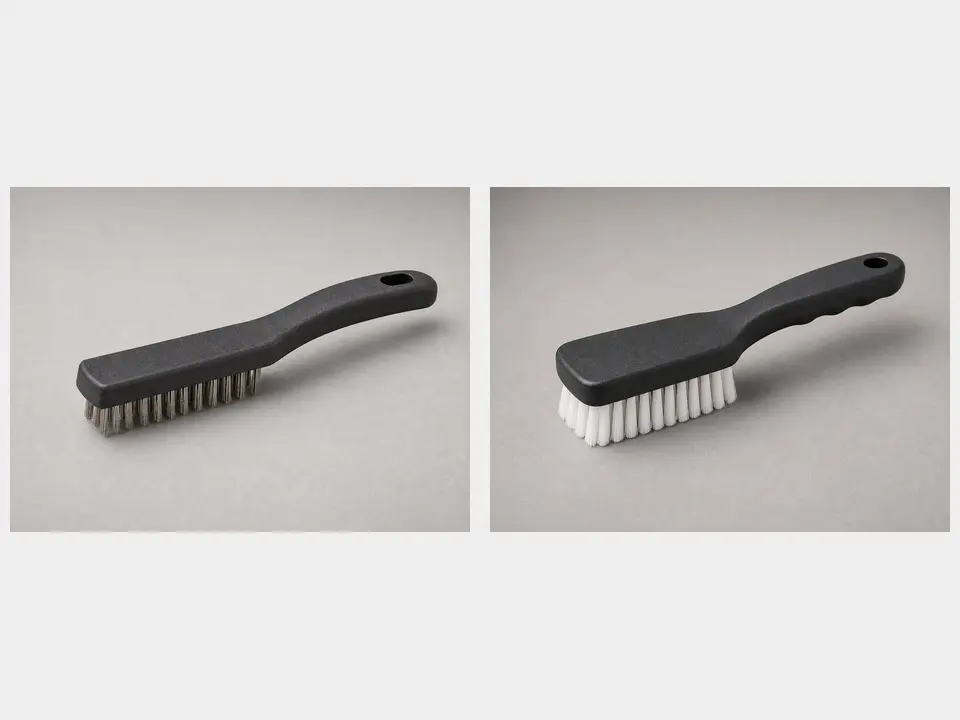
Use it for: Cleans dirt, rust, and old residue from the cleanout threads before installing the new cap.
Shop cleaning brushes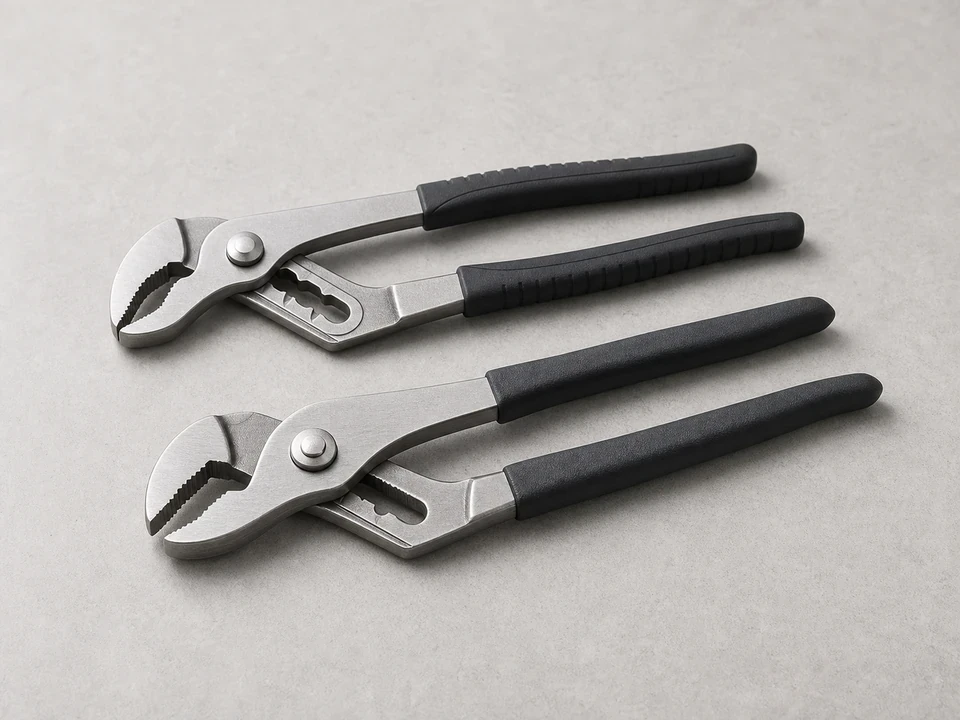
Use it for: Helps loosen a stuck cap or snug the new one without over-tightening.
Shop adjustable pliers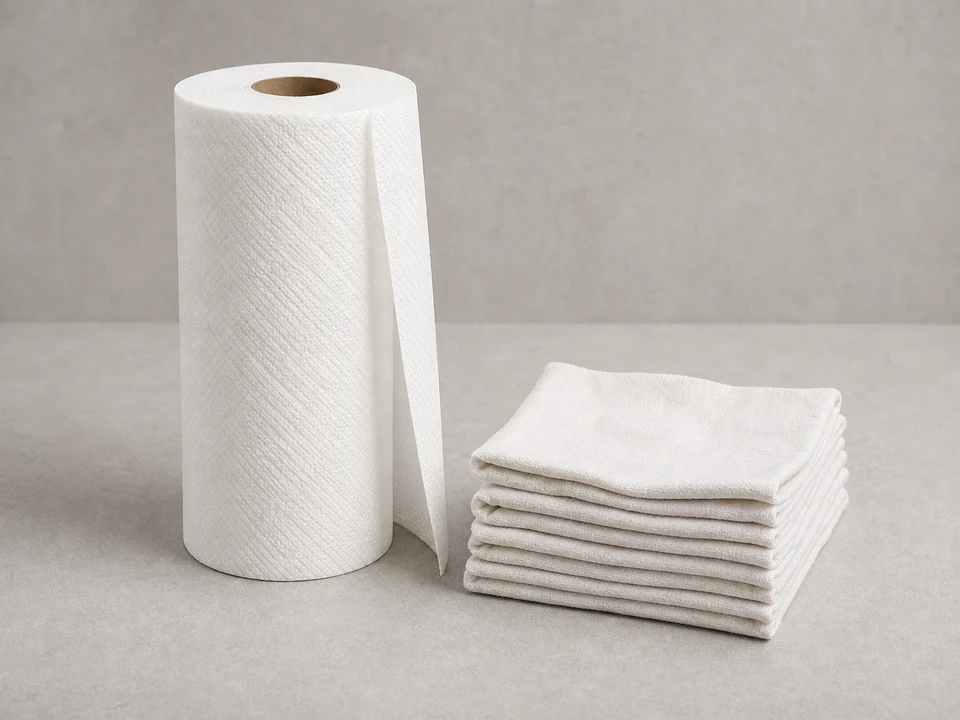
Use it for: Useful for wiping the fitting clean so the new cap seats properly.
Shop shop towelsAs an Amazon Associate I earn from qualifying purchases. Repair Riot may earn a commission at no extra cost to you.
If it works: You have confirmed the cap is the failed part and the cleanout body looks solid enough for a simple replacement.
If it doesn’t: If the cap looks intact, the leak or odor may be coming from a loose fit, a damaged cleanout body, or a sewer backup issue instead of the cap alone.
If it works: You have a replacement cap that appears to match the cleanout opening and thread style.
If it doesn’t: Take the old cap with you when shopping, or compare measurements again before forcing a part that does not fit.
If it works: The old cap is off without damaging the cleanout fitting.
If it doesn’t: Apply more controlled pressure and reposition your pliers for a better grip, or clean around the cap so debris is not binding it.
If it works: The cleanout opening is clean and the threads are visible and ready for the new cap.
If it doesn’t: Brush and wipe the threads again until the cap can start cleanly by hand.
If it works: The new cap is seated evenly and feels snug without cross-threading.
If it doesn’t: Remove the cap and recheck for debris, thread damage, or a mismatch between the replacement cap and the cleanout.
If it works: The cleanout cap stays dry, secure, and odor-free during normal drain use.
If it doesn’t: Remove and reinstall the cap once more if it was not seated cleanly, or replace it with the correct size and thread type if the fit still seems wrong.
Match the replacement part to your exact drain sewer before ordering.
As an Amazon Associate I earn from qualifying purchases. Repair Riot may earn a commission at no extra cost to you.
A bad cleanout cap is usually missing, cracked, split, cross-threaded, or leaking at the opening. If the fitting itself is cracked or the line is backing up, the cap is not the only issue.
Usually yes. This repair does not normally require shutting off the water supply. Still, avoid using nearby fixtures while the cap is off, and stop if wastewater starts coming out of the cleanout.
Many cleanout caps are meant to seal by the cap and fitting design, so the safest approach is to match the cap correctly and install it cleanly. If the cap does not fit properly by hand, the issue is often the wrong part or damaged threads, not a lack of sealant.
Back it out and check for dirt, damaged threads, or a mismatch in size or thread style. Do not force it, because cross-threading can ruin the cleanout fitting.
If the cap is the correct fit and still leaks, the cleanout body or threads may be damaged, or the line may be under backup pressure. That usually means the repair needs more than just a new cap.