
Work gloves
Use it for: Protects your hands from grime, sharp edges, and residue around the cleanout.
Shop work glovesTo replace a branch drain cleanout cap, confirm the cap is missing, cracked, or no longer sealing, then remove the old cap, clean the cleanout threads or opening, and install a matching replacement snugly without forcing it.
This is usually a straightforward repair, but work carefully. A damaged or loose cleanout cap can let sewer gas escape, leak wastewater, or allow debris into the drain. The key is using the right style and size and not cross-threading the new cap.
Before you start: Match the replacement part to your exact drain sewer before ordering.
Use it for: Protects your hands from grime, sharp edges, and residue around the cleanout.
Shop work gloves
Use it for: Helps you inspect the cap, threads, and surrounding pipe for cracks or damage.
Shop flashlights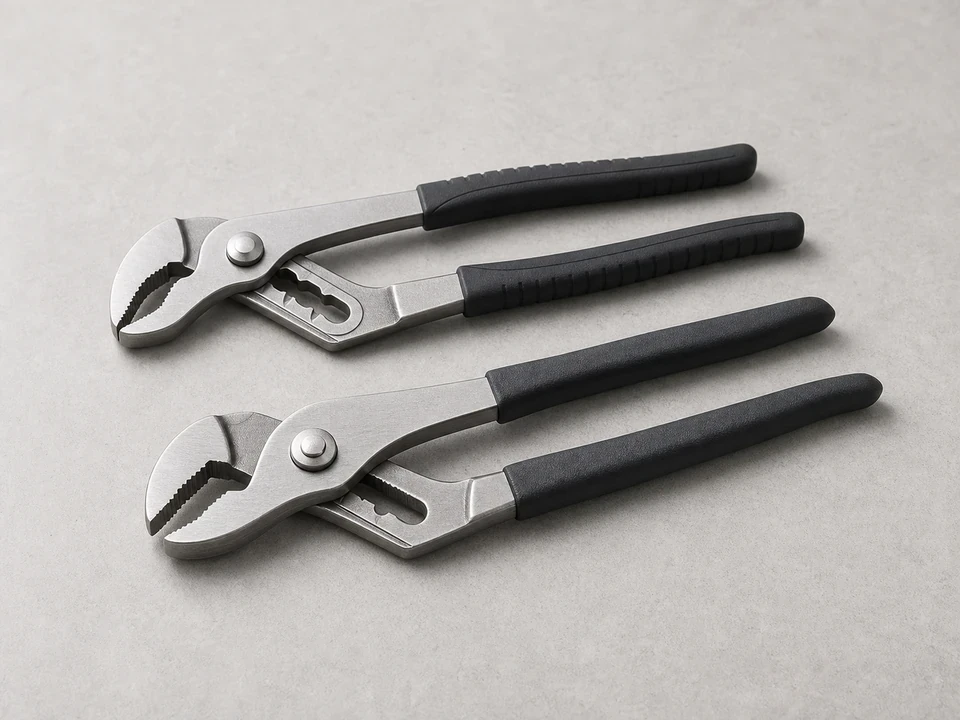
Use it for: Helps loosen a stuck cap or snug a replacement without over-tightening.
Shop adjustable pliers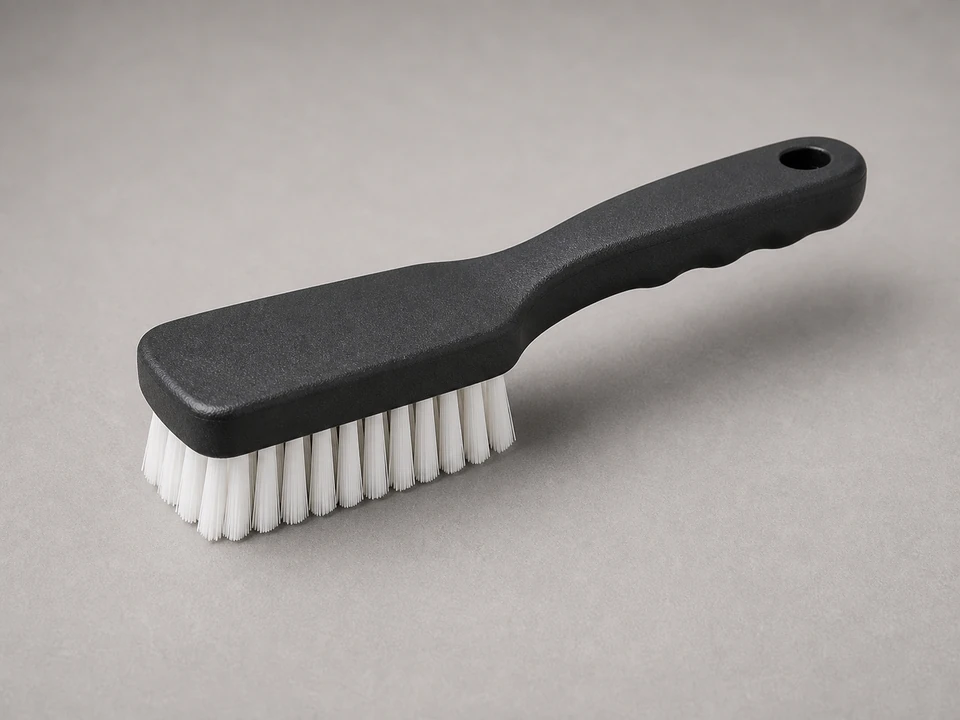
Use it for: Cleans dirt and old residue from the cleanout opening and threads.
Shop nylon cleaning brushes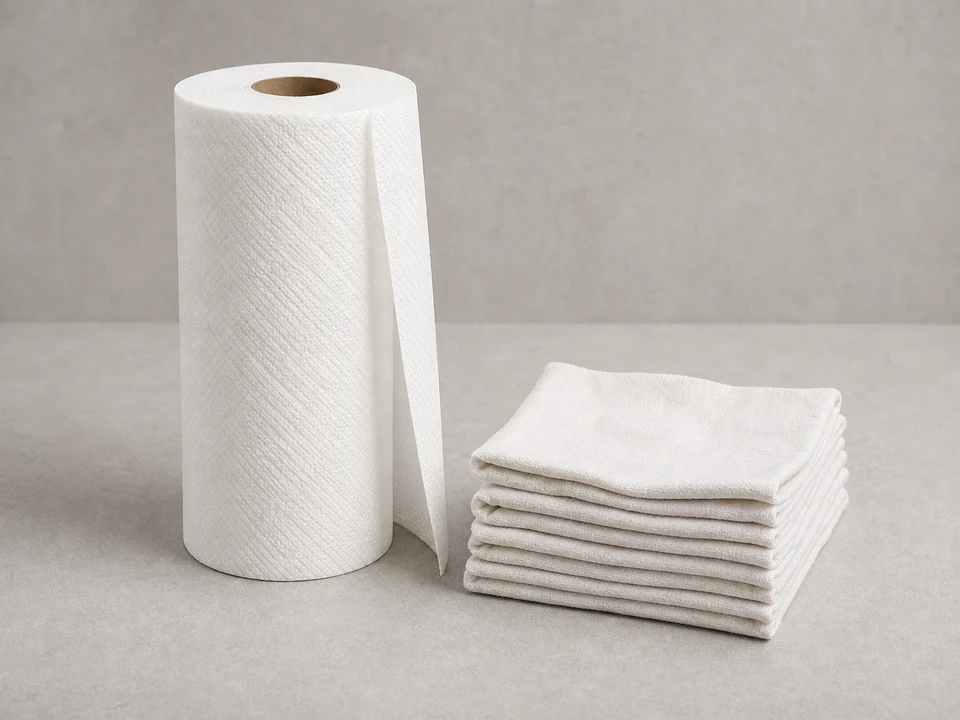
Use it for: Wipes away residue so the new cap can seat cleanly.
Shop shop towels
Use it for: Catches any small amount of water or residue that may come out when the cap is removed.
Shop utility bucketsAs an Amazon Associate I earn from qualifying purchases. Repair Riot may earn a commission at no extra cost to you.
If it works: You have confirmed the cap itself is damaged, missing, or not sealing and the surrounding pipe appears intact.
If it doesn’t: If the cap looks fine but you still have odor, leakage, or backup symptoms, the problem may be a blockage, a bad seal elsewhere, or a cracked fitting rather than the cap.
If it works: The old cap is off and the cleanout opening is accessible without obvious damage from removal.
If it doesn’t: If the cap will not budge, apply gentle pressure again and stop before you crack the fitting. A stuck cap is safer to escalate than a broken cleanout body.
If it works: The cleanout opening is clean, the seating area is visible, and the replacement appears to match.
If it doesn’t: If the replacement does not match the old cap or the cleanout opening, pause and get the correct size and style before installing anything.
If it works: The new cap is installed straight, seated evenly, and feels secure without being forced.
If it doesn’t: If the cap binds, tilts, or will not seat evenly, remove it and start again by hand. That usually means the cap is cross-threaded or the fit is wrong.
If it works: The area stays dry and there is no obvious sewer odor escaping around the new cap.
If it doesn’t: If you still notice odor or moisture, the cap may not be sealing, the replacement may be the wrong fit, or the cleanout fitting itself may be damaged.
If it works: The cleanout stays sealed, dry, and odor-free during normal use, which confirms the replacement held.
If it doesn’t: If the problem returns, replace the cap with the exact correct fit if you used a questionable match, or have the cleanout fitting and branch drain inspected for hidden damage or blockage.
Match the replacement part to your exact drain sewer before ordering.
As an Amazon Associate I earn from qualifying purchases. Repair Riot may earn a commission at no extra cost to you.
Replace it if it is missing, cracked, stripped, warped, or will not tighten enough to seal. A bad cap often shows up as sewer odor, minor seepage, or visible damage at the cleanout.
Only if it is undamaged and still seals properly. If the threads are worn, the cap is cracked, or it no longer seats tightly, replacement is the better fix.
Many cleanout caps are meant to seal by their own threads or seating surface. Use the replacement as intended and avoid adding products unless they are clearly appropriate for that cap style. The main goal is a correct fit and a clean seating surface.
Do not force it. It may be the wrong size or thread type, or the cleanout fitting may be damaged. Remove it, compare it to the old cap, and inspect the fitting threads closely.
That usually means the cap is not sealing, the fitting itself is cracked, or the odor is coming from another drain problem nearby. Recheck the fit and inspect the cleanout body and surrounding pipe.