
Tape measure
Use it for: To measure the old board and confirm the replacement size before cutting or installing.
Shop tape measuresTo replace a basement window trim board, first confirm the board itself is rotted, split, or swollen, then remove it carefully, cut or match a replacement board, fasten it in place, seal the edges, and check that water sheds away from the window.
This is a manageable repair for many homeowners if the damage is limited to the trim board. The main goal is not just making the window look better, but replacing material that can keep holding moisture against the opening.
Before you start: Match the replacement part to your exact window before ordering.
Use it for: To measure the old board and confirm the replacement size before cutting or installing.
Shop tape measures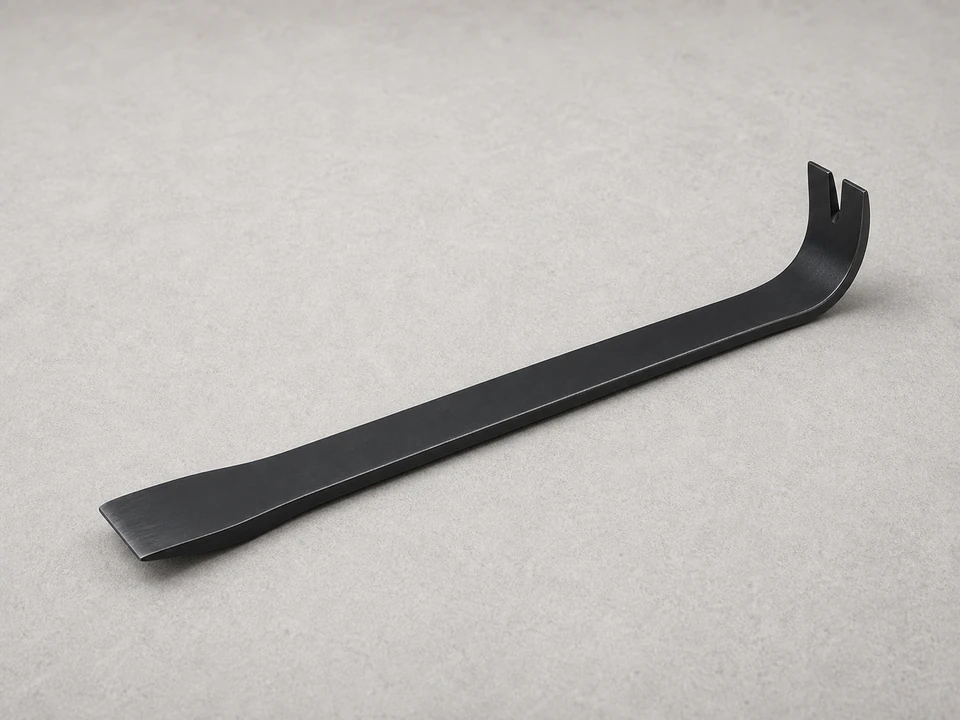
Use it for: To lift the old trim board without tearing up more surrounding material than necessary.
Shop flat pry bars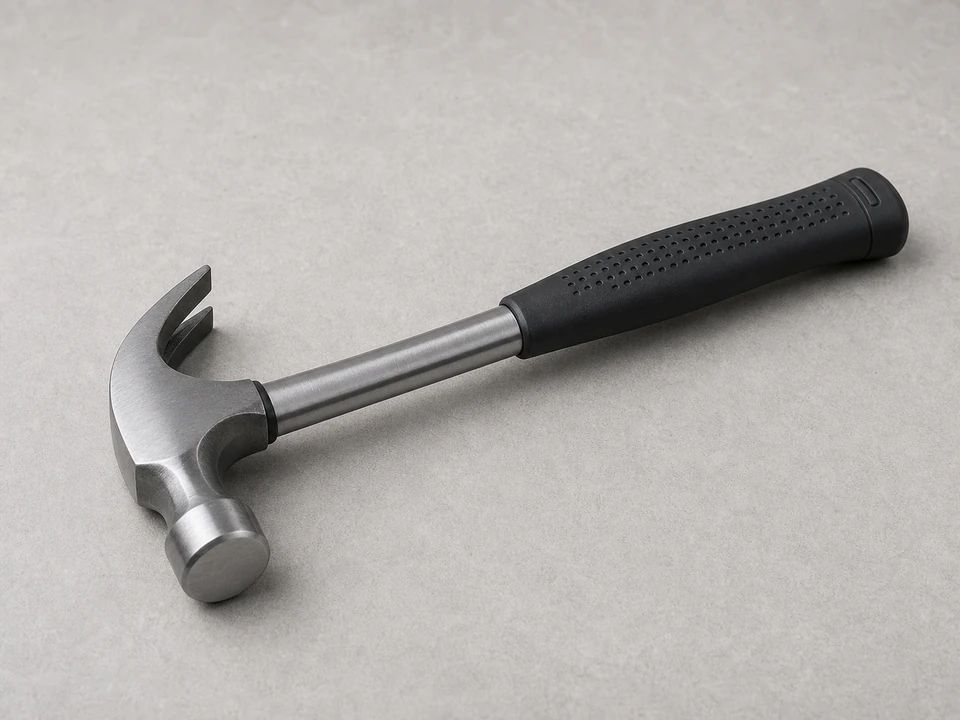
Use it for: To pull nails, tap the pry bar, and fasten the new board if you are hand nailing.
Shop hammers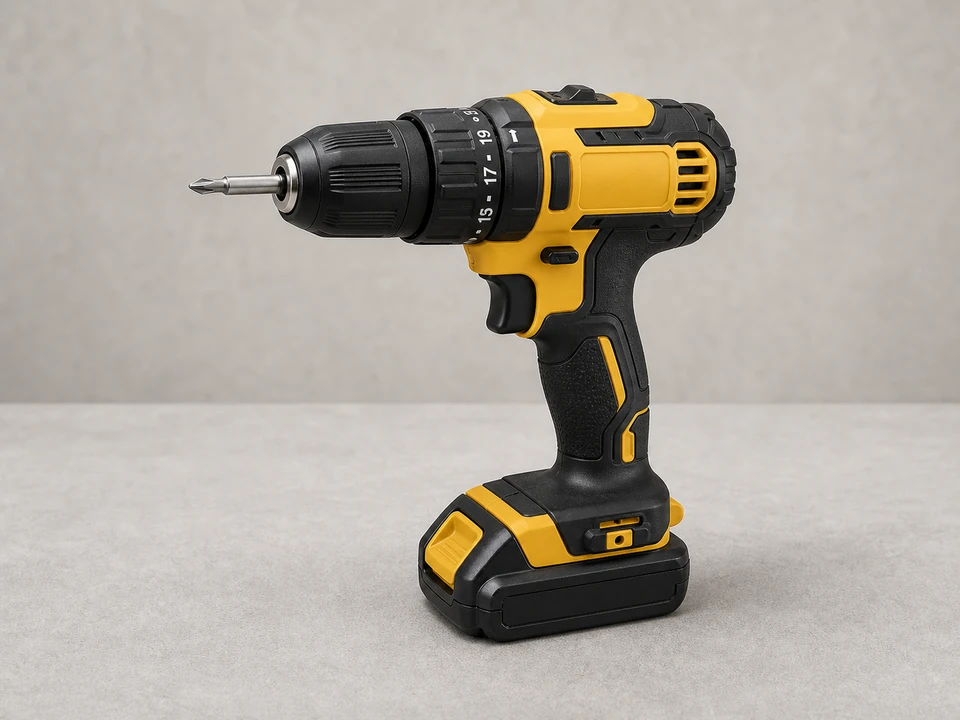
Use it for: To drive exterior screws and make installation easier in tight basement window areas.
Shop drill drivers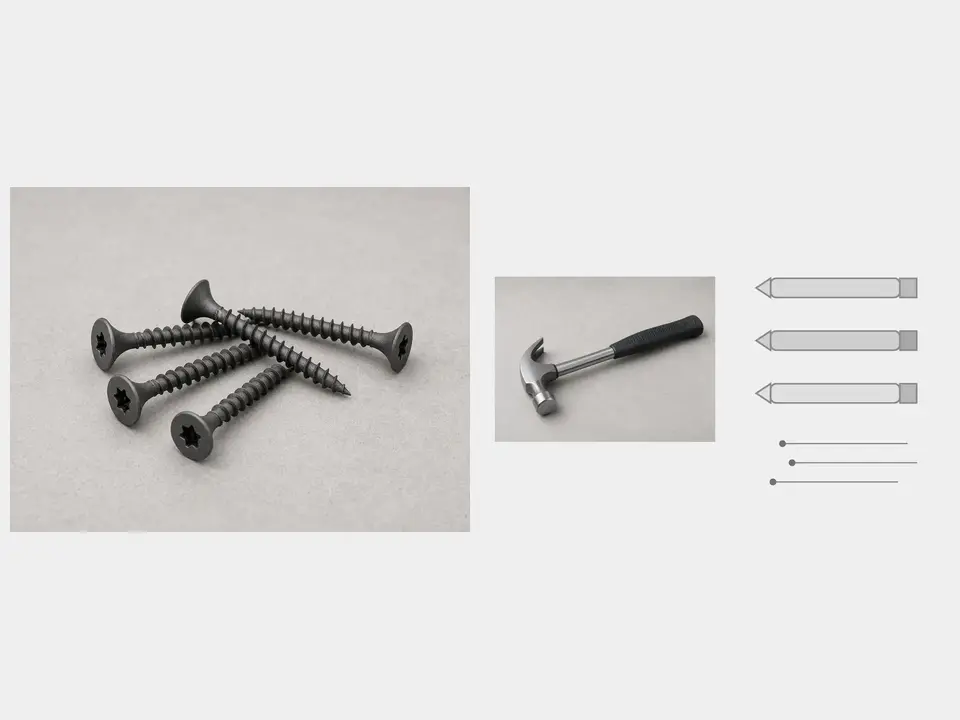
Use it for: To fasten the new trim board with hardware that holds up better around moisture.
Shop exterior fasteners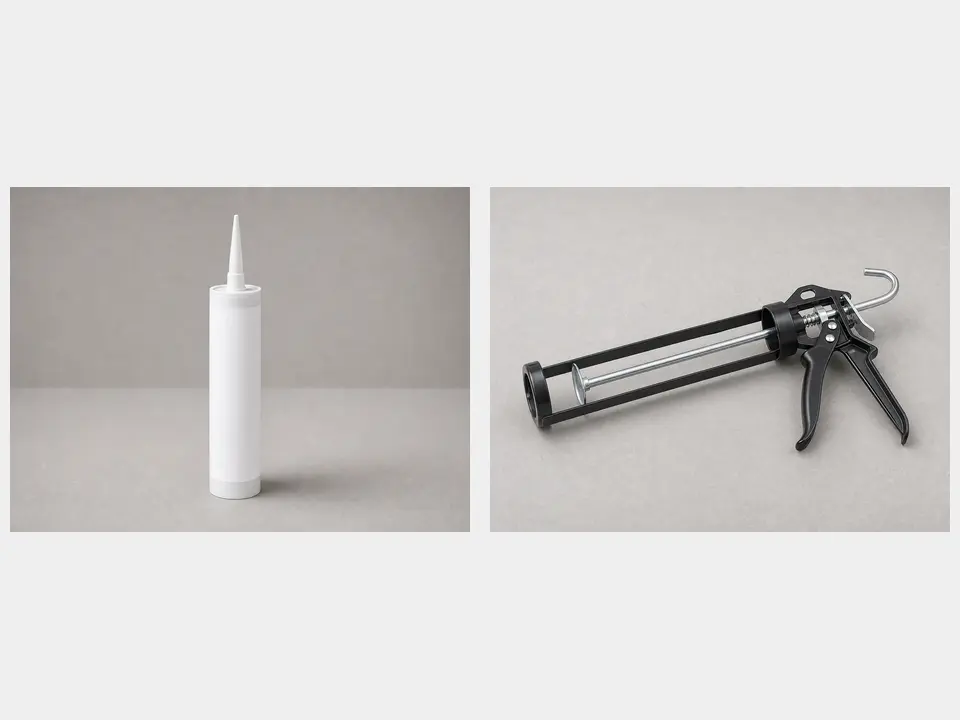
Use it for: To seal the trim edges so water is less likely to get behind the board.
Shop exterior caulkAs an Amazon Associate I earn from qualifying purchases. Repair Riot may earn a commission at no extra cost to you.
If it works: You have confirmed the trim board is damaged and the repair appears limited to the board and its immediate fasteners or sealant.
If it doesn’t: If the board is still solid and the damage is only surface paint failure, scrape, prime, and repaint instead of replacing the board.
If it works: The old trim board is off, and the mounting surface is exposed and reasonably clean.
If it doesn’t: If the board breaks apart during removal, keep going in small sections and clean the surface fully before fitting the new piece.
If it works: The replacement board fits the opening cleanly without large gaps or twisting.
If it doesn’t: If the fit is tight or uneven, trim the board gradually and test-fit again until it sits flat.
If it works: The new trim board is secure, straight, and firmly attached.
If it doesn’t: If the board shifts or rocks, remove the last fastener, reposition it, and refasten before moving on.
If it works: The board is sealed at the edges and protected from normal weather exposure.
If it doesn’t: If gaps remain after the first pass, add a second light bead of caulk and smooth it again.
If it works: The trim board stays secure, the window operates normally, and no new moisture shows up around the repair.
If it doesn’t: If moisture returns, trace the leak higher up the wall, at the window perimeter, or at the sill because the trim board may have been damaged by another water-entry problem.
Match the replacement part to your exact window before ordering.
As an Amazon Associate I earn from qualifying purchases. Repair Riot may earn a commission at no extra cost to you.
Yes, if the board is still solid and the damage is only minor surface wear. If it is soft, swollen, split through, or rotted, replacement is the better fix.
Use a board that matches the original size and is suitable for exterior or damp-area use. The important part is getting the right dimensions and a material that can handle moisture better than the failed piece.
Either can work. Exterior screws usually give you more control and holding power, while galvanized finish nails can be fine for trim if the backing is solid.
Usually yes. Caulk helps close the seam where water can slip behind the trim. It should not be used to hide a bad fit, but it is an important finishing step.
Most often it stays wet from poor sealing, splashback, condensation, or a leak around the window. Replacing the board without addressing the moisture source can lead to the same damage again.