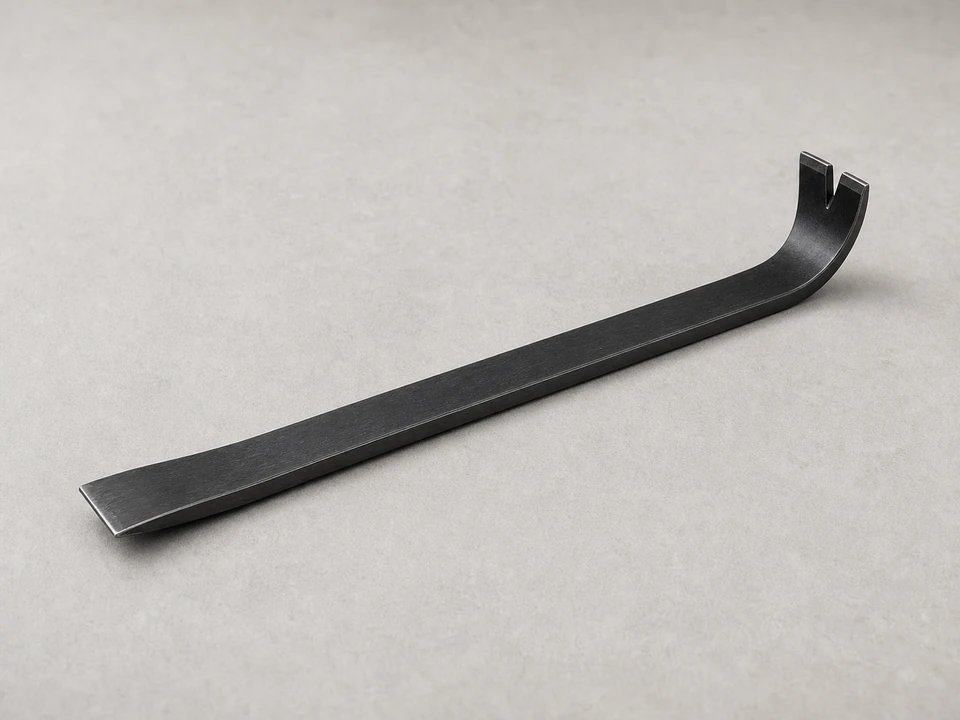
Pry bar
Use it for: To lift the old trim board and pull it free with less damage to surrounding siding.
Shop pry barsTo replace an exterior window trim board, cut the caulk lines, pry off the damaged board carefully, make sure the window frame and wall behind it are still solid, fit a matching board, then fasten, caulk, prime, and paint it.
This is a good DIY repair when the rot is only in the trim. The real job is keeping water out after the new board goes on. If the wood behind the trim is soft, stop and fix the leak or framing problem before covering it.
Before you start: Do not cover soft, wet, or rotten wood behind the trim. The new board will fail quickly if the leak path is still active.
Use it for: To lift the old trim board and pull it free with less damage to surrounding siding.
Shop pry bars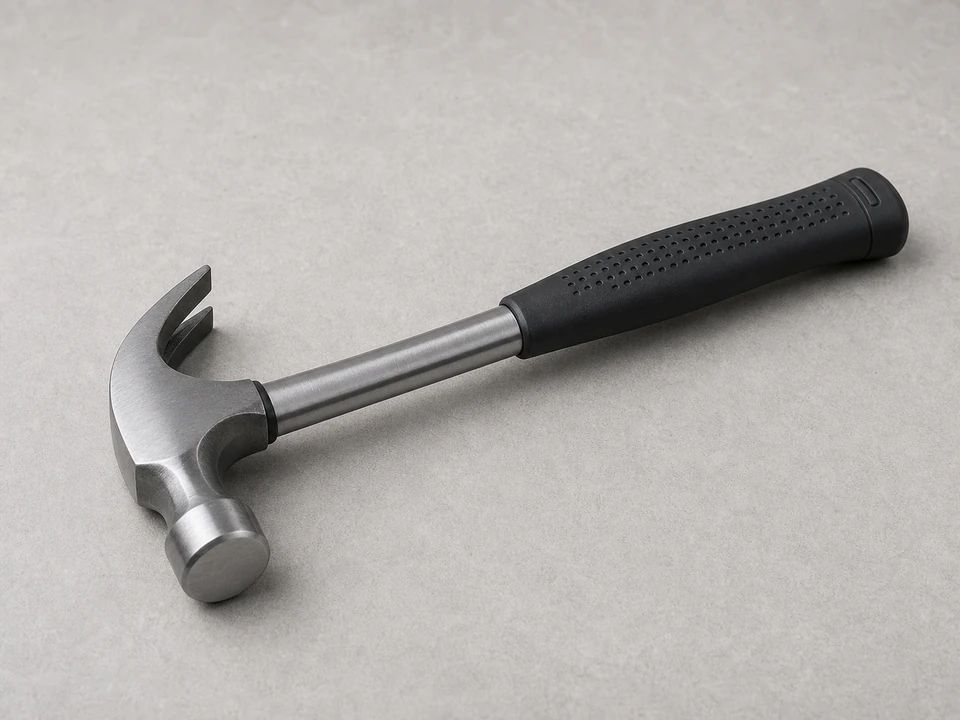
Use it for: To pull nails and tap the new board into position.
Shop hammers
Use it for: To score old caulk and paint lines before removal.
Shop utility knives
Use it for: To measure the old board and check the replacement before cutting.
Shop tape measures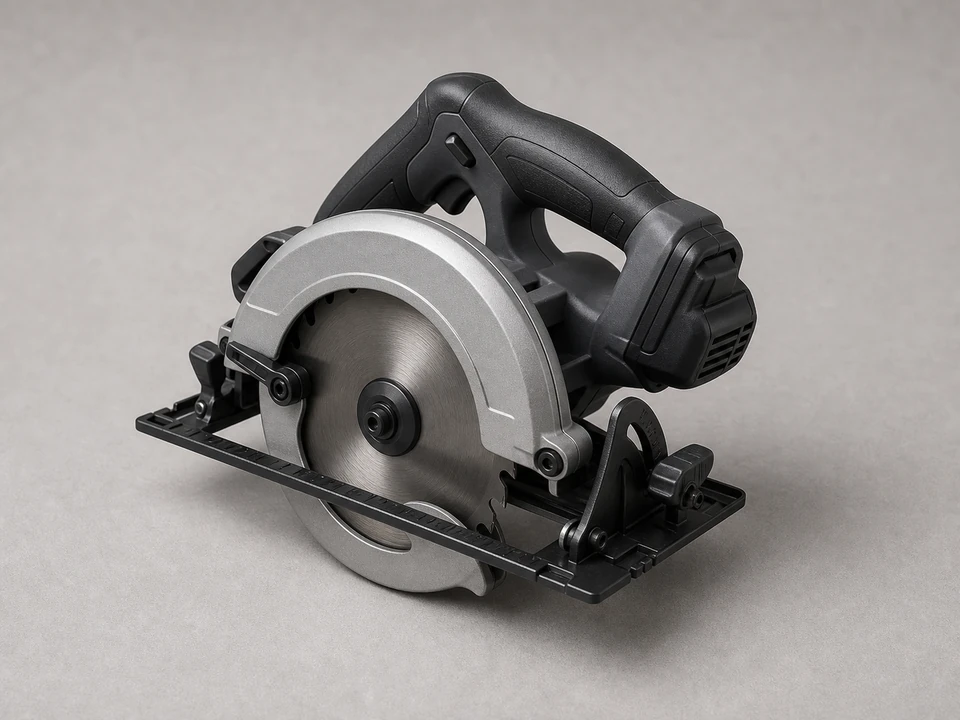
Use it for: To cut the new trim board to length if it does not come pre-cut.
Shop saws for trim work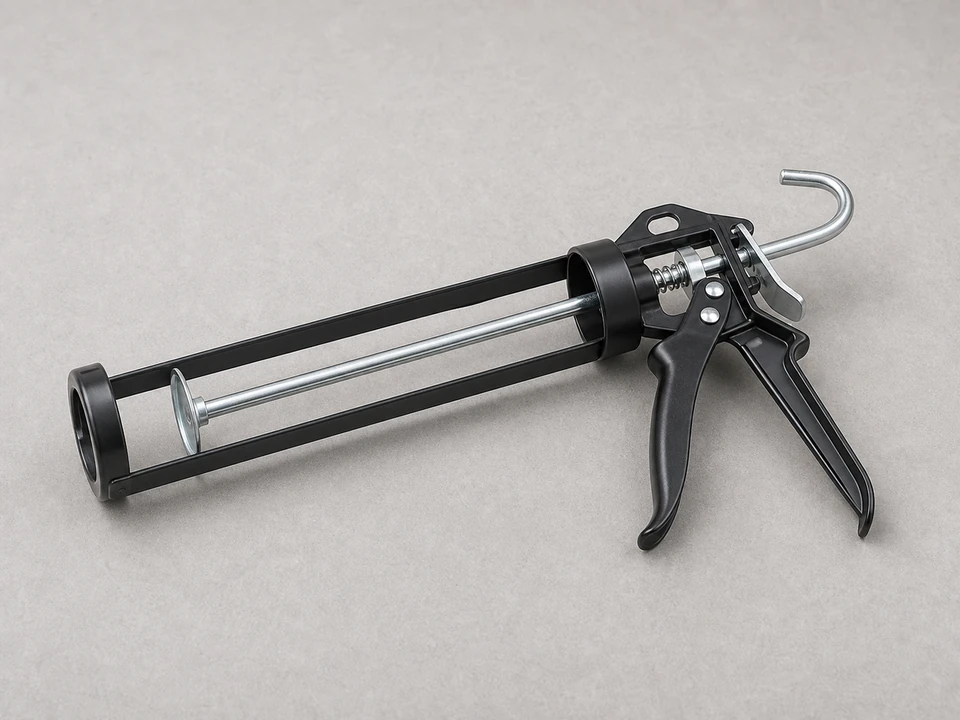
Use it for: To apply exterior-grade sealant along the trim edges.
Shop caulk guns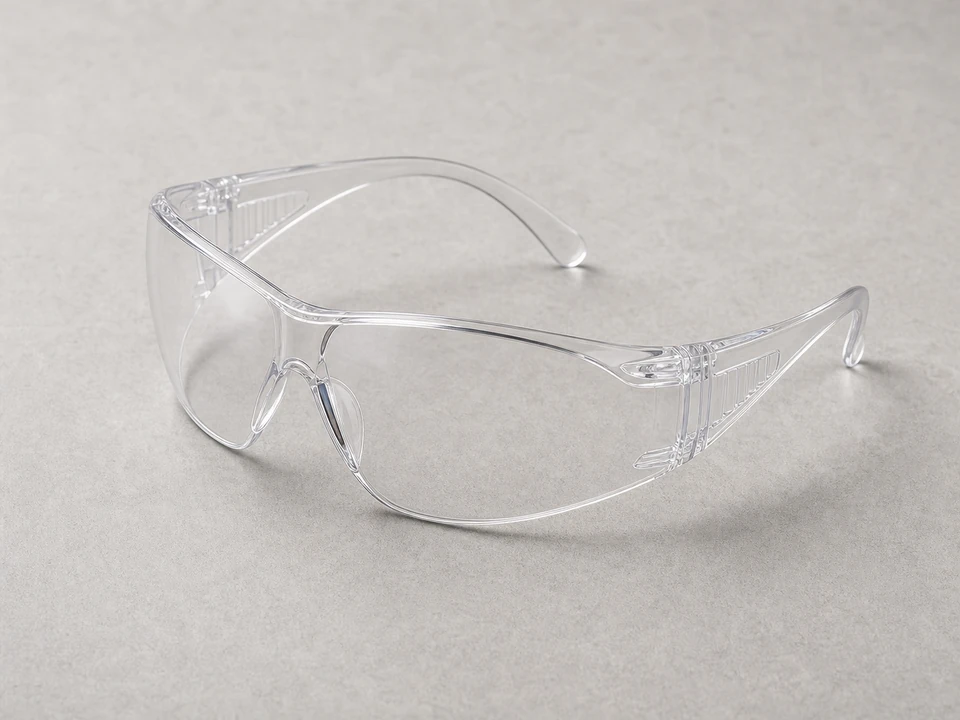
Use it for: To protect your eyes from wood chips, nails, and old caulk debris.
Shop safety glassesAs an Amazon Associate I earn from qualifying purchases. Repair Riot may earn a commission at no extra cost to you.
If it works: The bad wood is limited to the trim and the surrounding window area still feels solid.
If it doesn’t: If the board is still solid, try scraping, caulking, and repainting instead of replacing it.
If it works: The caulk and paint lines are cut, so the old board can come off without tearing up the siding or window edge.
If it doesn’t: If the caulk is thick or brittle, make a few light passes with the knife instead of forcing one deep cut.
If it works: The damaged board is off and the surface behind it is clean, solid, and ready for the replacement.
If it doesn’t: If the board breaks apart, remove it in small pieces and keep the pry bar off the window frame as much as possible.
If it works: The replacement board sits flat, lines up with the surrounding trim, and leaves a joint you can seal properly.
If it doesn’t: If the fit is tight or uneven, trim the board a little at a time until it sits flat without bowing.
If it works: The new trim is secure, sealed at the water-entry points, and protected with primer and paint.
If it doesn’t: If a joint opens back up, remove the fresh caulk in that spot, reset the board if needed, and recaulk the seam.
If it works: The trim stays secure, the seams remain sealed, and no water shows up inside or behind the repair area.
If it doesn’t: If water still gets in, the leak is likely flashing, siding, or the window unit, not just the trim board.
Match the board thickness, width, profile, and material. If the rot goes behind the trim into the window frame or wall, this is no longer just a trim board repair.
As an Amazon Associate I earn from qualifying purchases. Repair Riot may earn a commission at no extra cost to you.
Yes, if the damage is limited to that board and the surrounding trim, window frame, and wall are still solid. If rot extends behind the trim, a larger repair is usually needed.
Use a replacement that matches the original size and is rated for exterior use. The important part is matching the thickness, width, profile, and weather resistance so it fits and sheds water properly.
You should caulk the joints where water can enter around the trim. A continuous exterior-grade seal at the trim-to-wall and trim-to-casing joints helps keep water out.
Many homeowners install it first, then caulk, prime, and paint so the finished surface seals the fasteners and joints together. Any raw cut ends should be protected before final installation if possible.
A little surface moisture is not unusual, but do not seal up a board or wall cavity that is still damp. Let the area dry before fastening and caulking the new piece.